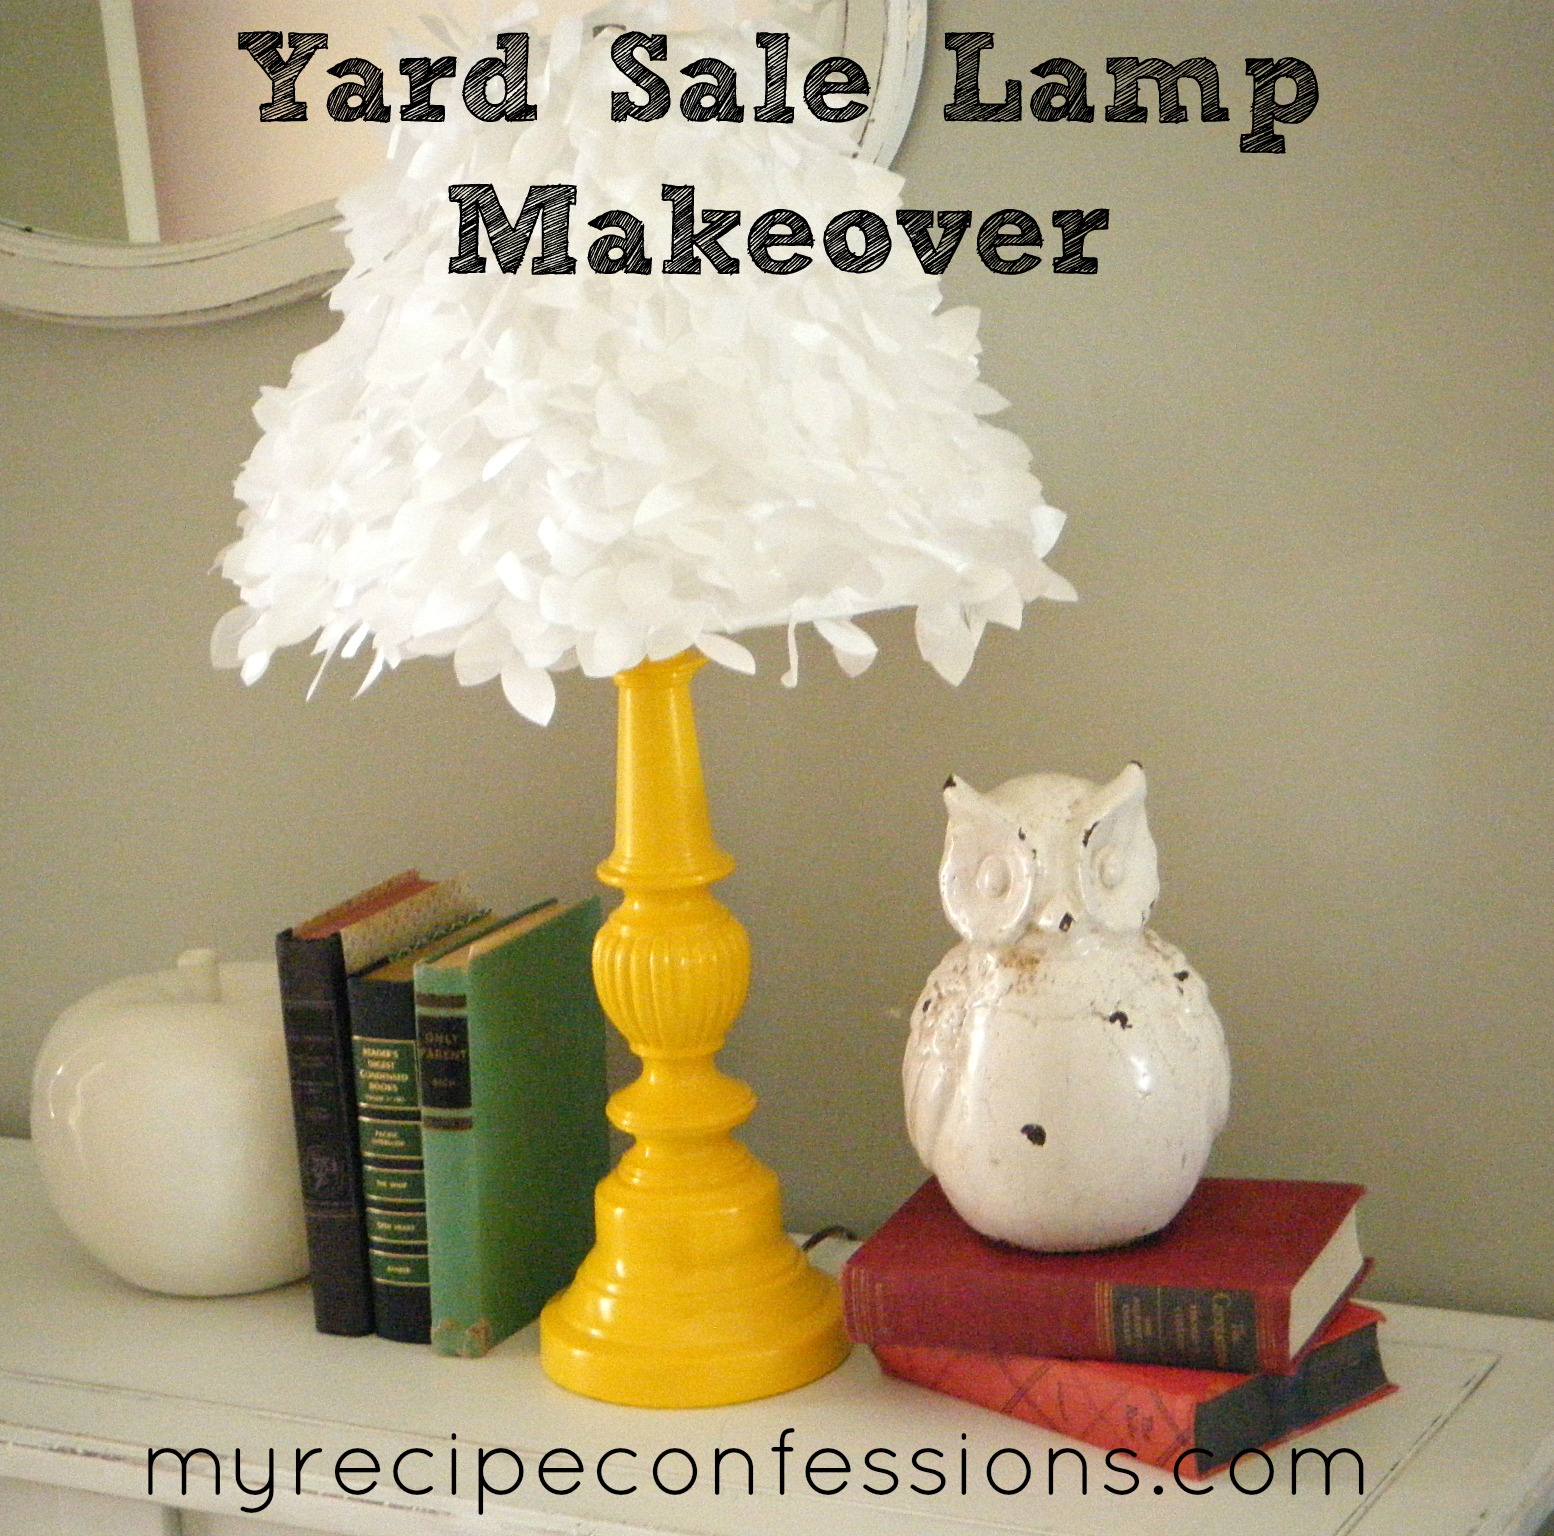
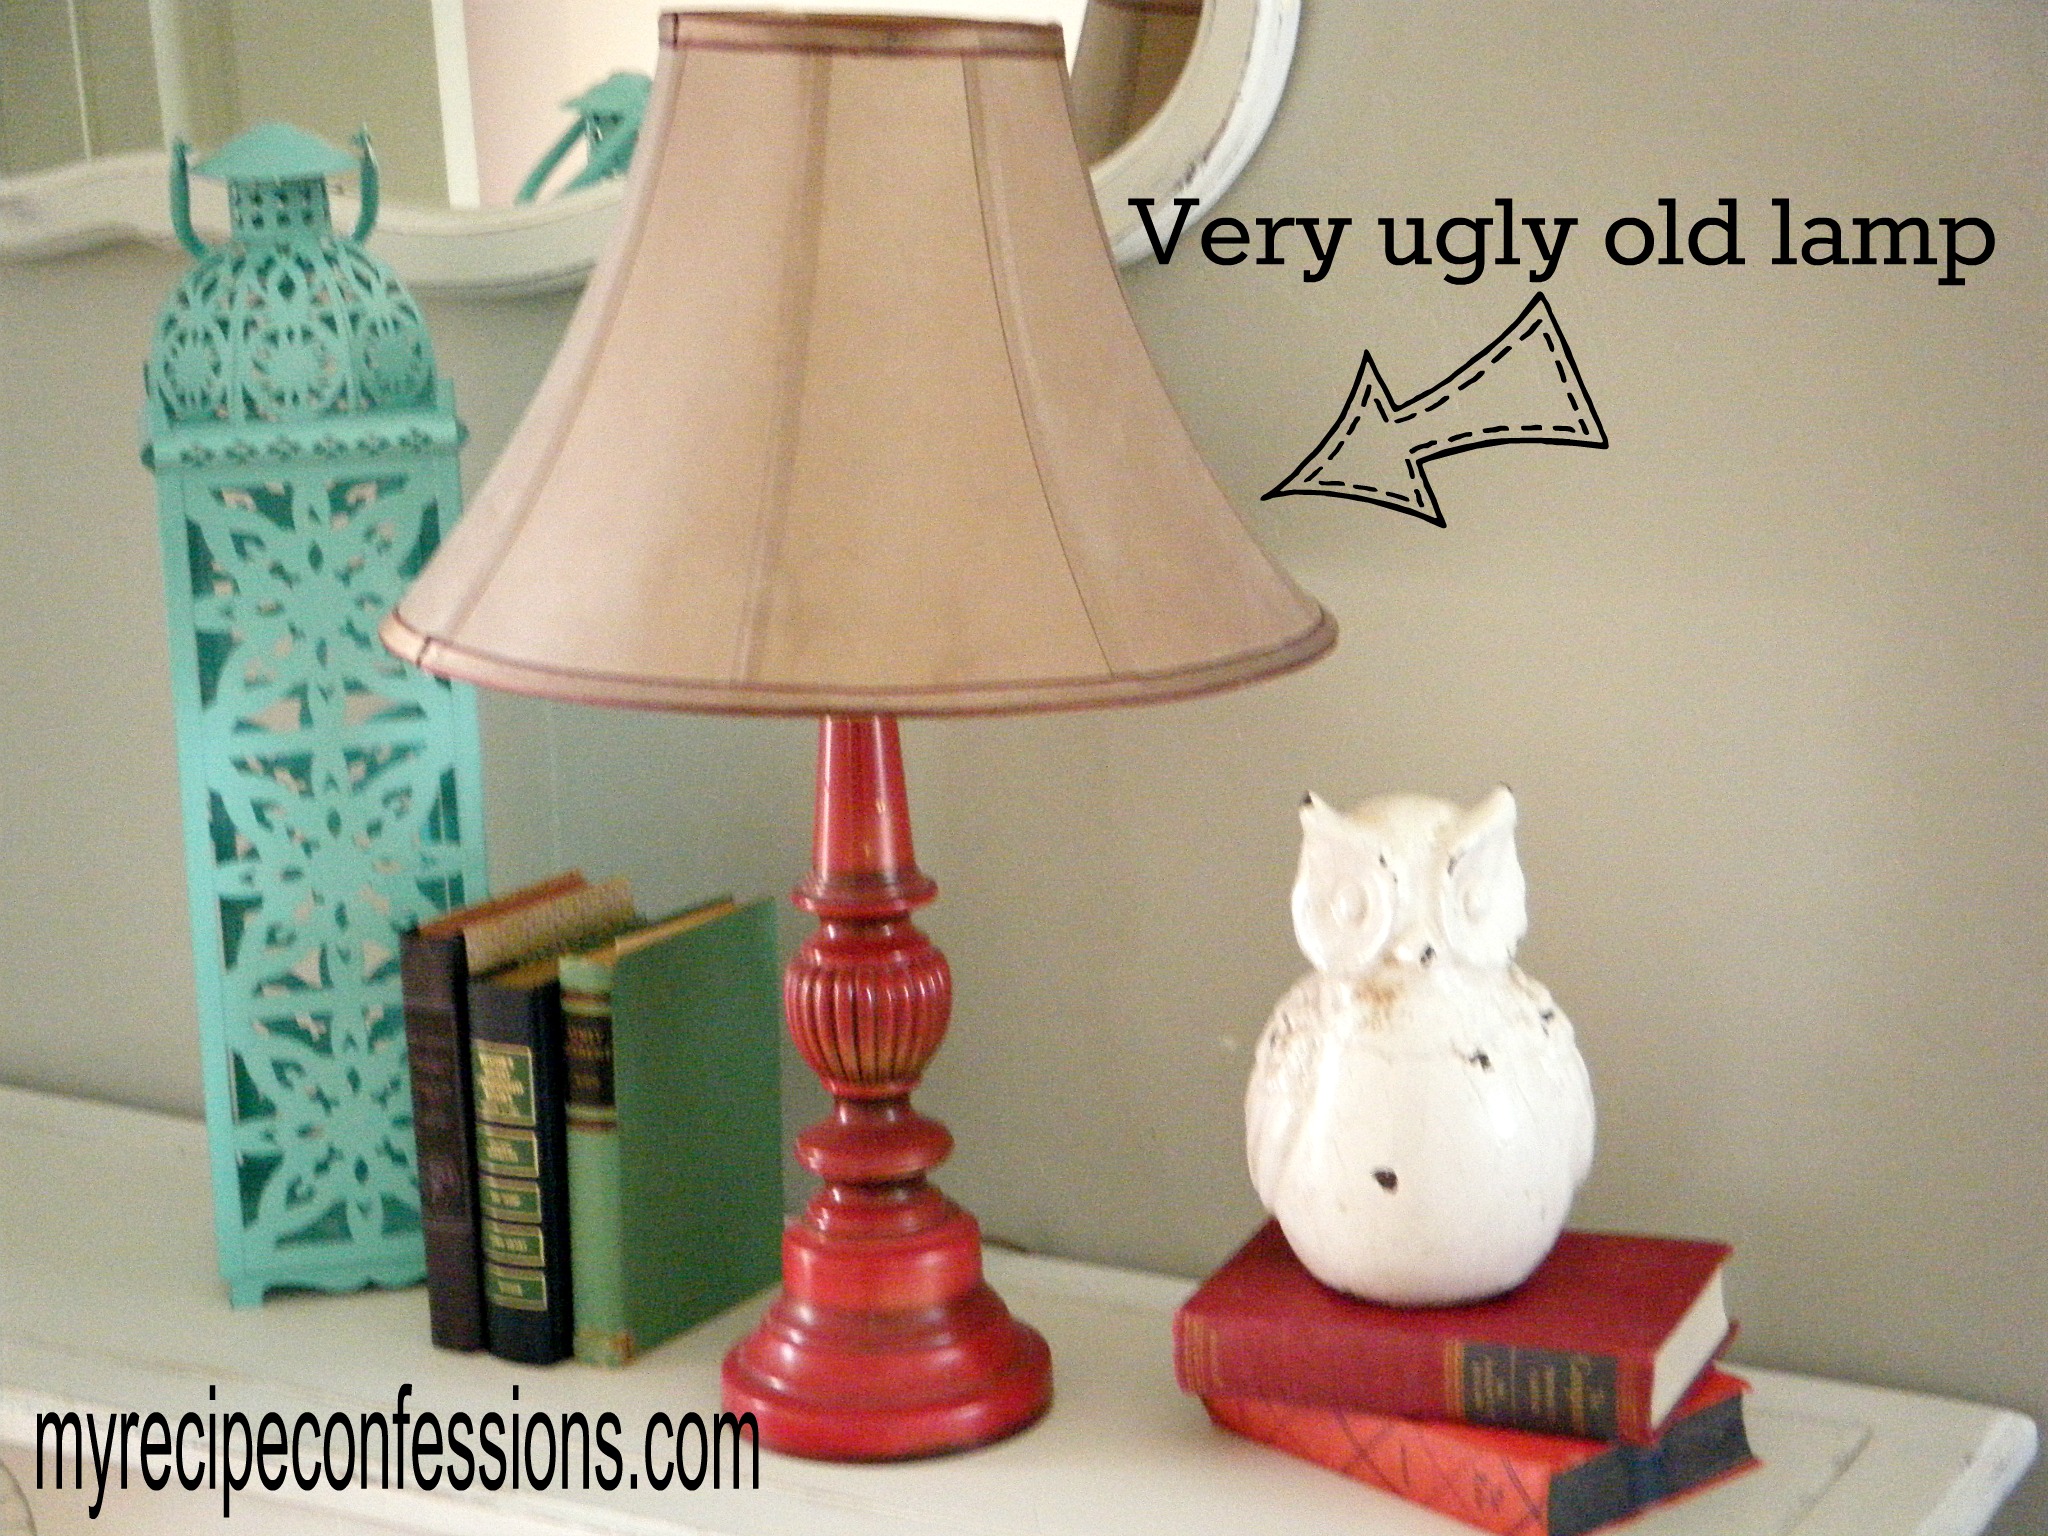
I started my project out with a drab hum drum $2 yard sale lamp. I painted the lamp base red and used them in my room for awhile.
I soon got sick of it ( you will find I do this quite often) and put it downstairs in my project waiting room.
A year or so went by and I decided to give the sad little lamp a much needed make-over and put it in my daughters room.
And that is where this little journey began. I am very pleased with how it turned out. It looks perfect in its new home, don’t you think?
What projects are you working on?
Until next time,
Carrie
Supplies:
old lamp base
self adhesive lamp shade
Yellow spray paint
glue gun
scissors
painters tape
5/8 of a yard of All That Glitters, Die Cut Dot Mesh White fabric ( I bought it at JoAnn’s)
Instructions
Lamp Base
1. Wipe down and clean the lamp base. Make sure it is completely dry before you start painting.
2. Cover the area around the light bulb and the cord with painters tape. Shake the spray paint can very well to mix the paint up. Hold the can about 8 to 10 inches away from the lamp. Using a side to side motion, spray the lamp base with thin even coats. Let the paint dry completely in between each coat. The lamp will need multiple coats of paint. Remove the painters tape, paper, or plastic after the paint is dry.
Lamp Shade:
1. Peel the shade wrapper off. Use the wrapper to make a pattern for your fabric. Trace the pattern onto the backside of the fabric. Add a 1 inch seam allowance all the way around.
2. Cut out the fabric. Turn the fabric over so that the right side is facing down. Place the shade onto the fabric and gently hand press the fabric to the shade. Smooth the fabric out side to side and top to bottom. Re-position as needed to avoid ripples.
3. Fold the over lapping fabric and with a hot glue gun glue it in place. Fold the edges over and glue them into place. Trim the edges a little if needed and then fold over and glue.
I think I am in Love!

This project is linked to


