I’m sure I have told you before that fall is my favorite season! It is so pretty when all the leaves change colors. The weather cools down a bit and everything just seems to slow down.
As I was getting out my fall décor, I realized that I was no longer in love with the fall wreath I used last year. I love having a new wreath for each season and I get sick of them pretty quick too. I guess that the benefit of making them is that they don’t cost a lot. So I don’t feel as guilty when I am ready to swap the old wreath out with a new one.
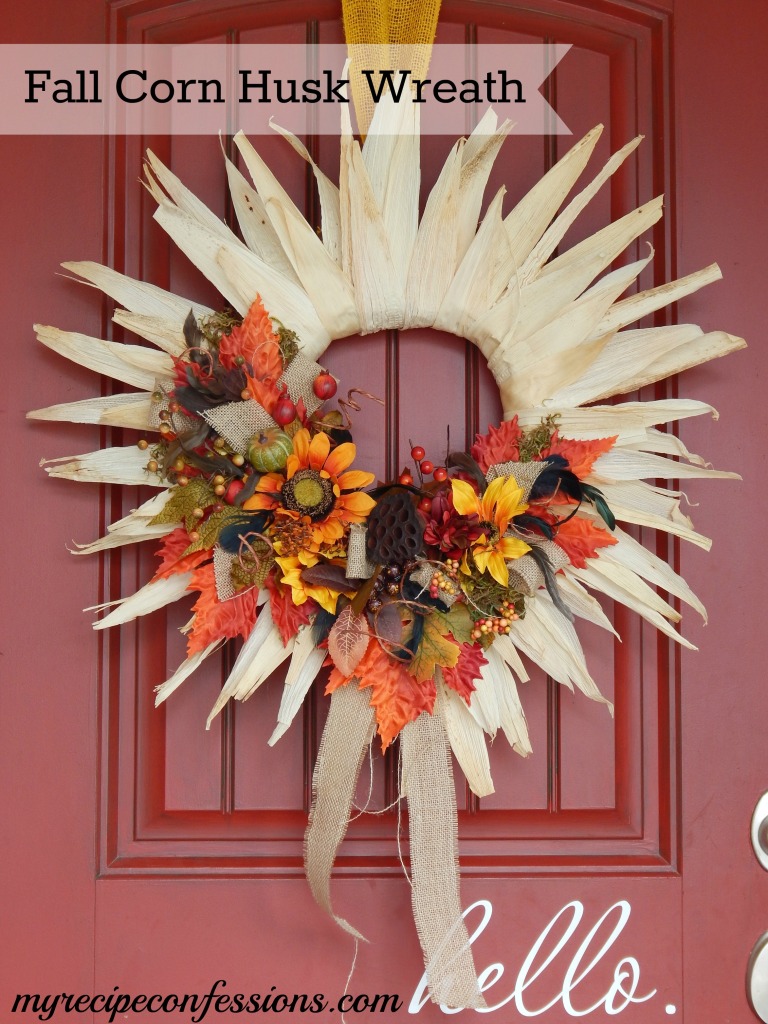
I saw a tutorial on designimproved.com for this lovely corn husk wreath. I felt like mine needed something else, so I added the floral. I love how it turned out!
With love from my kitchen to yours,
Carrie
Fall Corn Husk Wreath
supplies
1 (6 oz.) bag of corn husks (You can find them at the grocery store in the Latin aisle).
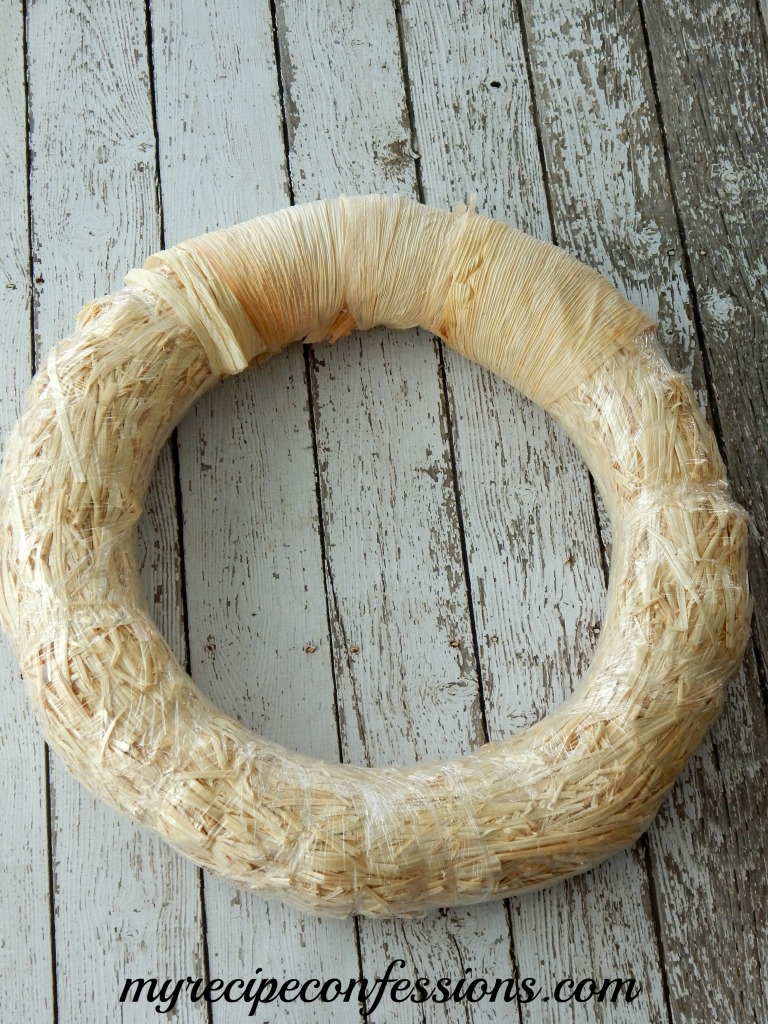
14 inch straw wreath
glue gun and glue stick
dish towel
floral picks of your choice
burlap ribbon
Instructions
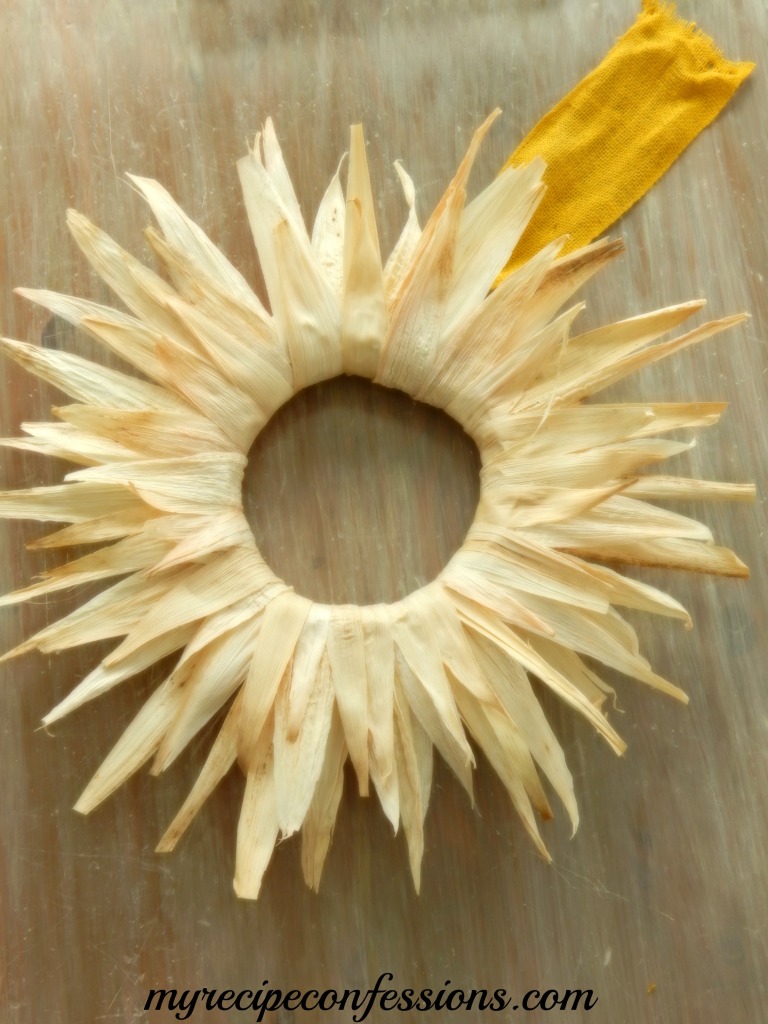
1. Quickly dip the corn husks under water. Lay them out on the dish towel and pat them dry. Once the corn husks are dry enough and are pliable, start wrapping them around the straw wreath. Glue them in place with the glue gun. Wrap the corn husk all the way around the whole wreath.
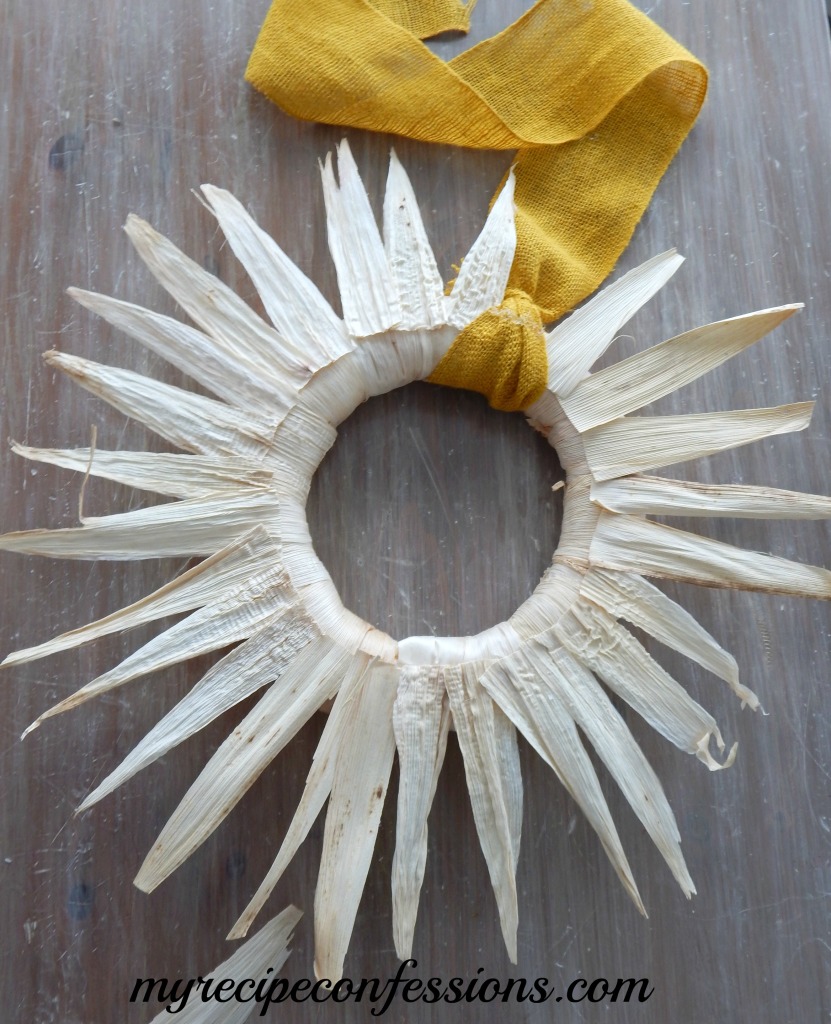
2. Starting at the tip of the corn husk, tear the larger husks in half. Tie a 1 1/2 yard strand of the burlap ribbon at the top of the wreath (this is what you will hang the wreath from). Glue a layer of husks toward the top of the wreath.
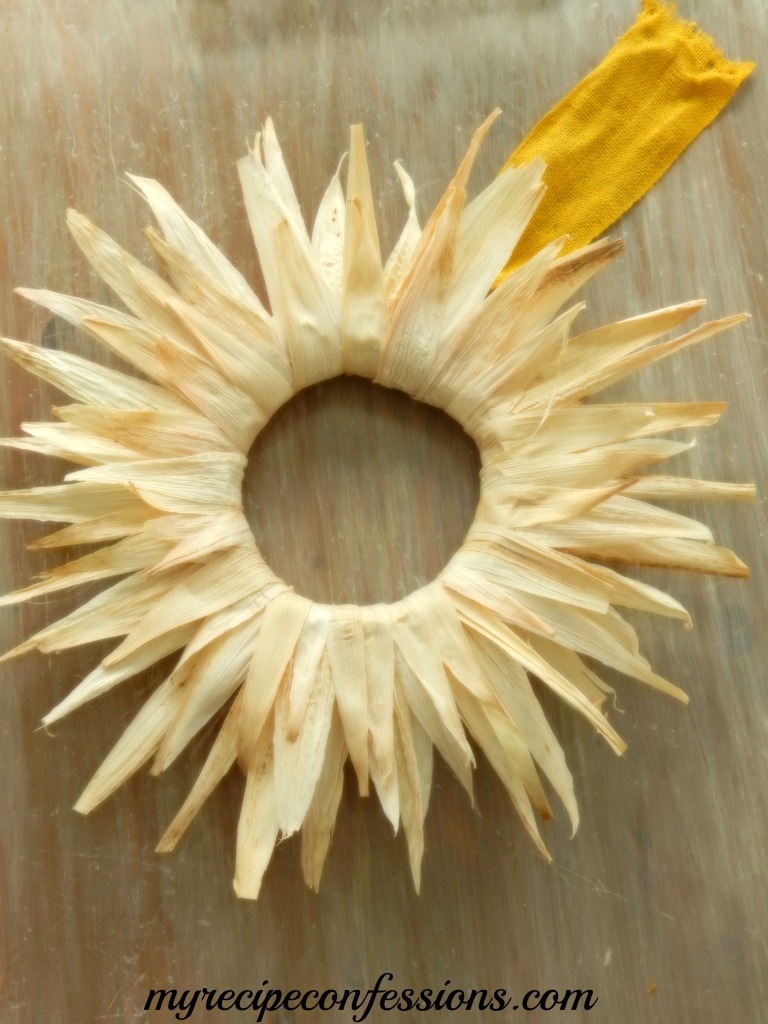
3. Glue a second row of husks just under the first row. Make sure to overlap the first layer. Continue to layer the corn husks until it reaches the desired fullness. For the inner rows you will need to bend the husk a little at the bottom. Place a generous amount of hot glue and hold the corn husk in place for a minute.
4. Once your wreath has reached the desired fullness, arrange the floral picks and leaves around the wreath and hot glue them in place. I use thumb tacks to secure the ribbon that is holding the wreath to the top of the door.
