I started out on the path to make one wreath and I ended up making one completely different. I fell in love with Domestically Speaking classy Spring fever wreath. I knew it would look perfect on my front door.
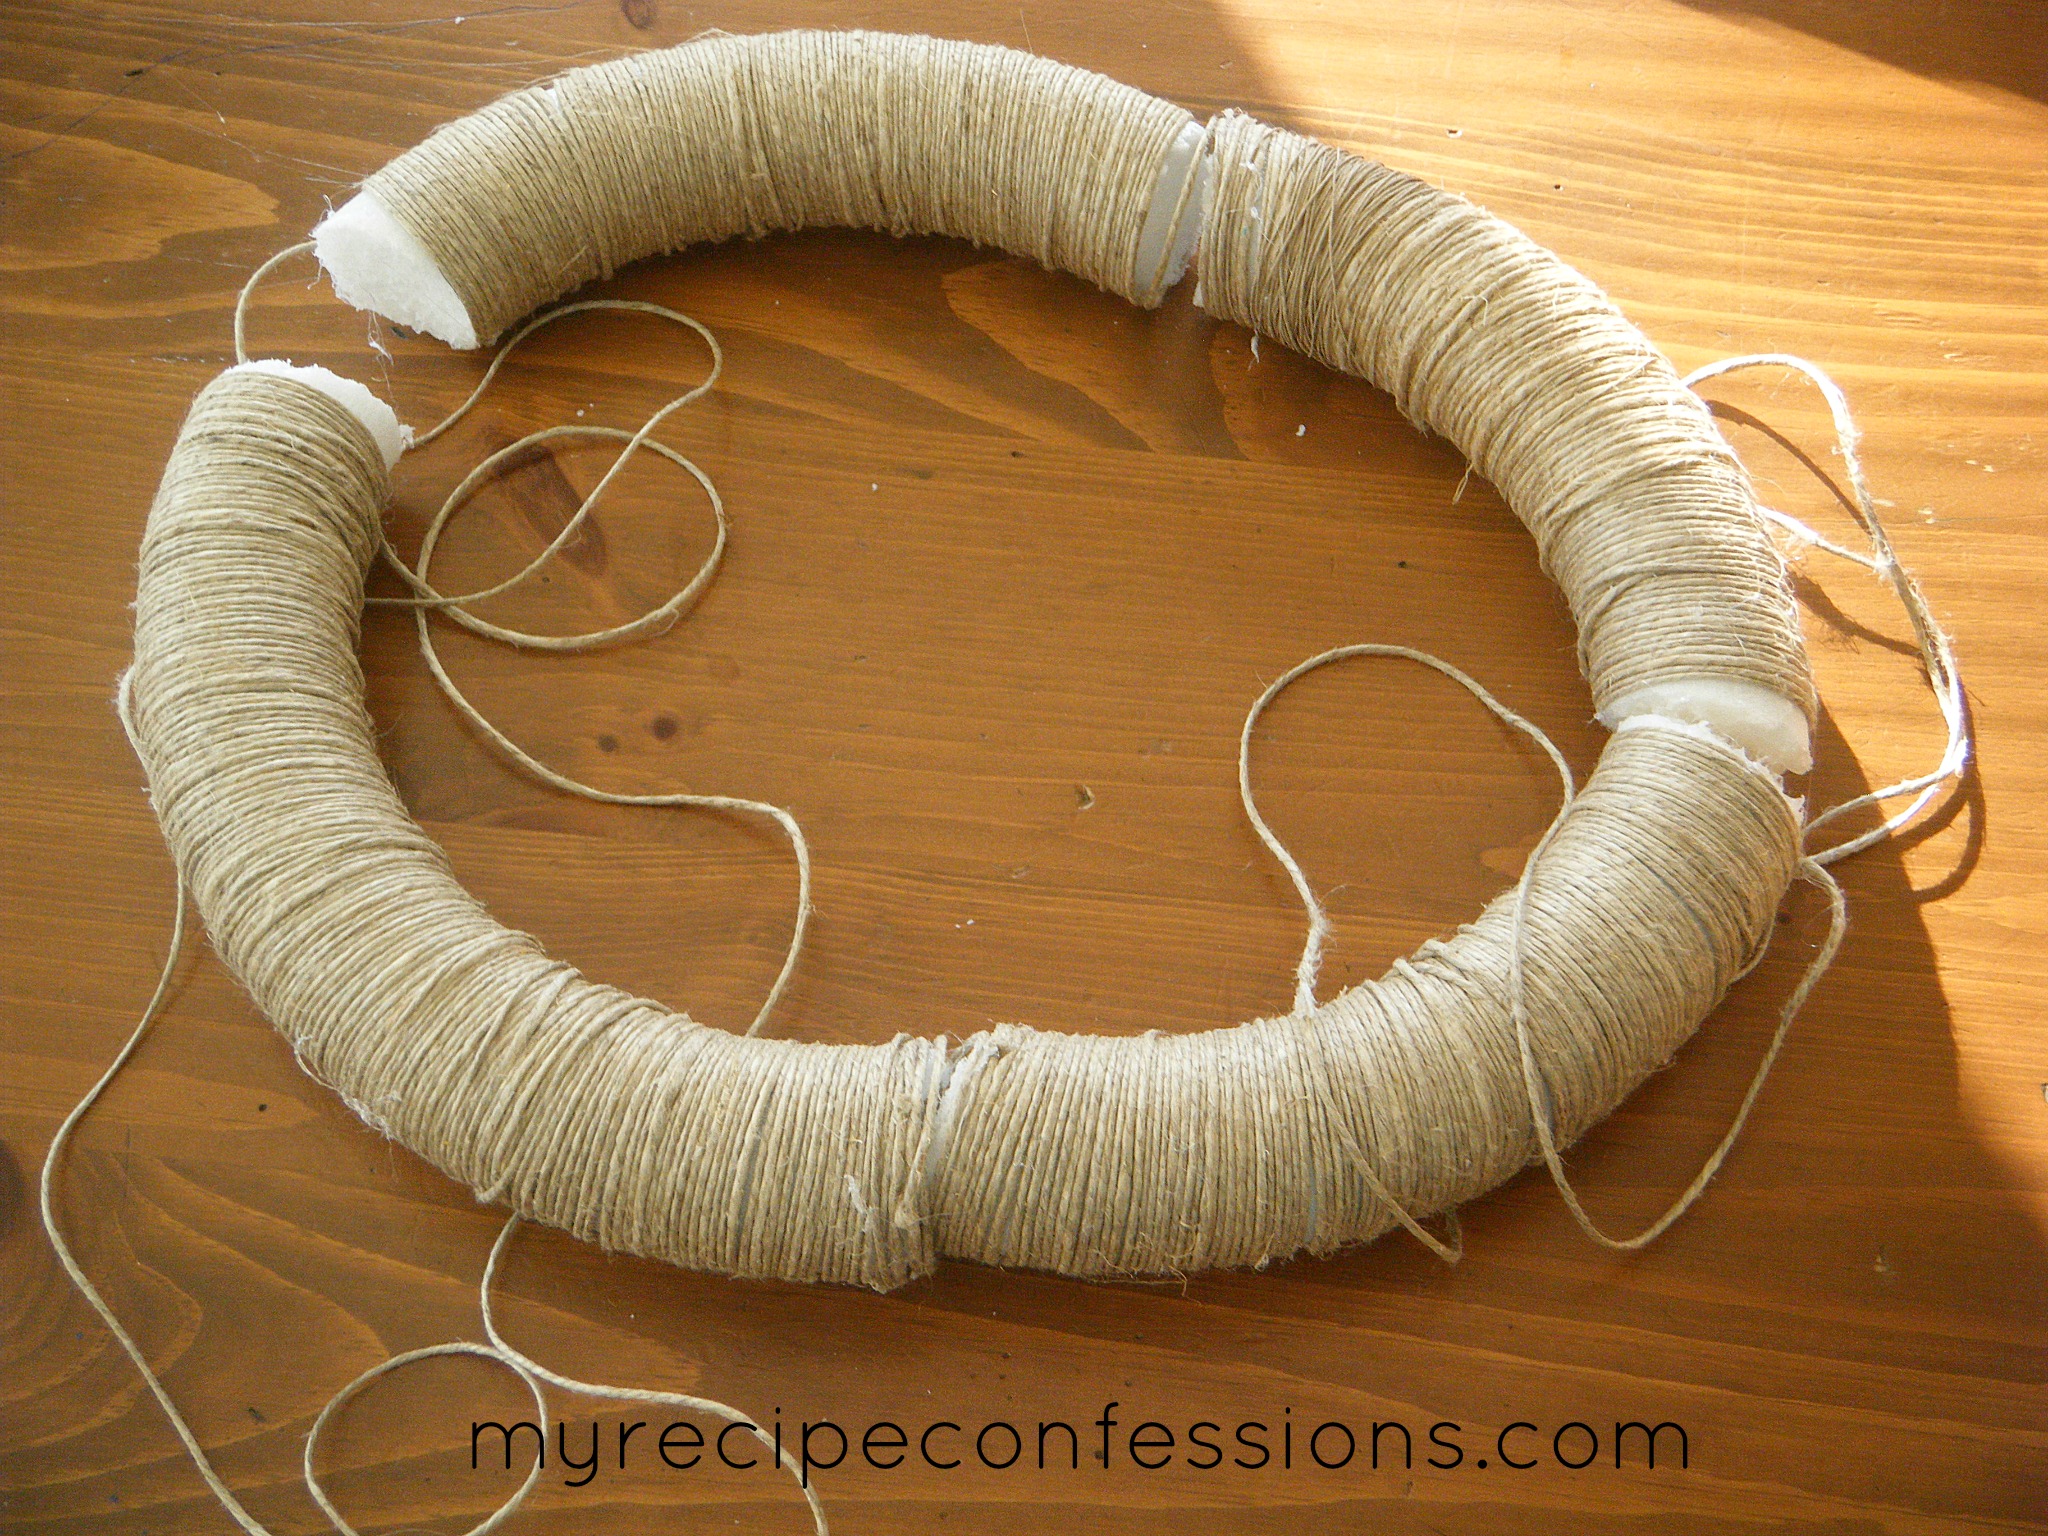
So I bought all the supplies and began the grueling task of wrapping the jute around the wreath. I have made wreaths this same way before. Only I had used yarn and trust me, it takes a few hours. I loved the look of the jute so much, I knew I had to do it anyway.
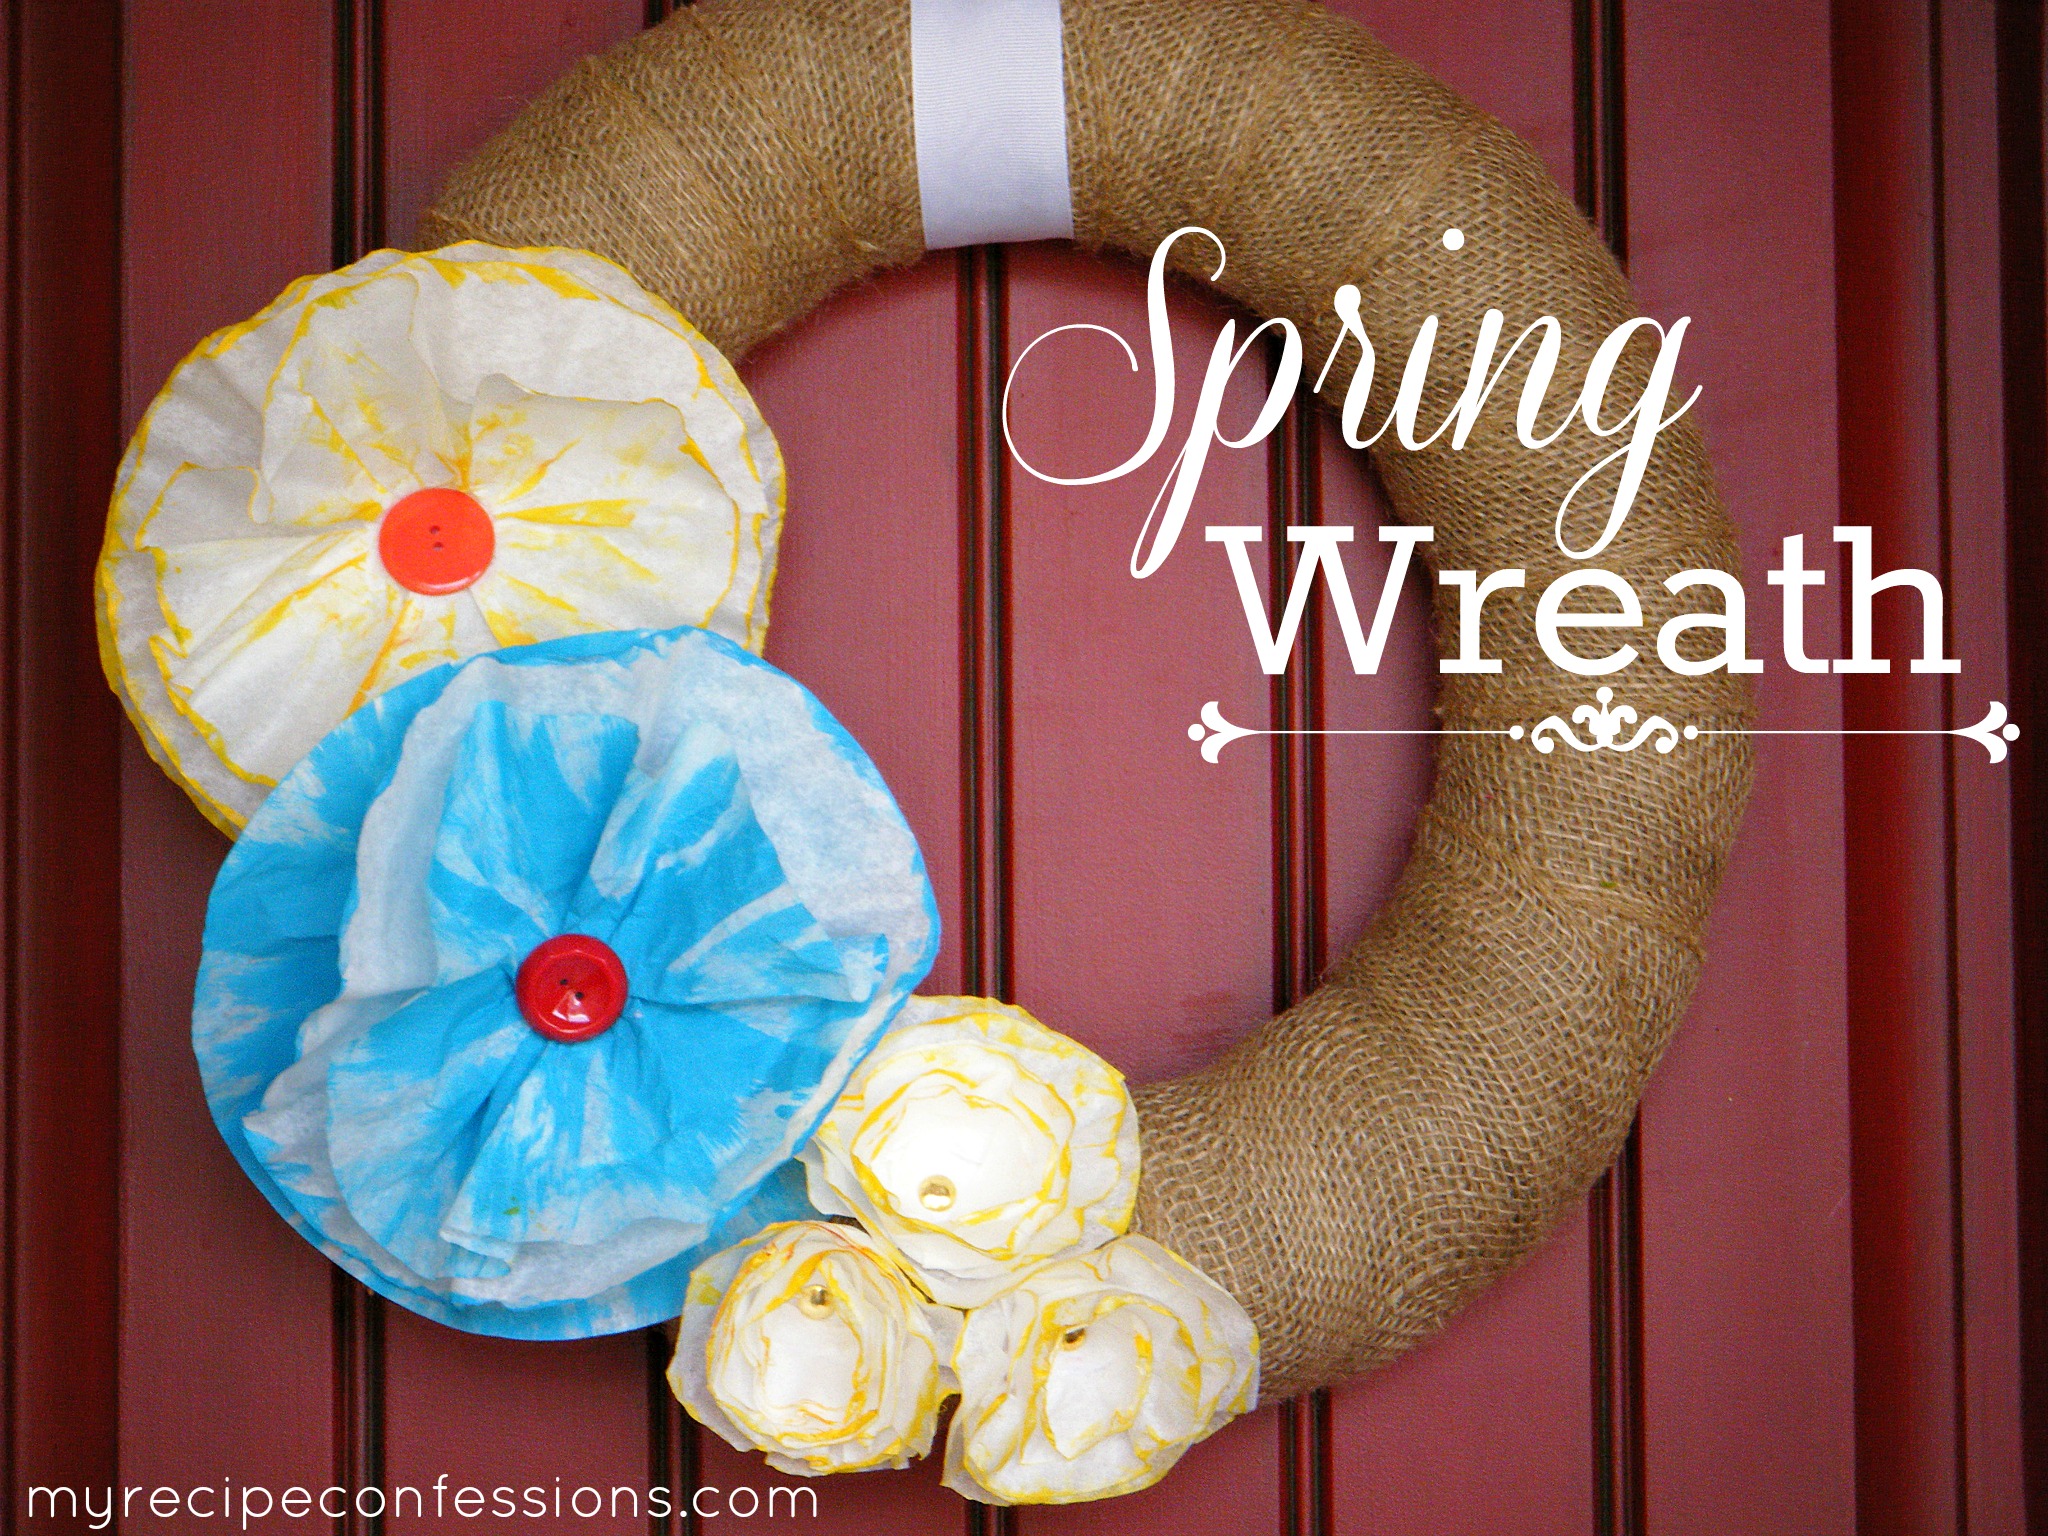
I had to split the project up between two days because with two little ones at home with me, I am a bit short on free time. The first day I wrapped the wreath with the jute. The second day I made the coffee filter flowers. After playing around with the design of the flowers for a little while, I decided to go with a slightly different look than the Domestically Speaking flowers wreath.
I had to quickly run to JoAnns craft store to get the buttons for the center. I was so excited because I was so close to finally being done and being able to hang my beautiful wreath on my front door. As I was picking out the right buttons at Joann’s, I got a phone call from my daughter. She so lovingly informed me that my baby (he’s 2), broke my wreath into four pieces. I wanted to cry to say the least!
My sister who was with me suggested I use the straw wreaths instead of the styrafoam wreath I had used. She likes to use them because they are cheaper and they won’t break like my styrafoam wreath did.
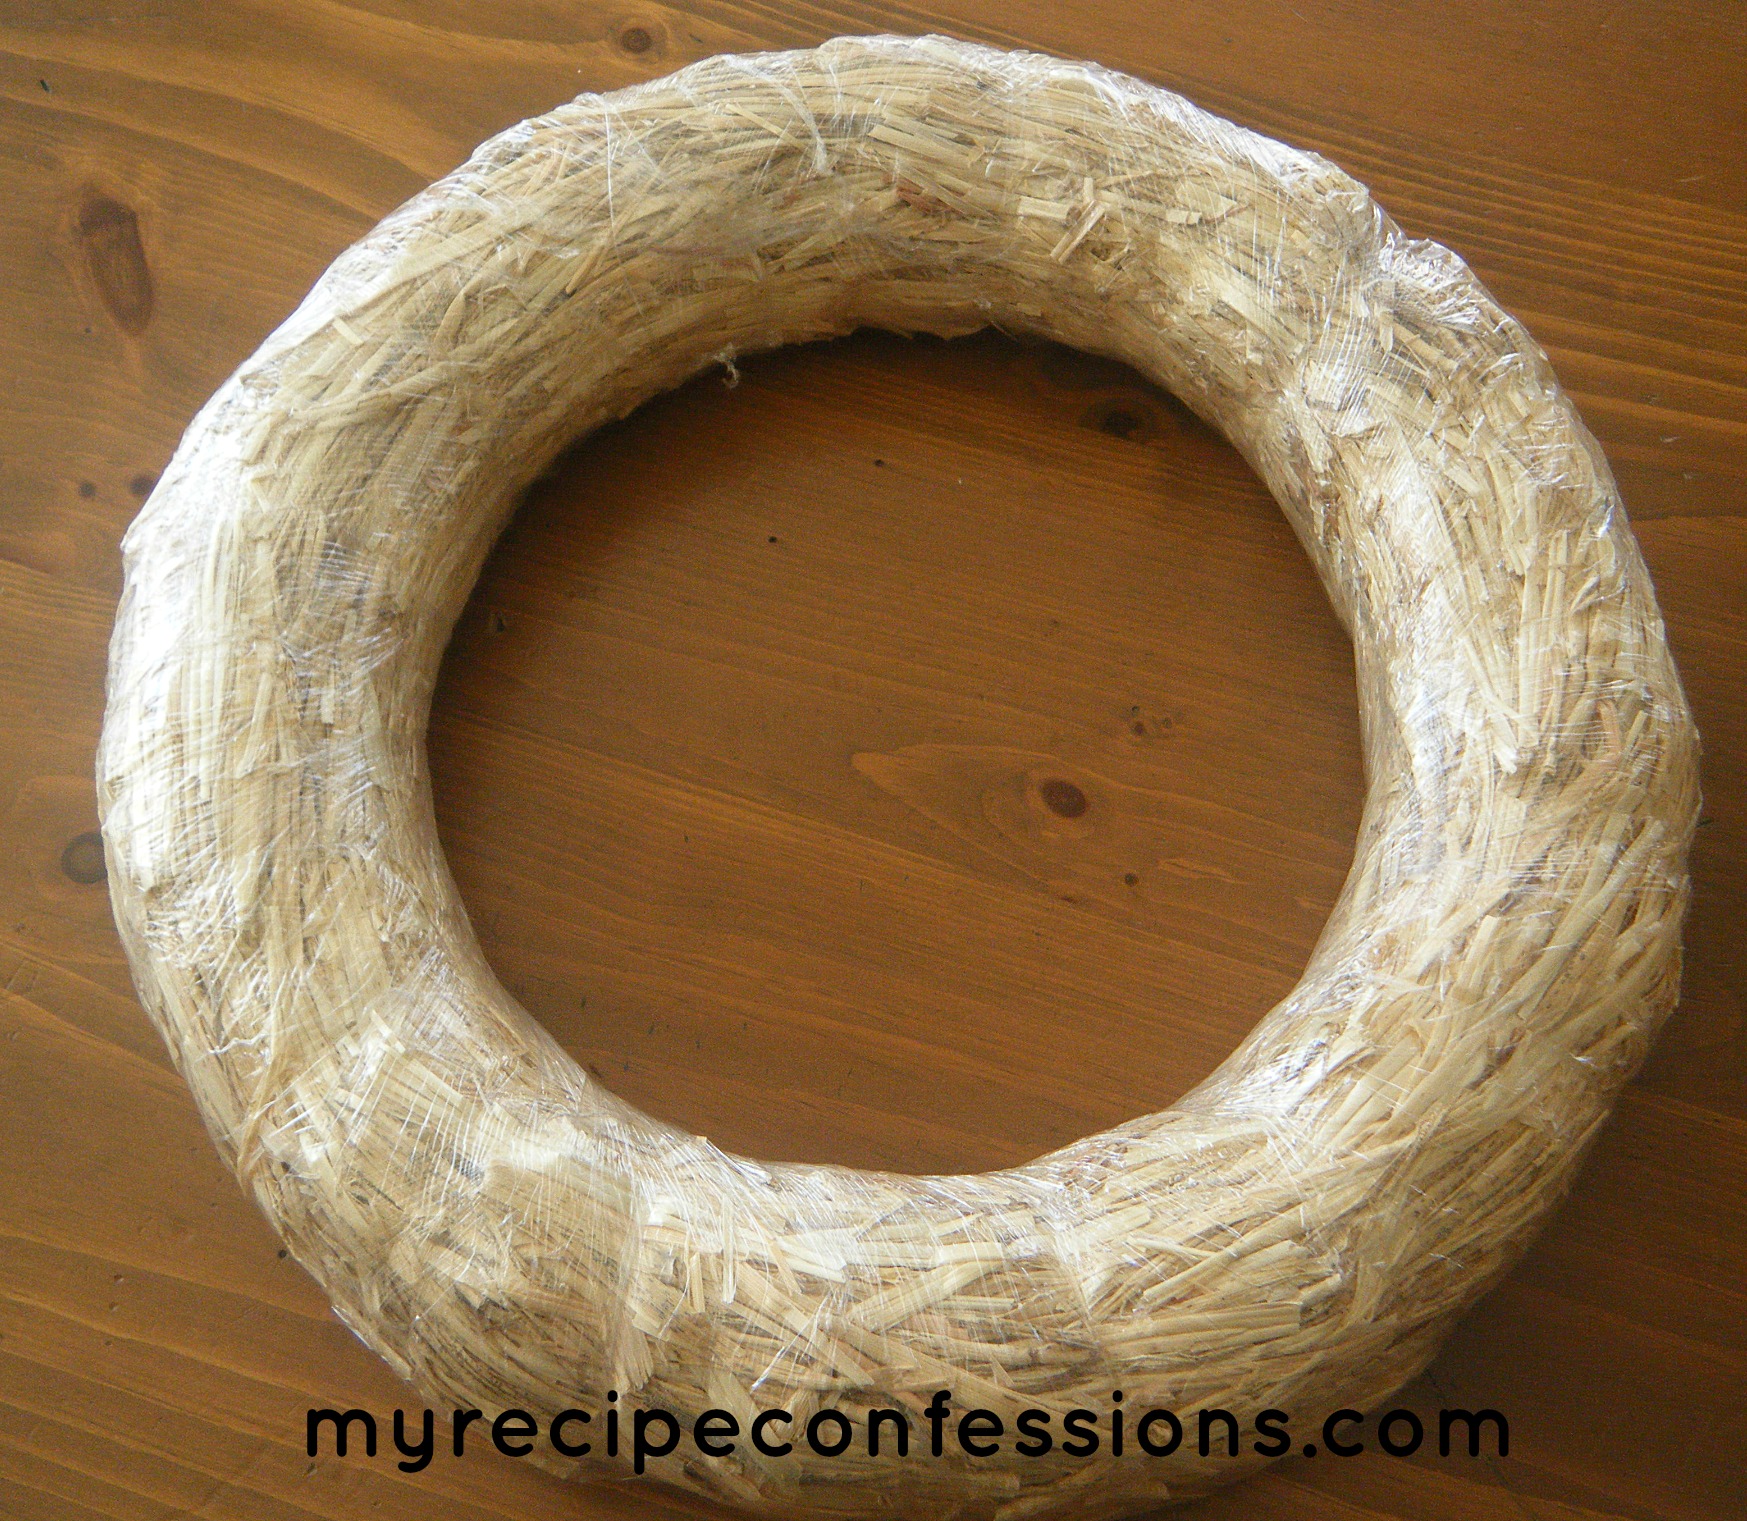
I must say, I am very pleased with the results. I just wish I had known about them before I started so I would not have had to waste all that time. I guess I can chalk it up as another life lesson.
Supplies:
1 wreath form (I recommend the straw wreath you can purchase at JoAnns)
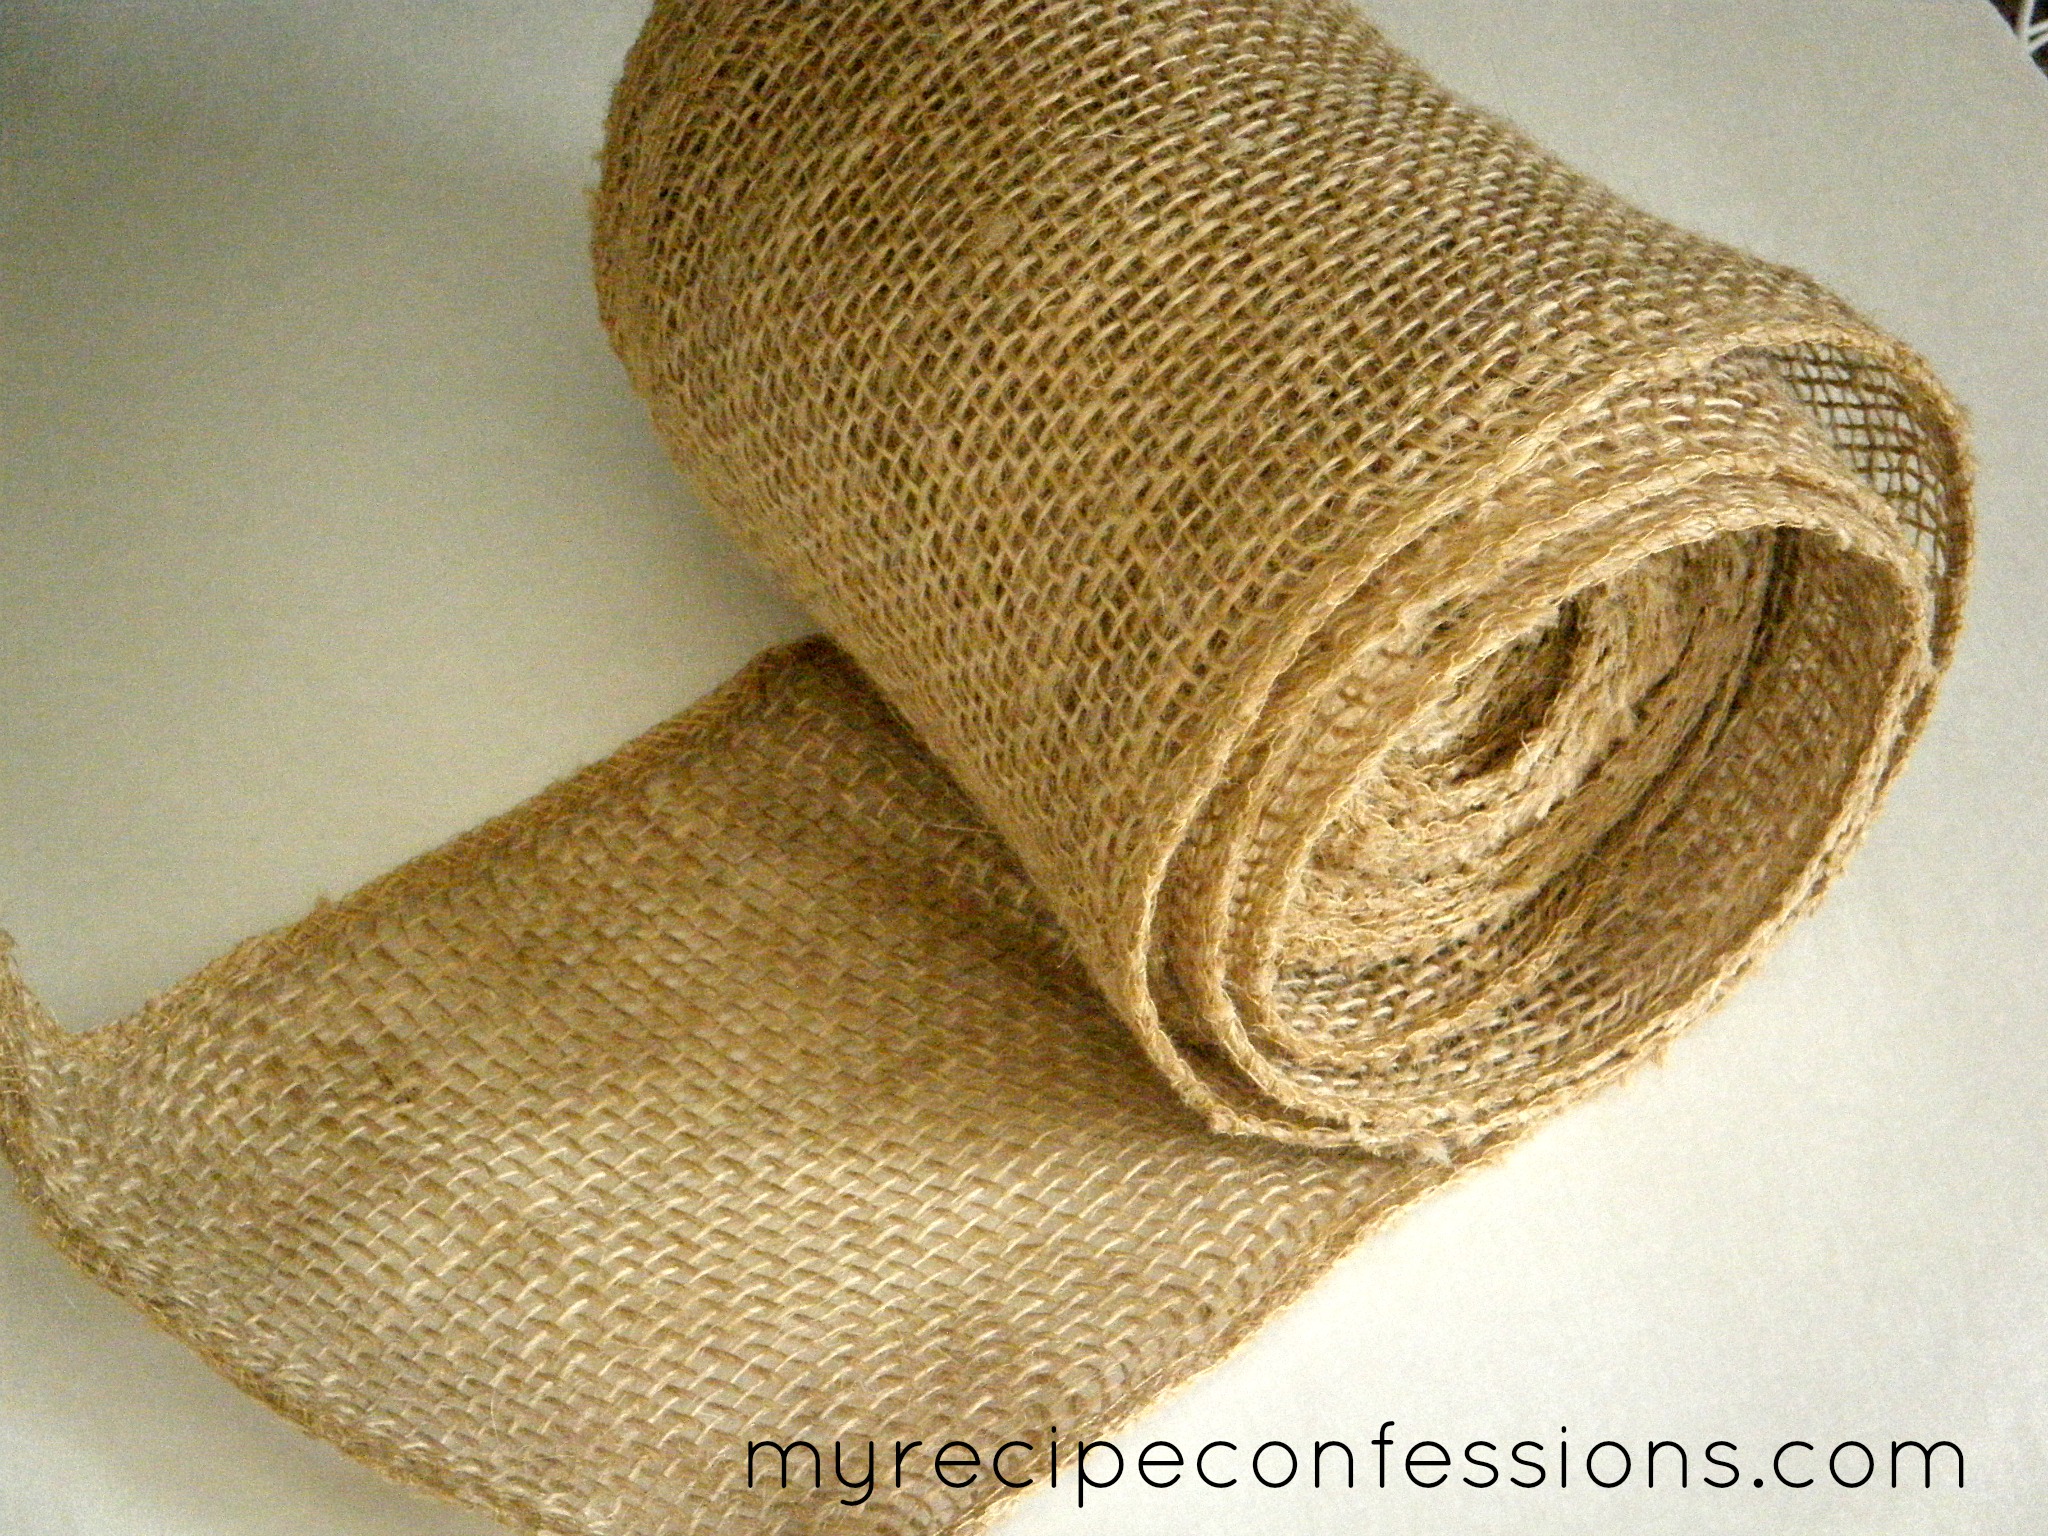
1 roll of 6 inch burlap ribbon (I don’t know exactly how much I used, but I didn’t use the whole roll)
coffee filters
gold tacks
2 large bright colored buttons of your choice
hot glue gun with glue sticks
acrylic paint
foam paint brush
2 yards of 2 inch white ribbon (to hang the wreath with)
Instructions
1. With the hot glue gun, glue the beginning strip of the burlap to the wreath so it will stay in place. Wrap the burlap tightly around the wreath form. Make sure to over lap the burlap so you can’t see the color of the wreath form underneath.
2. When you have wrapped the wreath completely with the burlap, glue the ending strip of the burlap down with the glue gun.
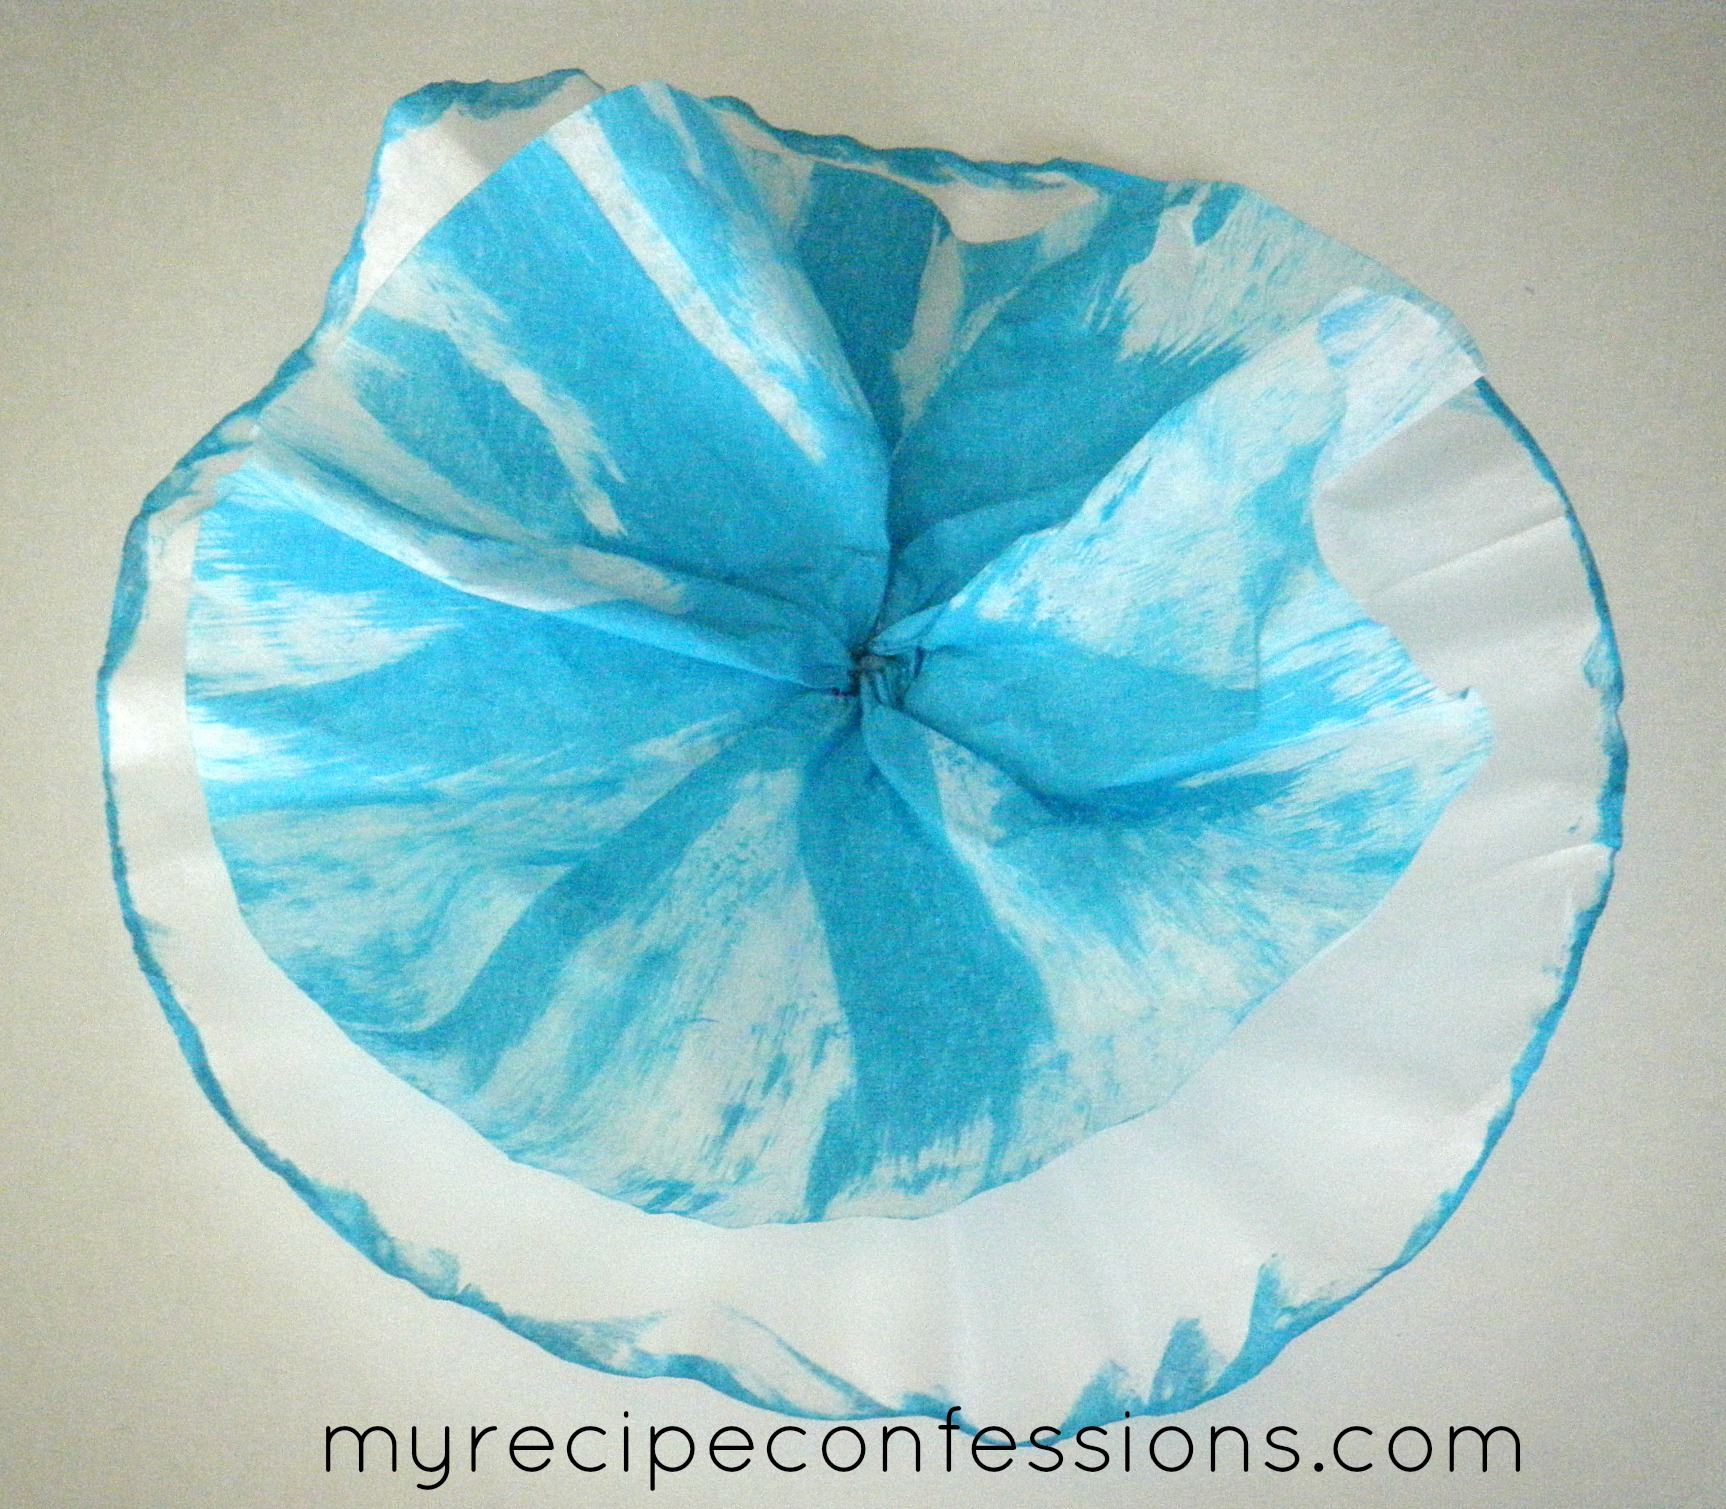
3. For flower #1, I used a torquise acrylic paint. To make the first layer I folded the coffee filter in half and then in half again. Then I dipped the foam brush into the paint and lightly brushed the tops of the coffee filter.
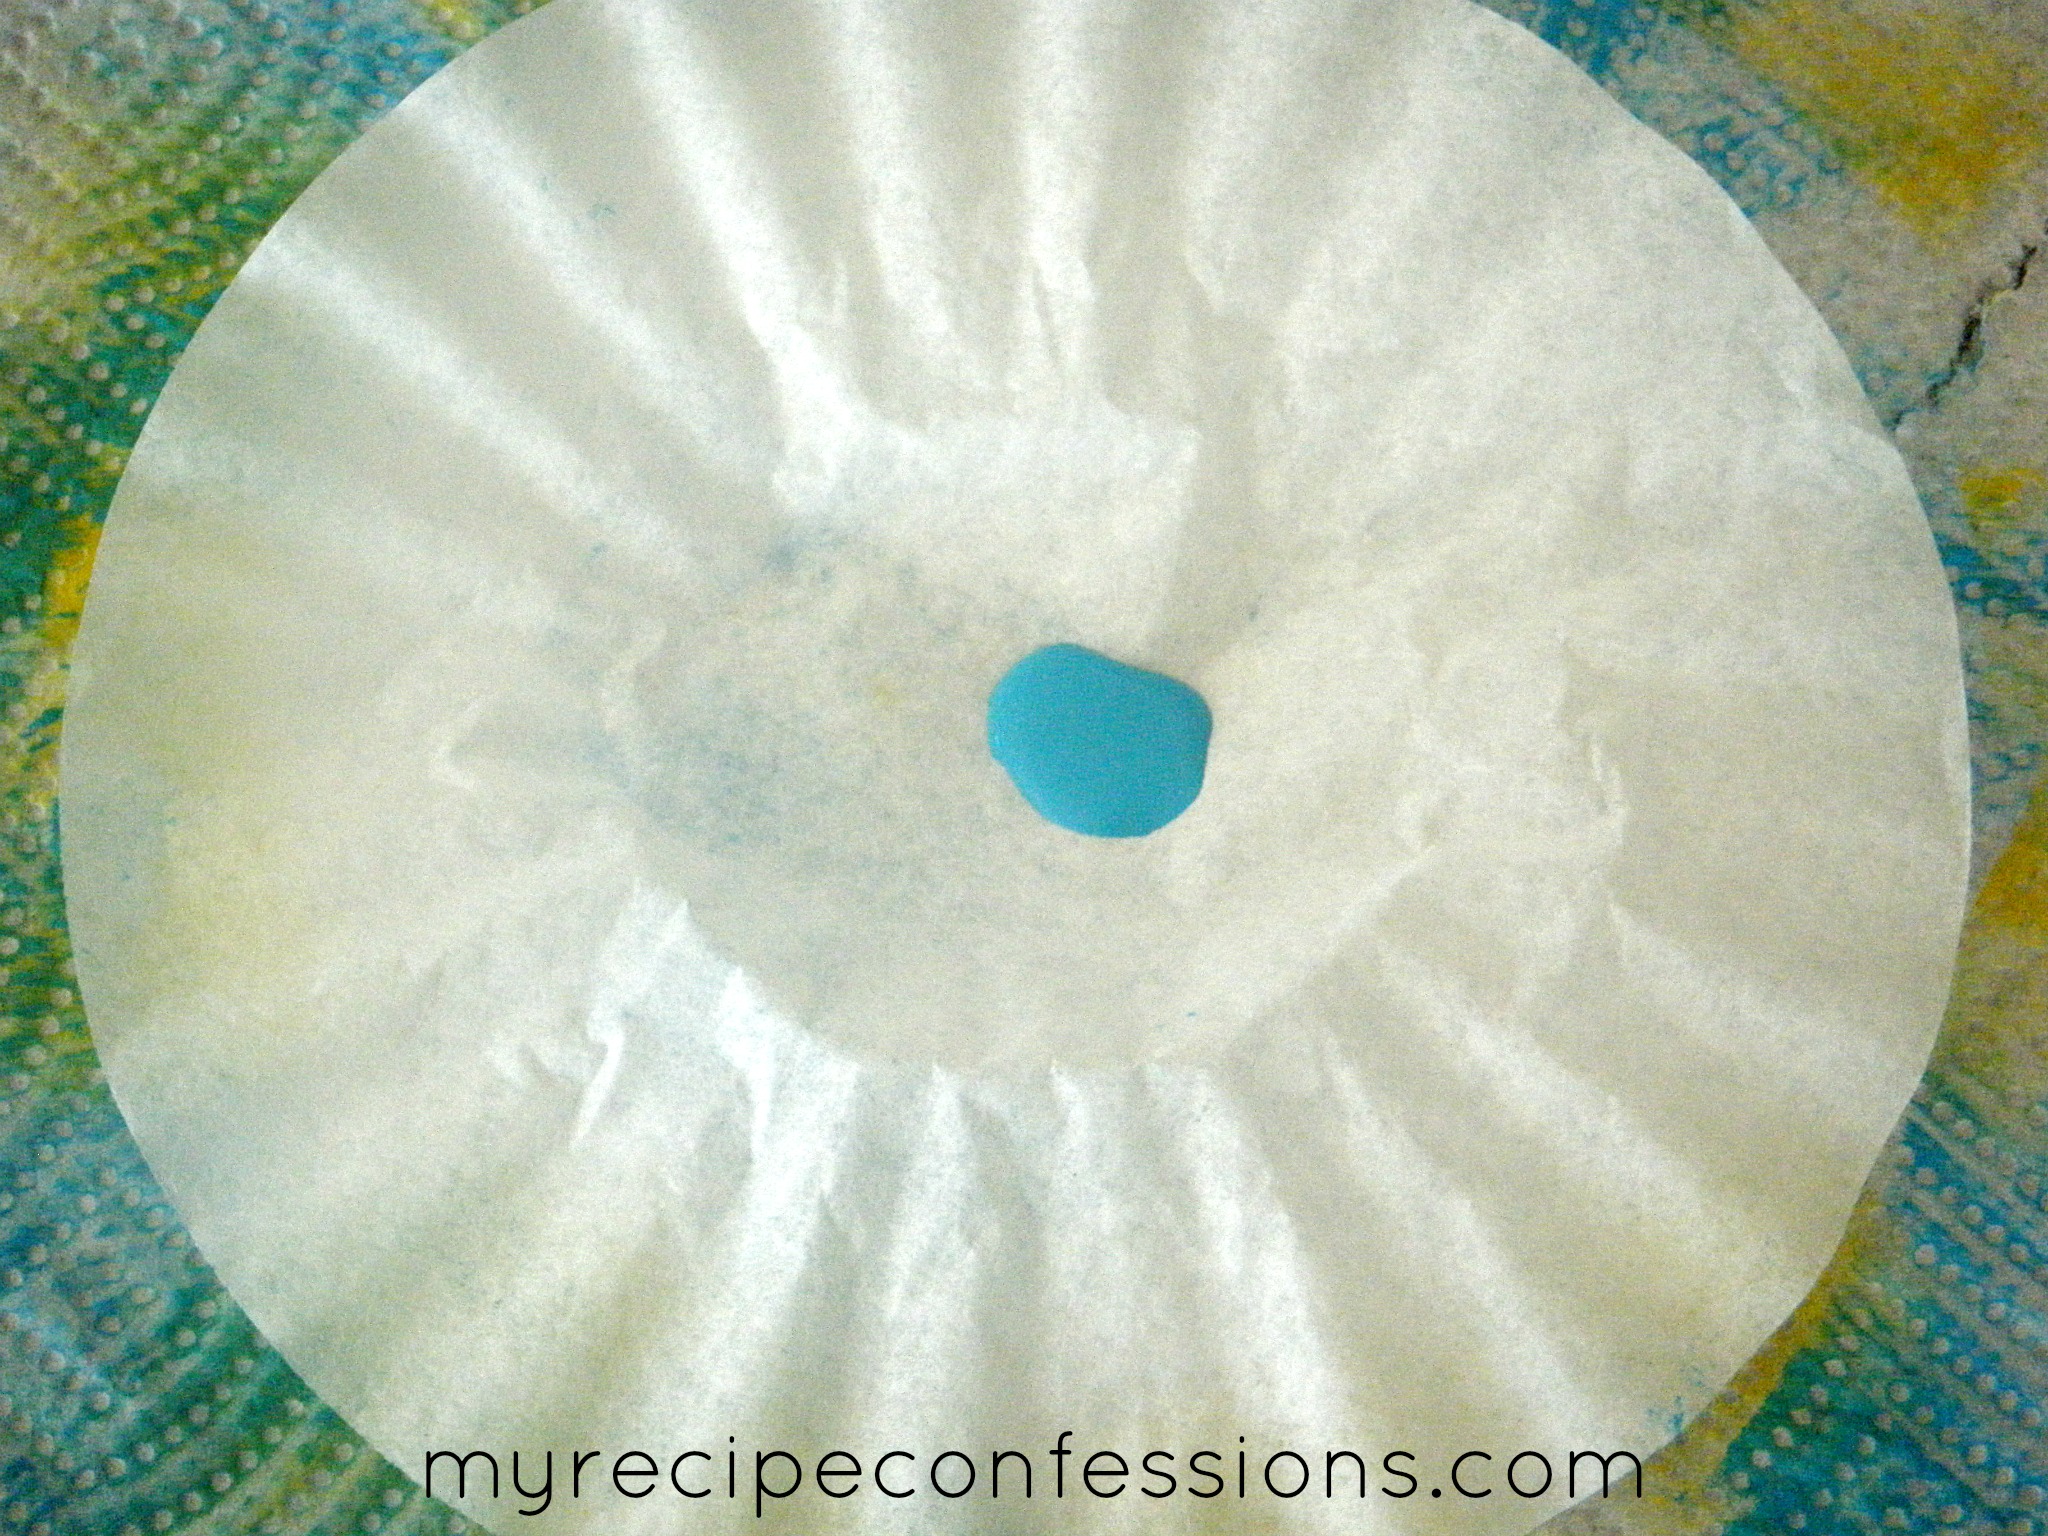
4. For the second layer, I layed the filter flat and I placed a dime size paint dallop in the center of the coffee filter. Using the foam brush, I brushed the paint out toward the edge of the filter. I didn’t paint the entire filter. I left some white streaks expecially towards the edges.
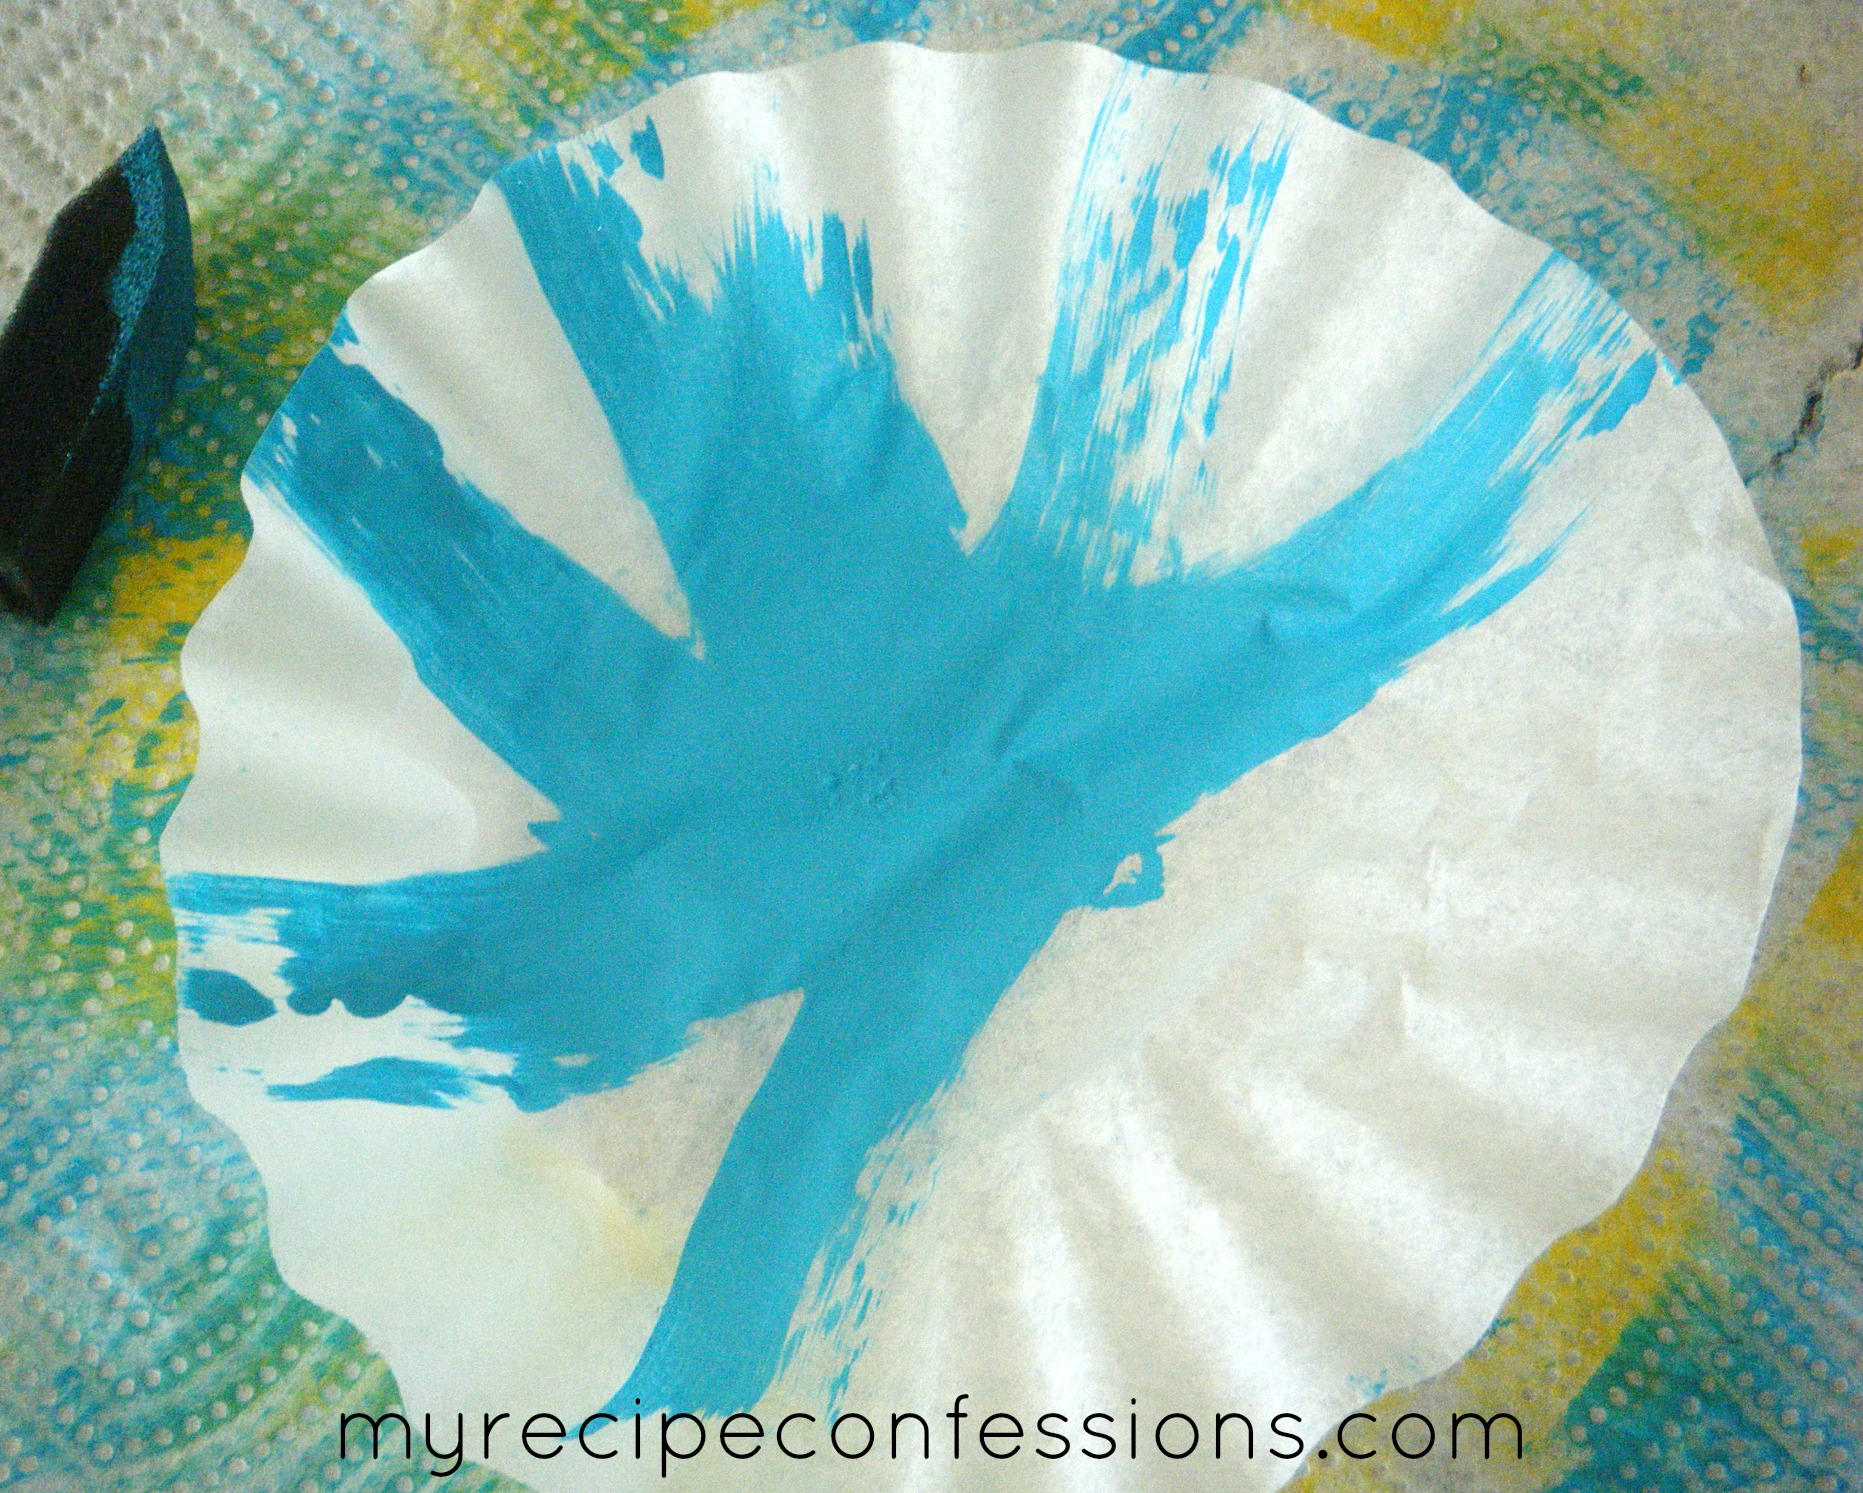
5. I repeated the same process with the third layer that I used for the second layer. I then let them dry completely.
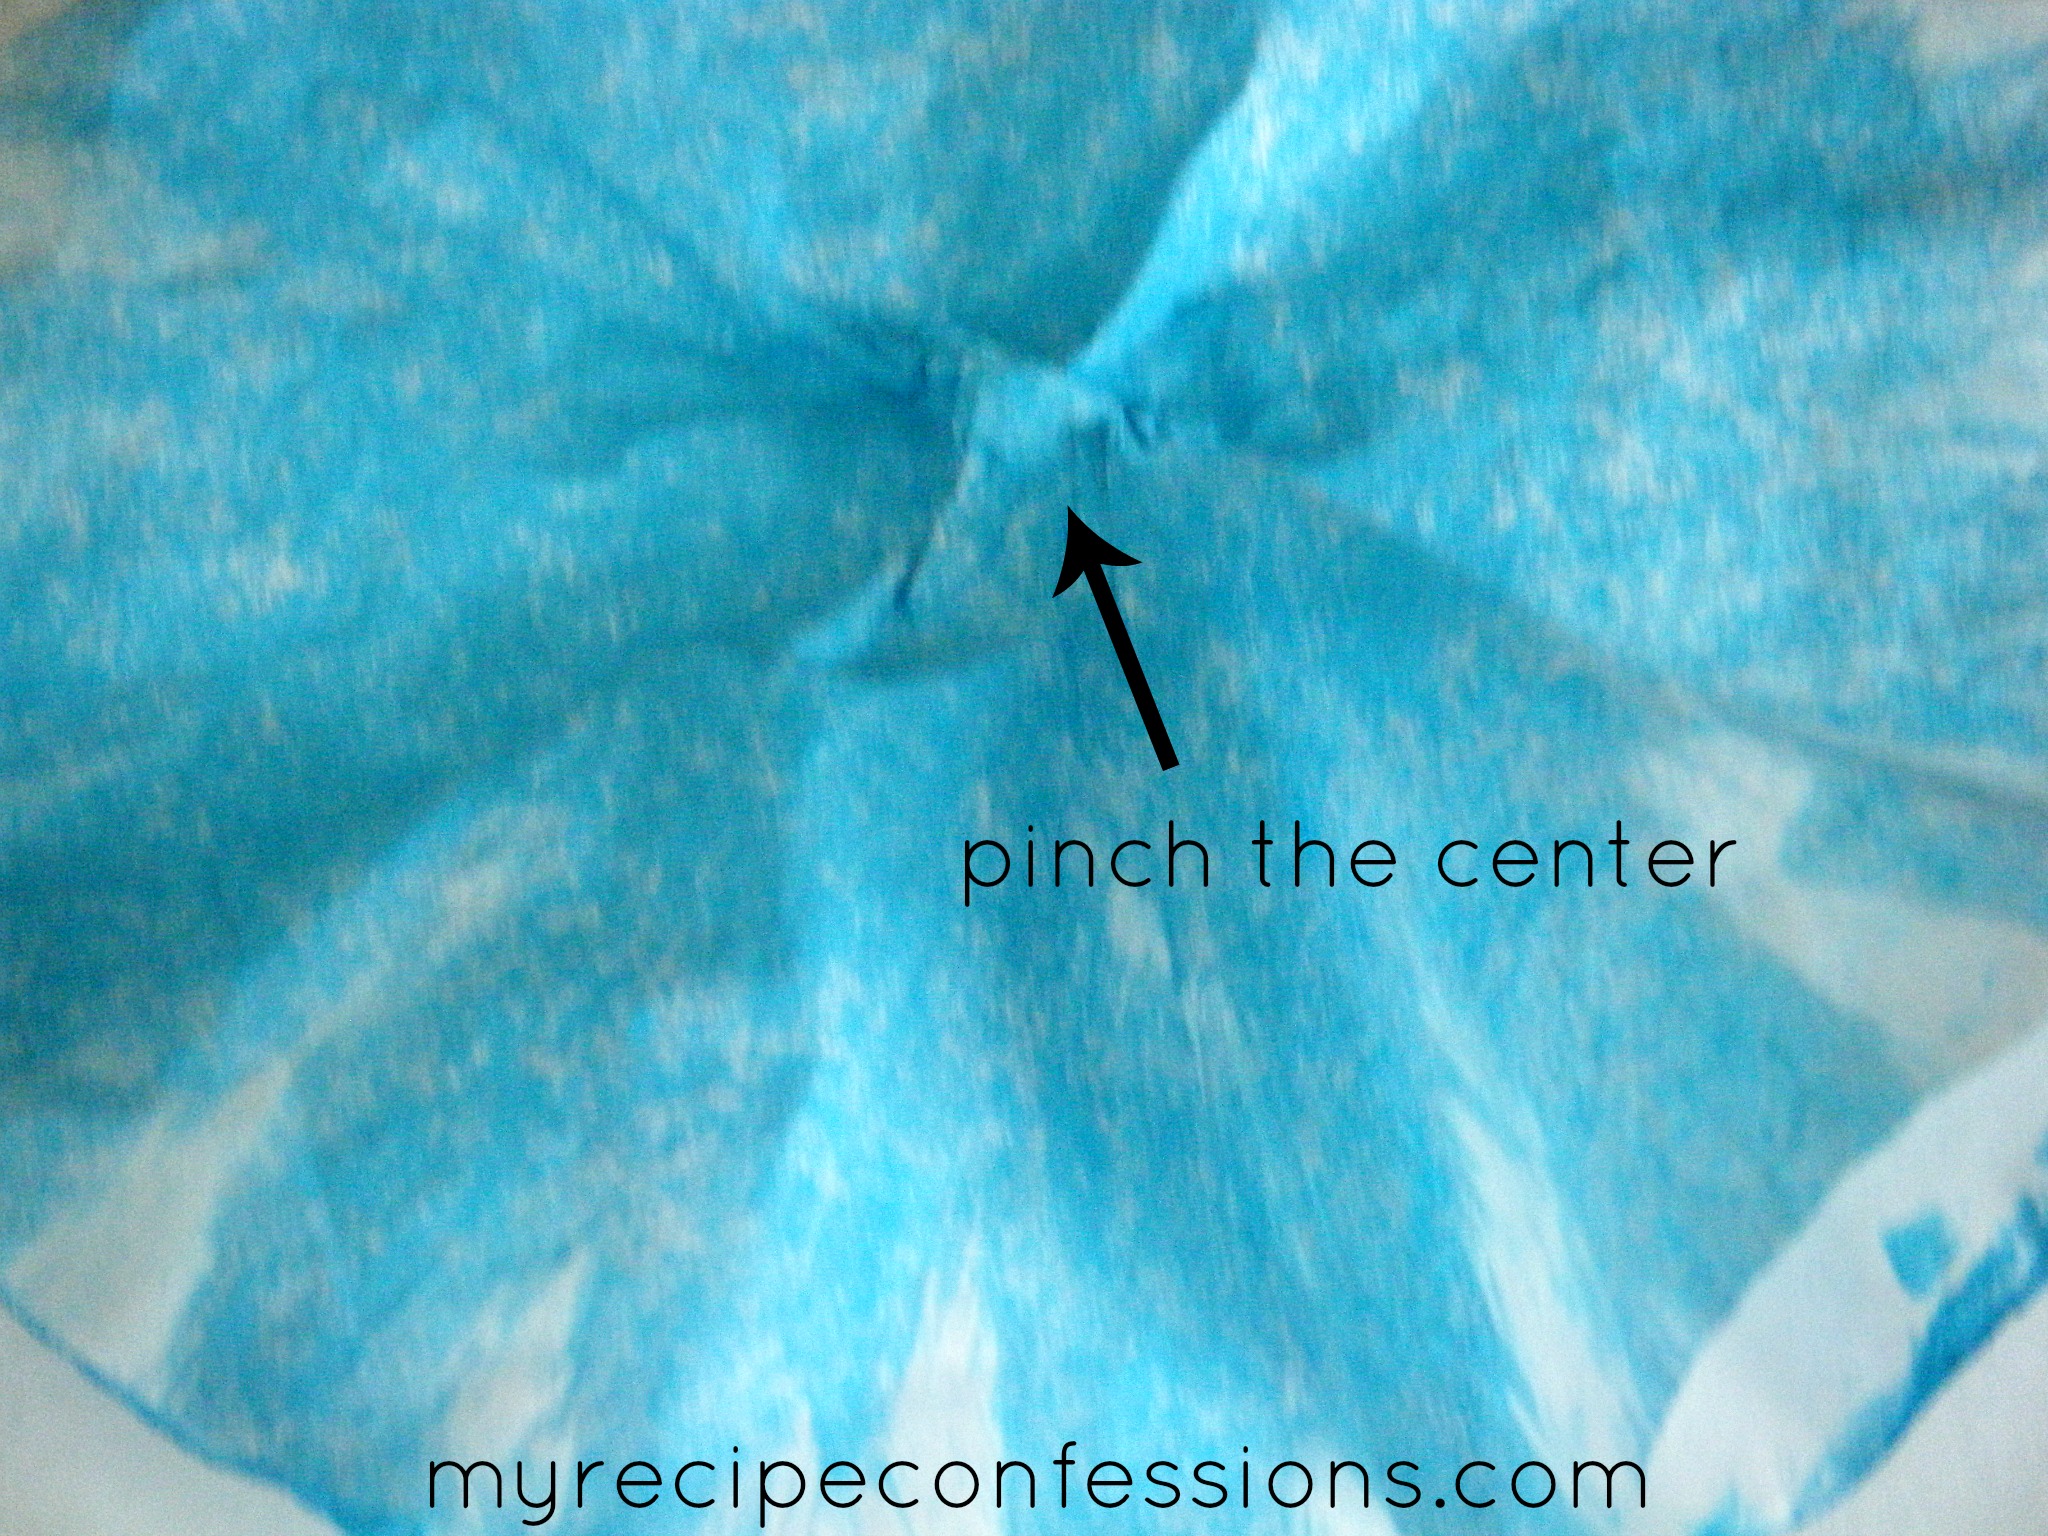
6. With a hot glue gun, I placed some glue in the center of the first filter (this will be the center of the flower) and then pinched the center in until it started to resemble a flower. For the second layer, I did the same thing as the first layer. Only this time after I placed the glue in the center, I placed it behind the first layer and pinched the two together. I repeated the same process with the third layer.

7. Next, I glued a large red button in the center of the flower.
8. For flower #2, I used the same technique as the first layer on flower #1 for all three layers. On the middle layer I did brush a few yellow streaks in the center. After all the layers were dried, I glued them together the same way I did on flower #1. Then I glued a large orange button in the center.
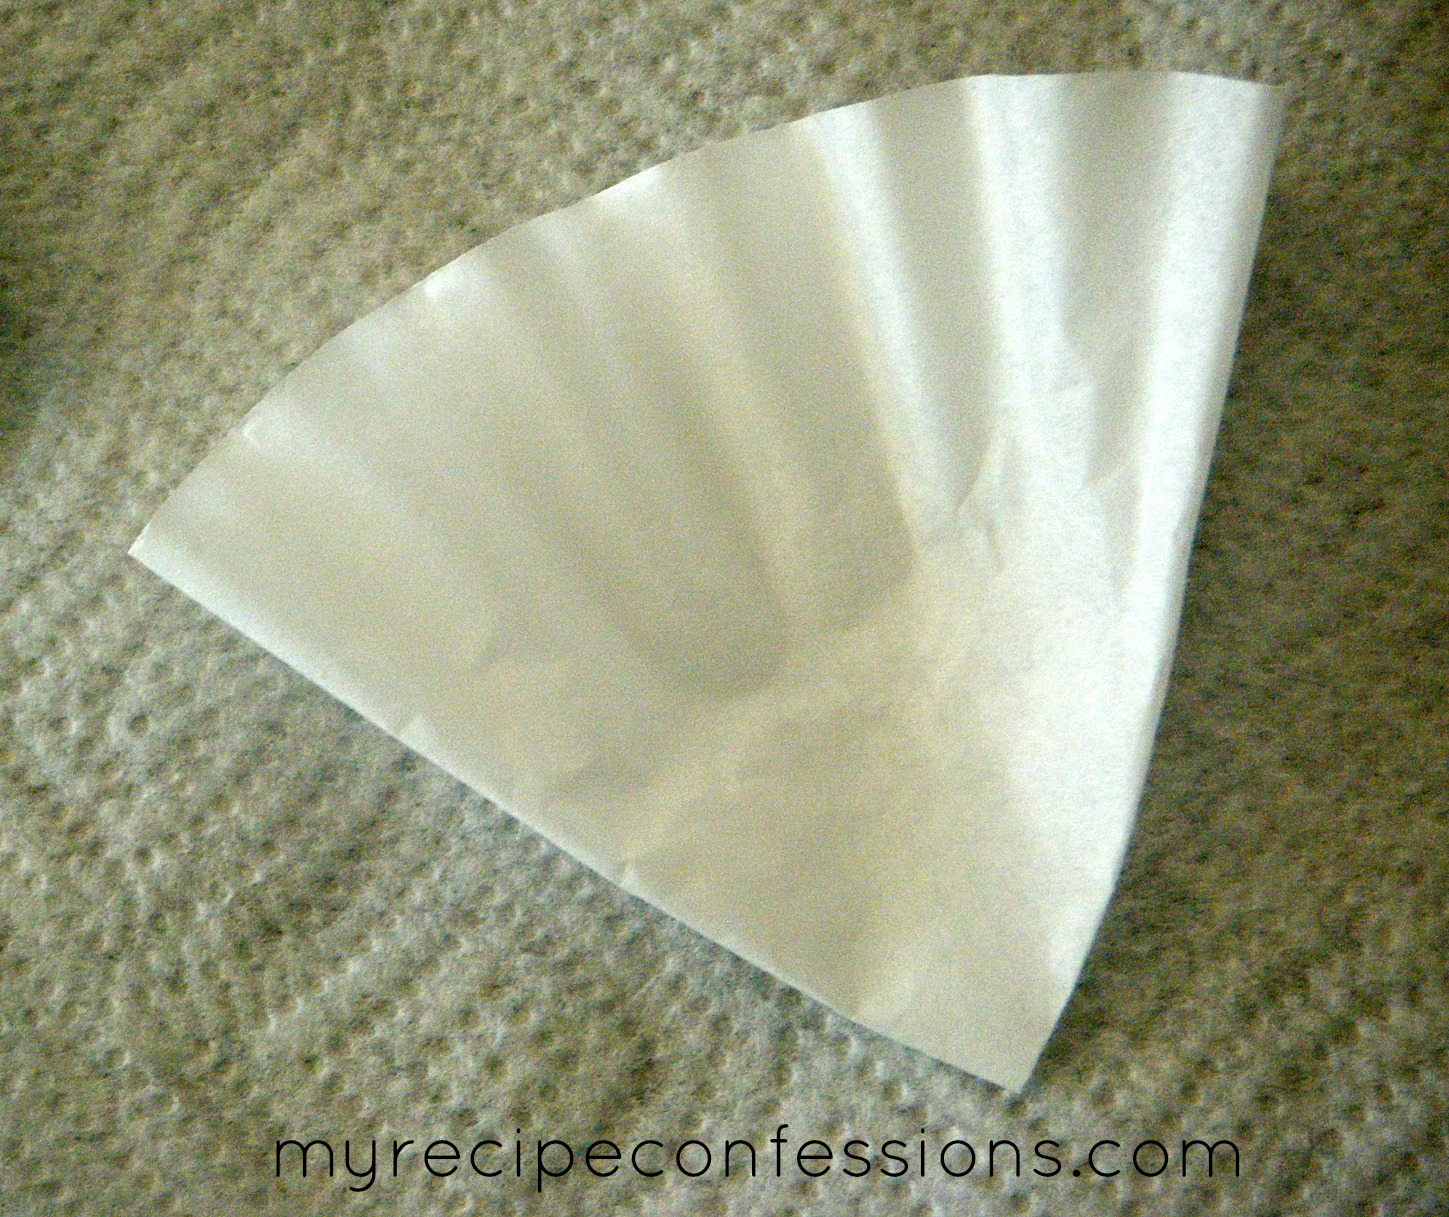
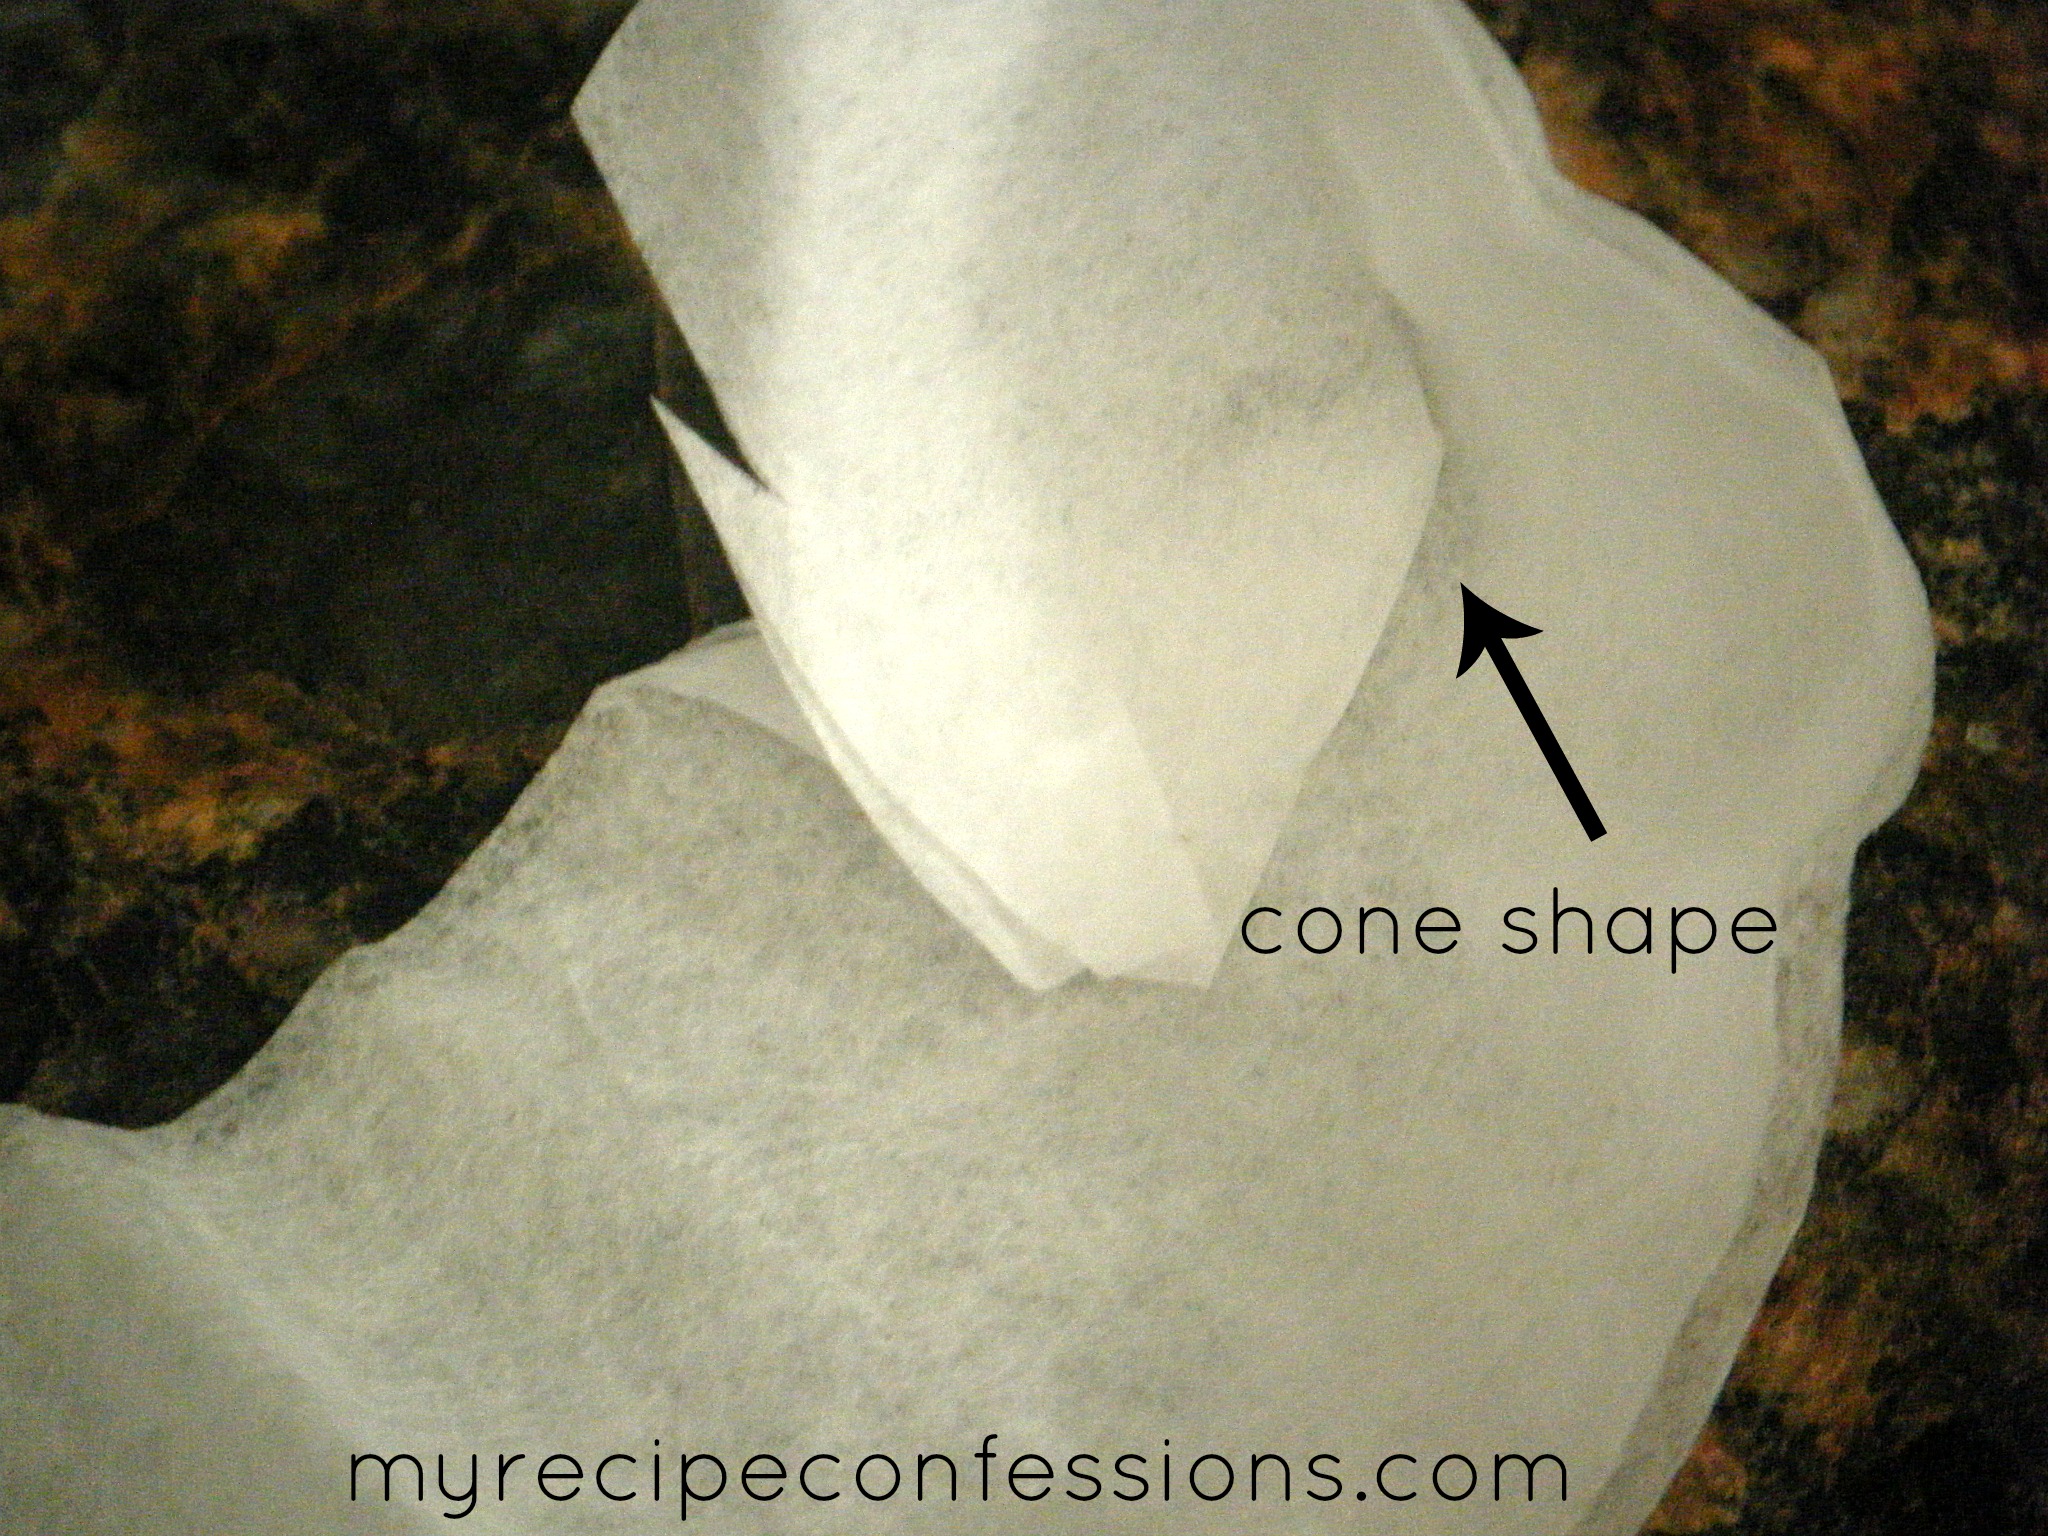
9. For flowers 3, 4, and 5, I folded the coffee filter in half a then cut 1/3 of the filter off. Then I cut 1 inch down from the top of the filter all the way across. I cut one corner of the 1 inch strip on an angle and folded it around to form a small cone and then I glued it in place.


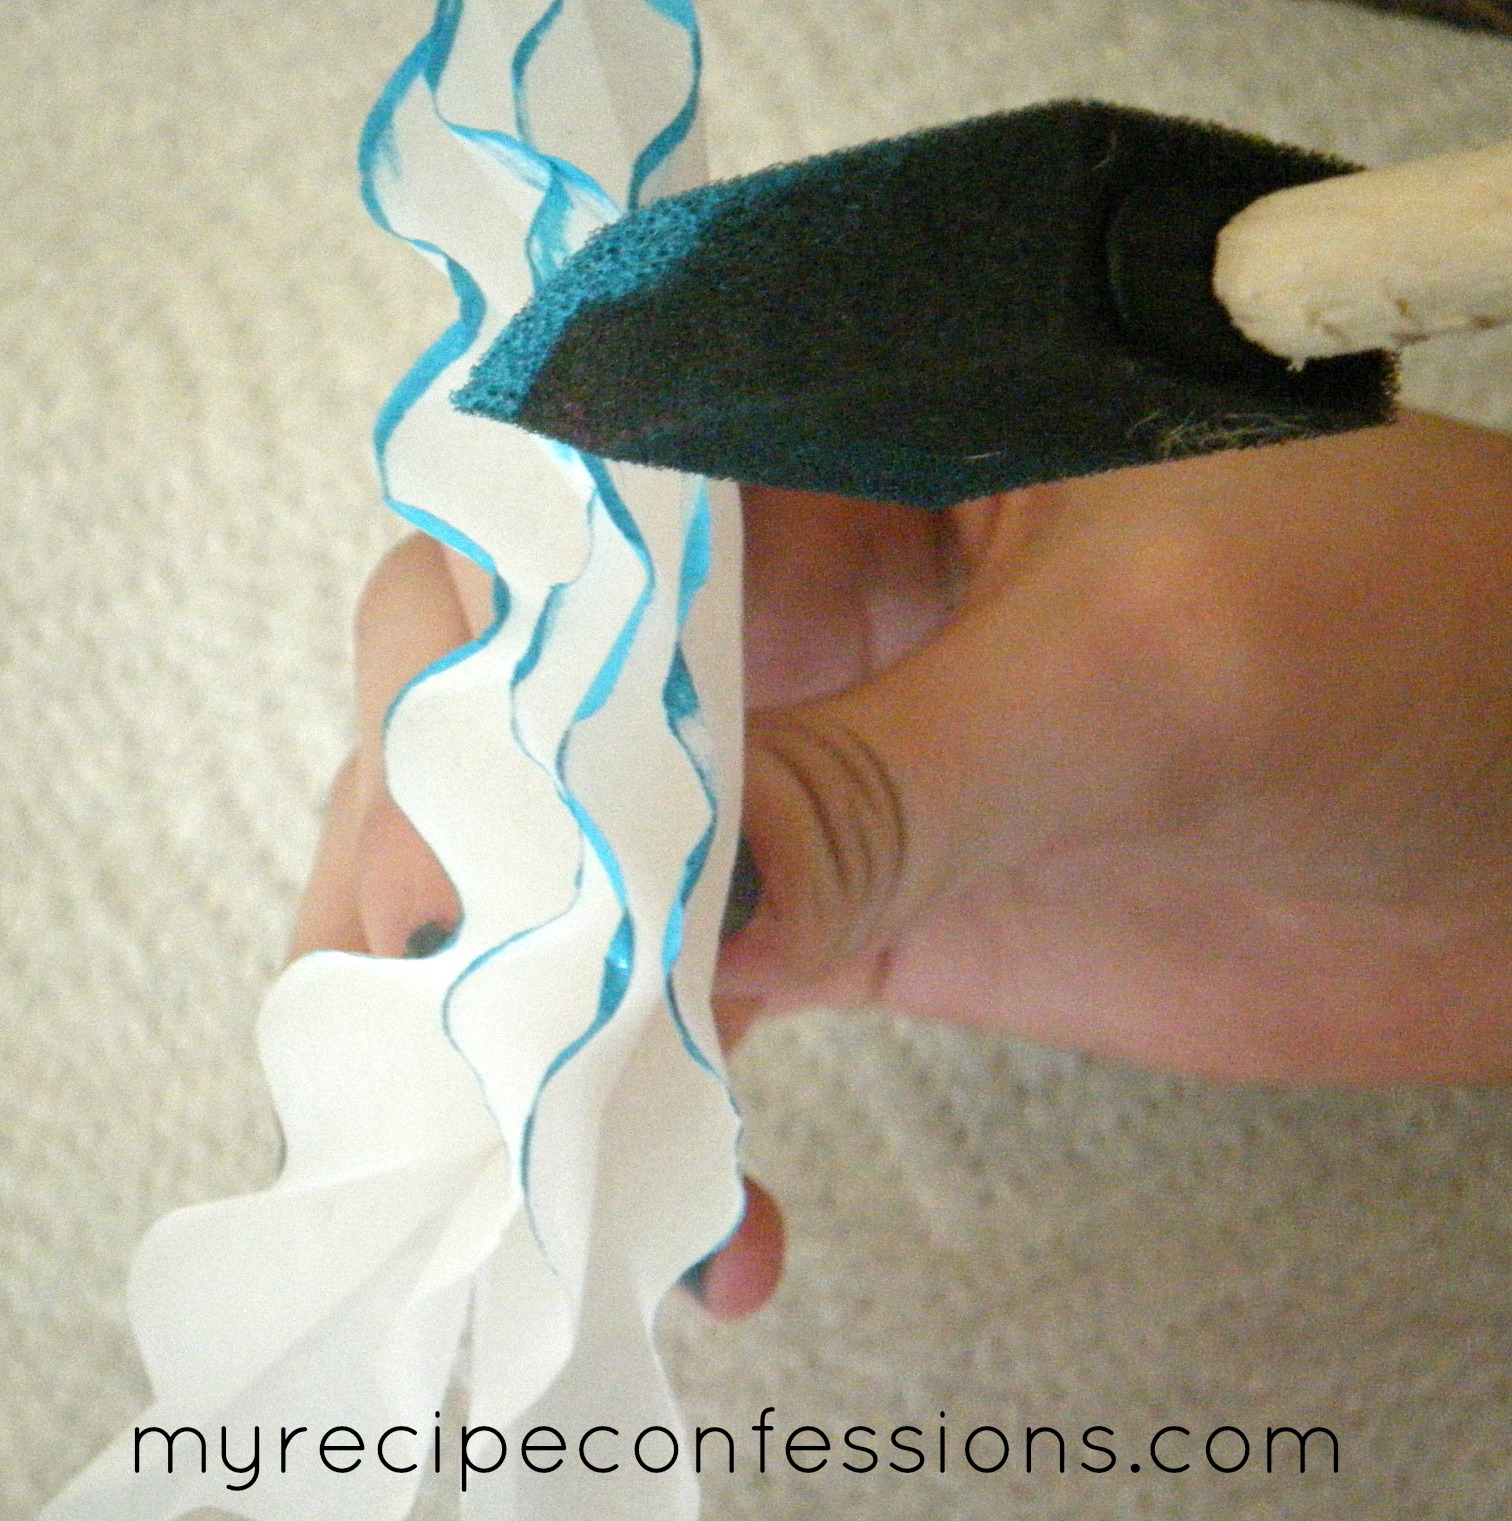
10. Placing a small dot on the outside of the cone I started wrapping the strip around the cone. With each new layer I placed another dot of glue to hold it in place.

11. After I had wrapped it all around, I cut the end of the strip on an angle so it wouldn’t stick out. Then I brushed yellow acrylic paint on the edges with the foam brush. Once it dried I placed a gold thumb tack in the center of the flower. I repeated this process two more times so I had three flowers total.

12. Once I had finished making all the flowers I glued the flowers in place on the wreath with the hot glue gun.
What do you think? I love how it turned out and I think it really pops against my red door.
Until next time,
Carrie


I love this wreath! I think I might actually attempt this one!
Jennifer,
Come over and I will help you with it. It is very simple!