My Recipe Confessions

where I confess all my recipe secrets

  • Home
  • About
  • Blog
  • News & Events
  • Recipe Index
    • Appetizer
    • Beverages
    • Bread
    • Breakfast
    • Crock Pot
    • Desserts
    • Entree
    • Homemade Candy
    • Side Dishes

DIY Wood Carrots

March 22, 2017 by myrecipeconfessions

DIY Wood Carrots are the perfect addition to my Easter Decor. You will be shocked when you see how easy they are to make. Just think how cute these DIY Wood Carrots would be along with all your other Easter and Spring Decor.

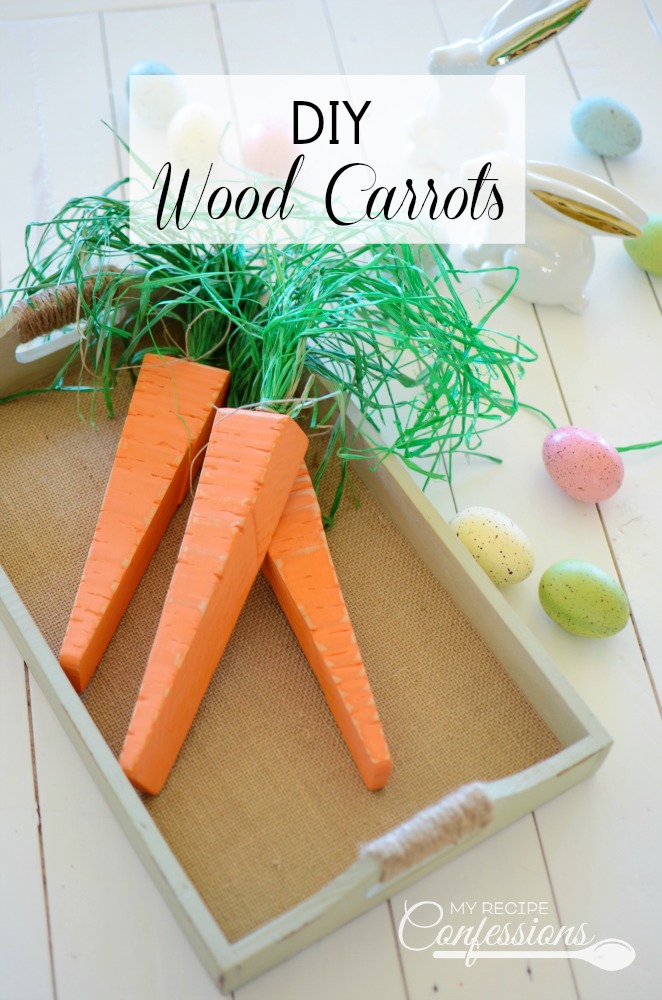
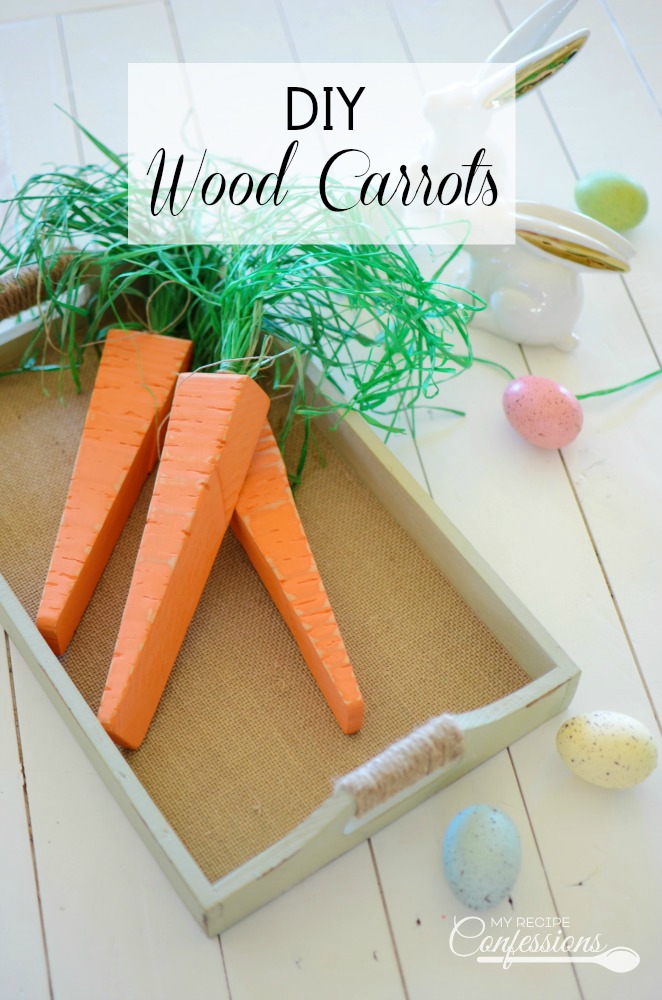
These DIY Wood Carrots are the perfect addition to my Easter decor. You are going to be blown away when you see how easy they are to make. I have a very basic knowledge of woodworking. So if I can do it, anybody can! Just think about how cute these DIY Wood Carrots would look in your home along with all of your other Easter/Spring decorations.

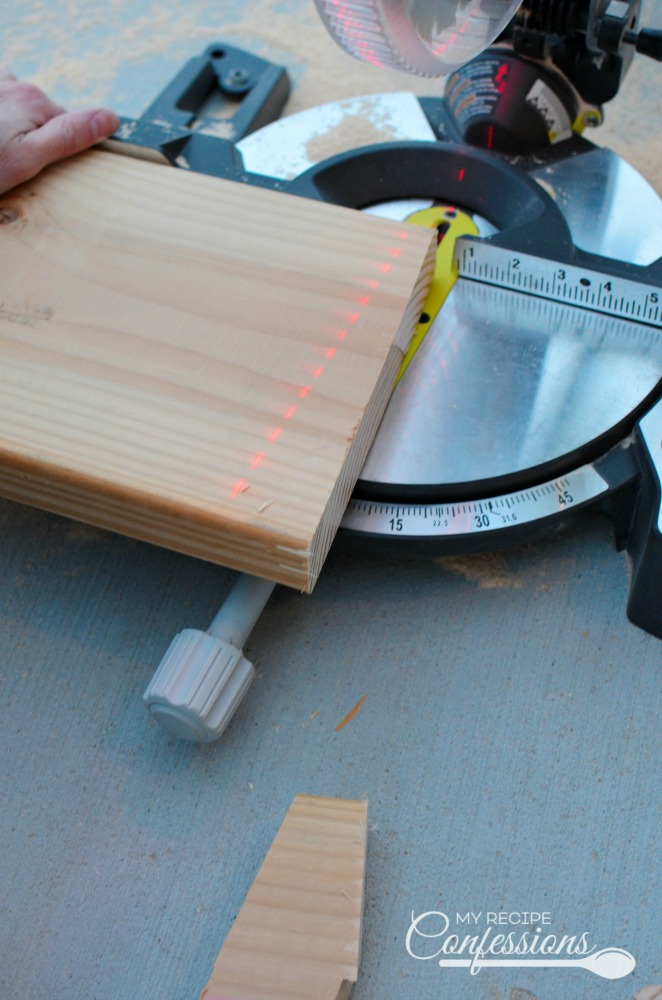
I cut the wood with my Ryobi Miter Saw. My husband bought me the saw a few years ago for Christmas. I love it and it’s so much fun to use!

If you don’t have a miter saw, you can use a jig saw. Use the carrot template to draw an outline of the carrot on the wood. Make sure to clamp the wood down securely when cutting the carrots out with the jig saw.

You can get the DIY Wood Carrot Template here.

DIY Wood Carrots are the perfect addition to my Easter Decor. You will be shocked when you see how easy they are to make. Just think how cute these DIY Wood Carrots would be along with all your other Easter and Spring Decor.

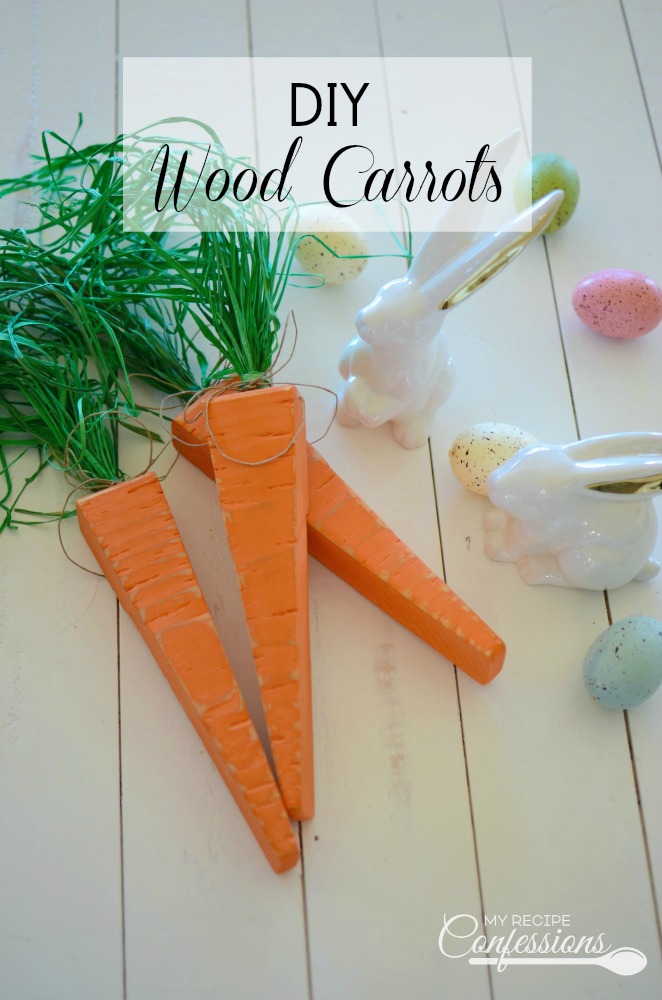
I used a 3/4 inch chisel to make little notches in the sides of the carrots. You have to be really careful when using the chisel. Always keep your hands out of the way and make sure to point the chisel away from you.

I used a palm sander with 250 grit sandpaper to sand them. If you don’t have a palm sander or an electric sander, don’t worry, you can sand the carrots by hand.

DIY Wood Carrots are the perfect addition to my Easter Decor. You will be shocked when you see how easy they are to make. Just think how cute these DIY Wood Carrots would be along with all your other Easter and Spring Decor.

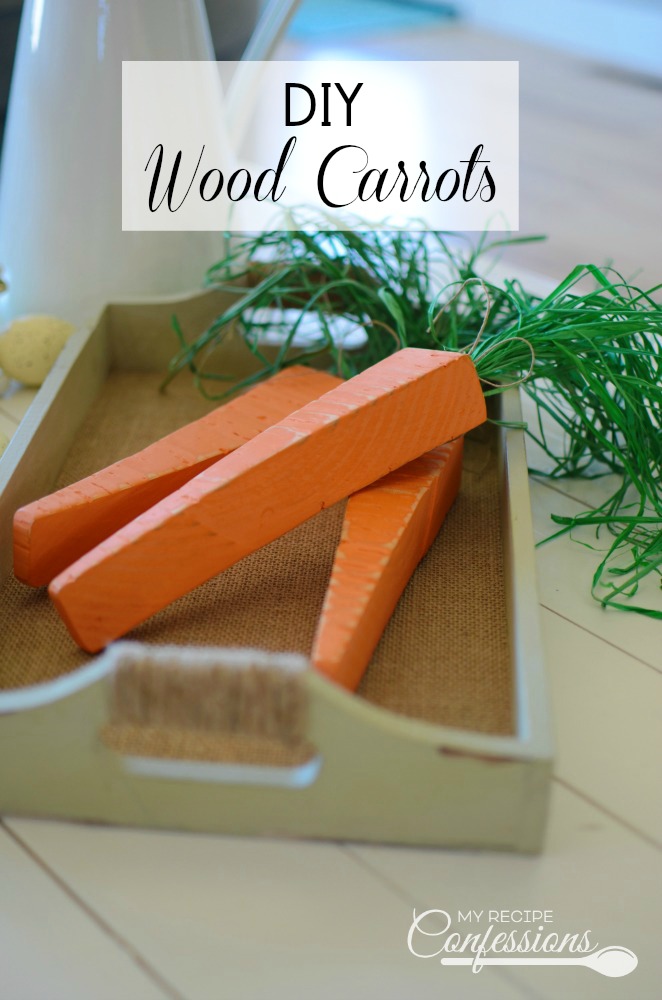
Of course when I was ready to paint the carrots, I realized that I didn’t have the right color of paint. I didn’t want to run to the store so I mixed 2 parts Spiced Carrot Paint with 1 part white paint. I love the soft orange color. I think it gives the carrots a vintage look.

I found the green raffia at the Dollar Tree store. If you can’t find green raffia at any of the stores around you, I think regular natural colored raffia would look cute too.

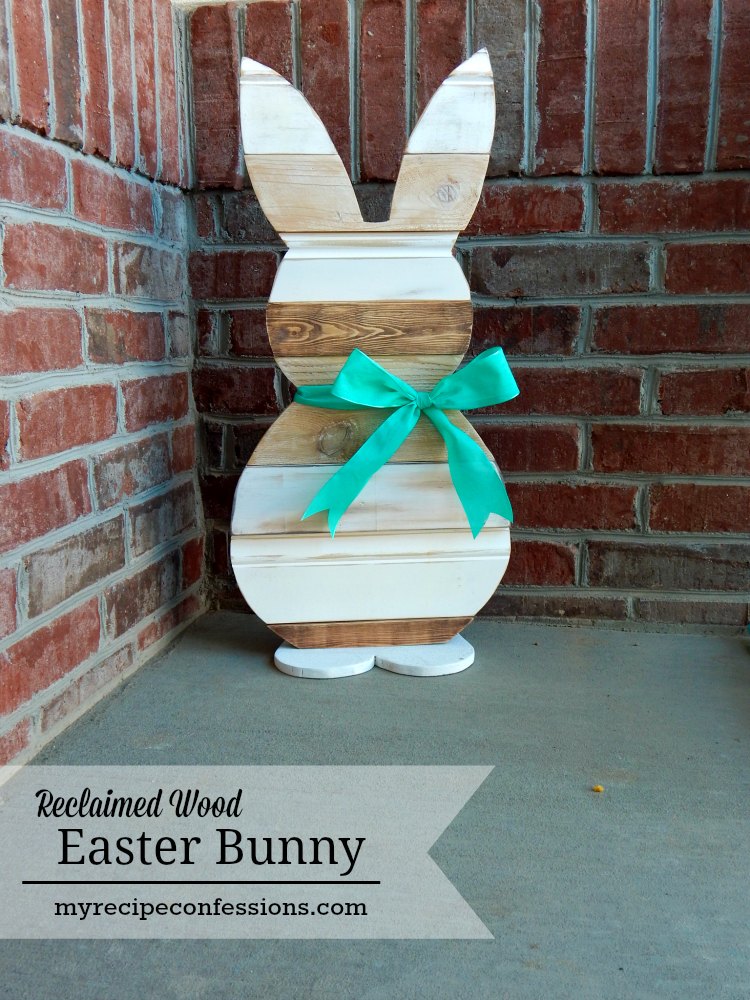
These DIY Wood Carrots would look so cute next to the Reclaimed Easter Eggs and the

Reclaimed Wood Easter Bunny.

Reclaimed Wood Easter Eggs. This is the ultimate Easter home décor tutorial. I love diy crafts and these Easter eggs are so fun and cheap to make! I love the vintage look that the reclaimed wood gives this project. They fit in perfectly with my other vintage décor.

Reclaimed Wood Easter Bunny. This was a fun diy Easter project! The reclaimed wood gives the bunny a beautiful vintage look. If you like diy crafts, you have got to check out this step by step tutorial. All you neighbors are going to be jealous of your Easter bunny!

I can’t wait for you to make them!

With love,

Carrie

DIY Wood Carrots are the perfect addition to my Easter Decor. You will be shocked when you see how easy they are to make. Just think how cute these DIY Wood Carrots would be along with all your other Easter and Spring Decor.

Wood Carrots

supplies

miter saw or jig saw

250 grit sand paper

3/4″ wood chisel

drill with 7/16 drill bit

wood ( I used a 1 1/2″x 9″x 6′ board)

carrot template

Instructions

  1. My miter saw has a laser guide. I cut the carrots on a 5-degree angle for both sides. You can eyeball them and cut them to the size you like. My carrots are about 2 3/4 inches wide on top. If you don’t have a laser guide on your saw, you can use the carrot template. Trace the wooden carrot template onto the board. Then use the miter saw or jig saw to cut the carrot out. Remember to follow the safety and use instructions for your saw. Always cut the carrot off of the longer board so that you are not having to cut a piece of wood that is already small (it is not as safe).DIY Wood Carrots are the perfect addition to my Easter Decor. You will be shocked when you see how easy they are to make. Just think how cute these DIY Wood Carrots would be along with all your other Easter and Spring Decor.
  2. Using the wood chisel, cut notches into the carrot on both sides and front and back.DIY Wood Carrots are the perfect addition to my Easter Decor. You will be shocked when you see how easy they are to make. Just think how cute these DIY Wood Carrots would be along with all your other Easter and Spring Decor.
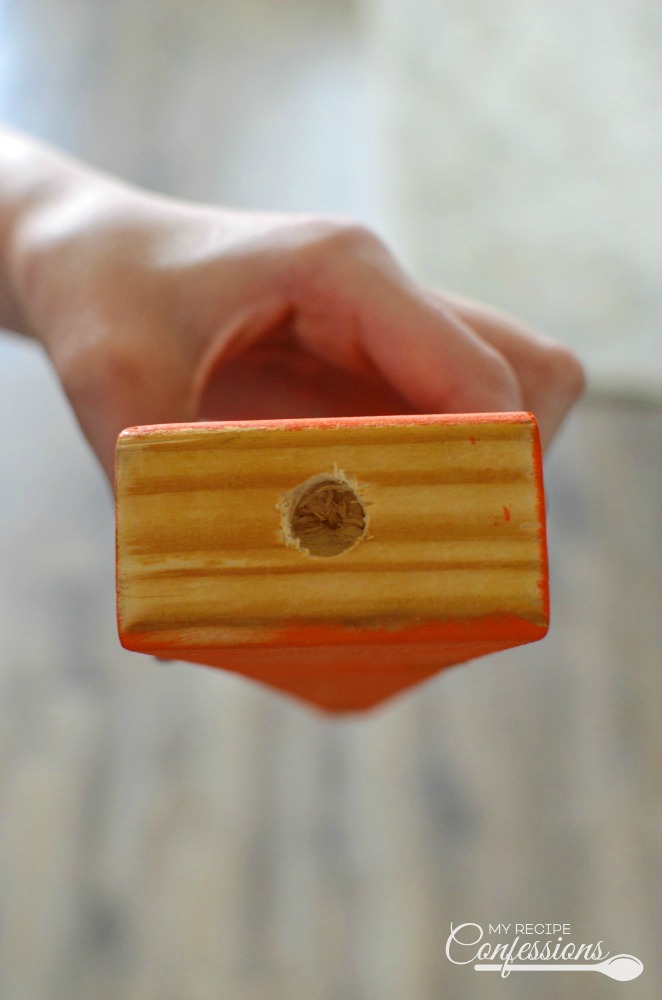
  3. Drill a hole about 1/2 inch to 3/4 inch deep in the center top of the carrot.DIY Wood Carrots are the perfect addition to my Easter Decor. You will be shocked when you see how easy they are to make. Just think how cute these DIY Wood Carrots would be along with all your other Easter and Spring Decor.
  4. Sand all the rough edges and notches on the carrot. Paint the carrot with the orange paint. Once it’s dried completely, lightly sand the carrot to give it a distressed lookDIY Wood Carrots are the perfect addition to my Easter Decor. You will be shocked when you see how easy they are to make. Just think how cute these DIY Wood Carrots would be along with all your other Easter and Spring Decor.
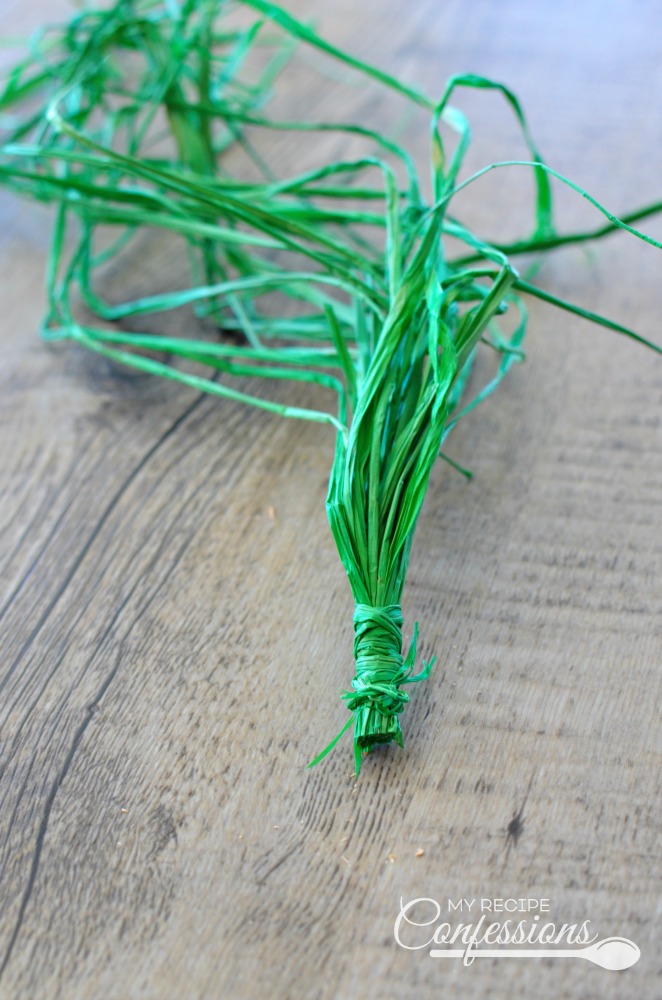
  5. Cut a bundle (I did about 36-37 strands) of raffia about 16 to 18 inches long. Wrap a strand of raffia around the bundle. Trim the bottom of the raffia bundle so it’s all even.DIY Wood Carrots are the perfect addition to my Easter Decor. You will be shocked when you see how easy they are to make. Just think how cute these DIY Wood Carrots would be along with all your other Easter and Spring Decor.
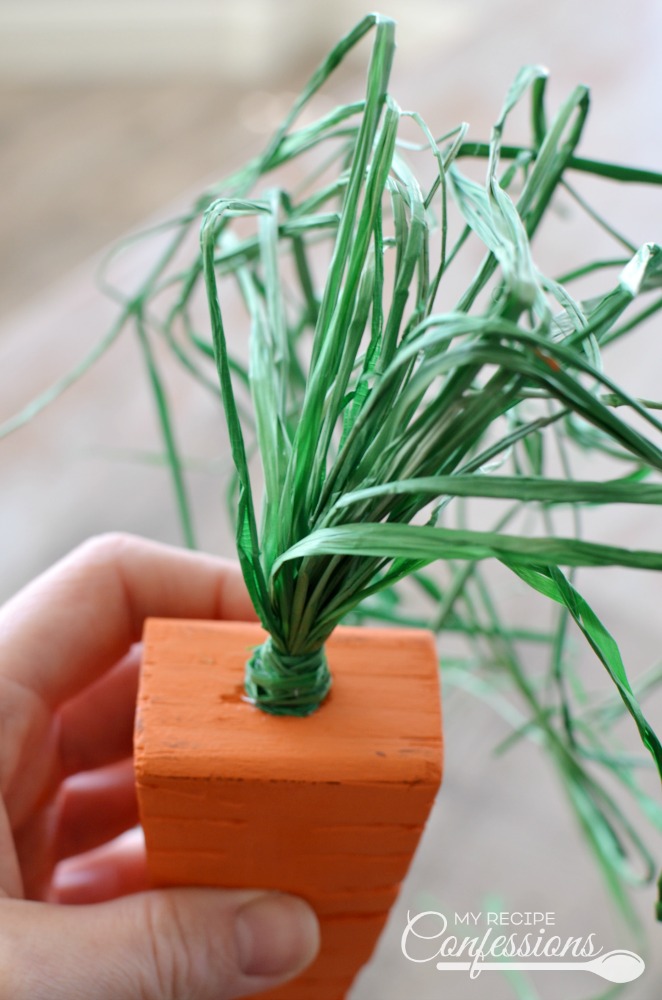
  6. Squeeze some hot glue into the hole on the top of the carrot. Place the raffia into the hole. I wrapped another strand of raffia around the base where the raffia and carrot meet. With a small dot of glue, secure the raffia strand down. I prefer to secure it in the back of the carrot so that it can’t be easily seen.
Print Friendly, PDF & Email

Share this:

  • Click to share on Pinterest (Opens in new window) Pinterest
  • Click to share on X (Opens in new window) X
  • Click to email a link to a friend (Opens in new window) Email
  • Click to share on Facebook (Opens in new window) Facebook
« Oatmeal Raisin Cookies
Cupcake Graduation Caps »
  • Facebook
  • Instagram
  • Pinterest

Subscribe to Blog via Email

Enter your email address to subscribe to this blog and receive notifications of new posts by email.

Top Posts

Italian Lemon Pound Cake
Cupcake Graduation Caps
Ultimate Homemade Chocolate Cake
French Silk Angel Food Cake
French Silk Pie
Argentine Spinach Empanadas
Argentine Empanadas
Lemon Curd Thumbprint Cookies
Quick and Easy Homemade French Bread
Chicken with Alfredo Marinara Sauce

Copyright © 2025 · Tasteful theme by Restored 316 | Privacy Policy | Terms

Copyright © 2025 · Tasteful Theme on Genesis Framework · WordPress · Log in