I have been experimenting for years with different pie crust recipes. It feels like I have tried every technique and tip out there. Pie crust can be very intimidating. If you understand the reason behind the techniques, it is easier to play around with it. There are two keys things that you need to know when you are making pie. Without doing these two things you, will not be able to have a flaky pie crust.
1. Your fat (butter, shortening, lard) needs to be cold. The reasoning behind this is that when you place your pie in the oven. Once the fat starts to melt, it will cause steam that will form little pockets. When it cools, the little pockets are what makes the flaky texture.
2. You do not want to over mix the dough for two reasons. First, the more you work the dough, the more you will develop the gluten and then the fat will start to melt and your dough will be tough. Remember, you want to be able to see the fat marbling in your crust. If you can see it, that means you will have a flaky crust. If you over mix it until the butter is no longer visible your dough will be tough.
That being said, there are two types of pie dough; mealy and flaky. Mealy dough is not as flaky and is used wherever soggy crust is a problem. It is sturdier and is able to resist sogginess better than a flaky dough.
Flaky crust is best for the top crust of a pie or prebaked crusts that will be filled with a cooled filling just before it is served.
When preparing a flaky crust, the fat is idealy the size of a pea. When preparing a mealy crust, you want the mixture to resemble a course cornmeal. Because the fat pockets will be smaller, the crust will not be as flaky.
As I was experimenting with pie recipes, I found that when I used all butter in the recipe the flavor was very rich and overpowered the rest of the pie. When I used all shortening, the pie crust was lacking in flavor and was more crumbly then flaky. Once I tried the combination of both, I was overjoyed with the results. The subtle flavor of the crust compliments the pie filling without being too over powering. It is flaky, but not too dry. The egg helps make the dough more pliable and helps bind it together. The vinegar helps tenderize the crust. Don’t worry, you can’t taste the vinegar in the final product. You can make the crust a few days ahead of time and freeze it until you are ready to use it. Just follow steps one through four and then place the dough in a large ziplock freezer bag and freeze it. When you are ready to use it, pull the frozen crust out of the freezer and bake as directed.Tthere is no need to thaw it out. The crust can be left in the freezer for up to two months.
Now that you are ready to make your Perfect Flaky Pie Crust, remember to KEEP IT COLD! I can’t stress that enough. When you are rolling it out, if it starts to stick, put it back in the fridge to chill. This might seem like a lot of work, but trust me it is so worth it in the end! You can do this. Just turn on some good music and go to work.
Perfect Flaky Pie Crust
3 cups all-purpose flour
1 1/2 tsp. salt
3 tbsp. granulated sugar
1/2 cup unsalted butter, chilled
1/2 cup butter flavored shortening
1 egg
1 tsp. apple cider vinegar
5 tbsp. ice water
1. Place butter and shortening in freezer for 15 minutes. In a food processor mix the flour, salt and sugar.
2. In a small bowl mix the egg, vinegar, and 4 tbsp. of ice water. Cut chilled butter and shortening into 1 inch cubes.
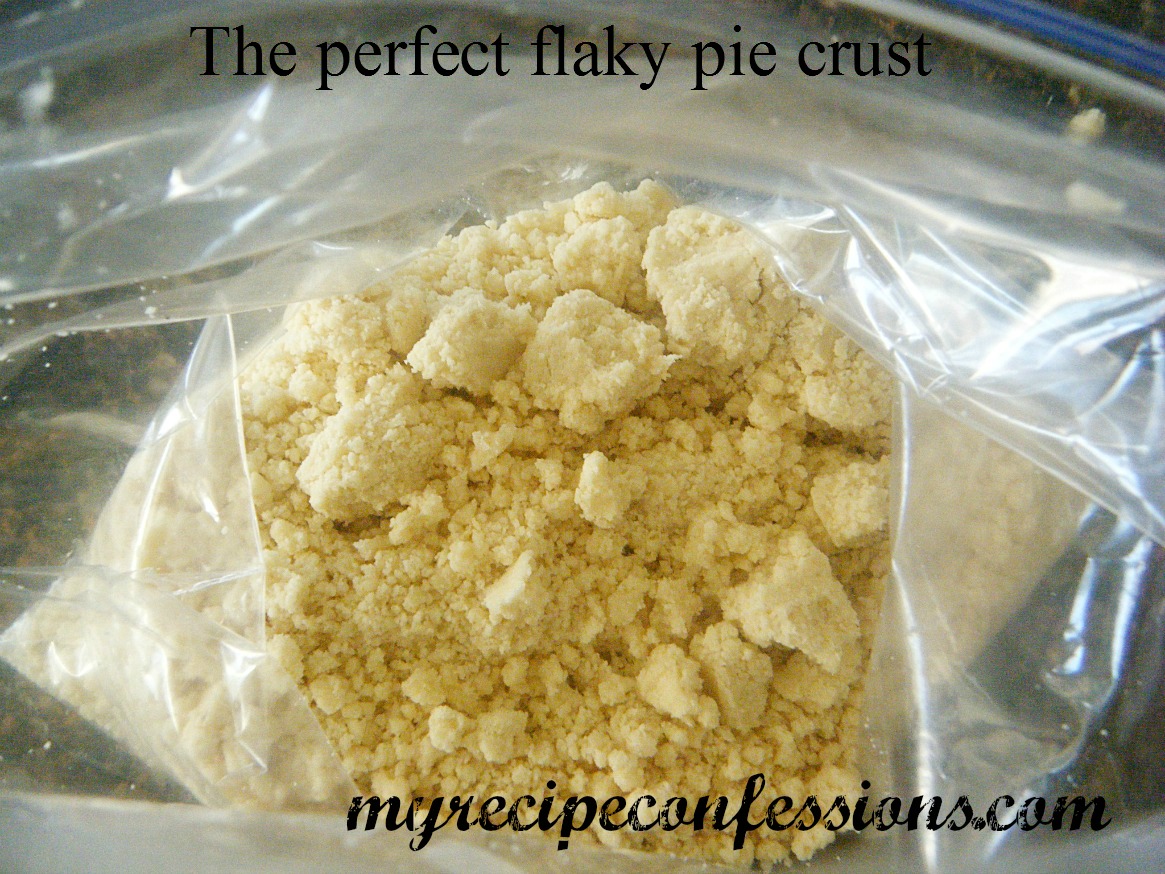
3. Add the butter and shortening to the flour mixture. Pulse 6 to 8 times in 1 second intervals until the fat is the size of a peanut (pea size for mealy crust).
4. Add the liquid to the flour mixture and pulse the machine ( 1 second intervals) until the dough starts to come together and the fat is the size of a pea (for mealy crust you want the dough to resemble course cornmeal).
5. Place the dough into a large ziplock bag and form the dough into a ball and then flatten into a round disc. If the dough is still dry and crumbly, add the remaining tbsp. of ice water to the dough and gently mix until it forms a ball.
6. Allow the dough to rest in the refrigerator for 30 minutes.
7. Place a 9 inch metal pie tin in the freezer. Preheat oven to 400 degrees farenheit.
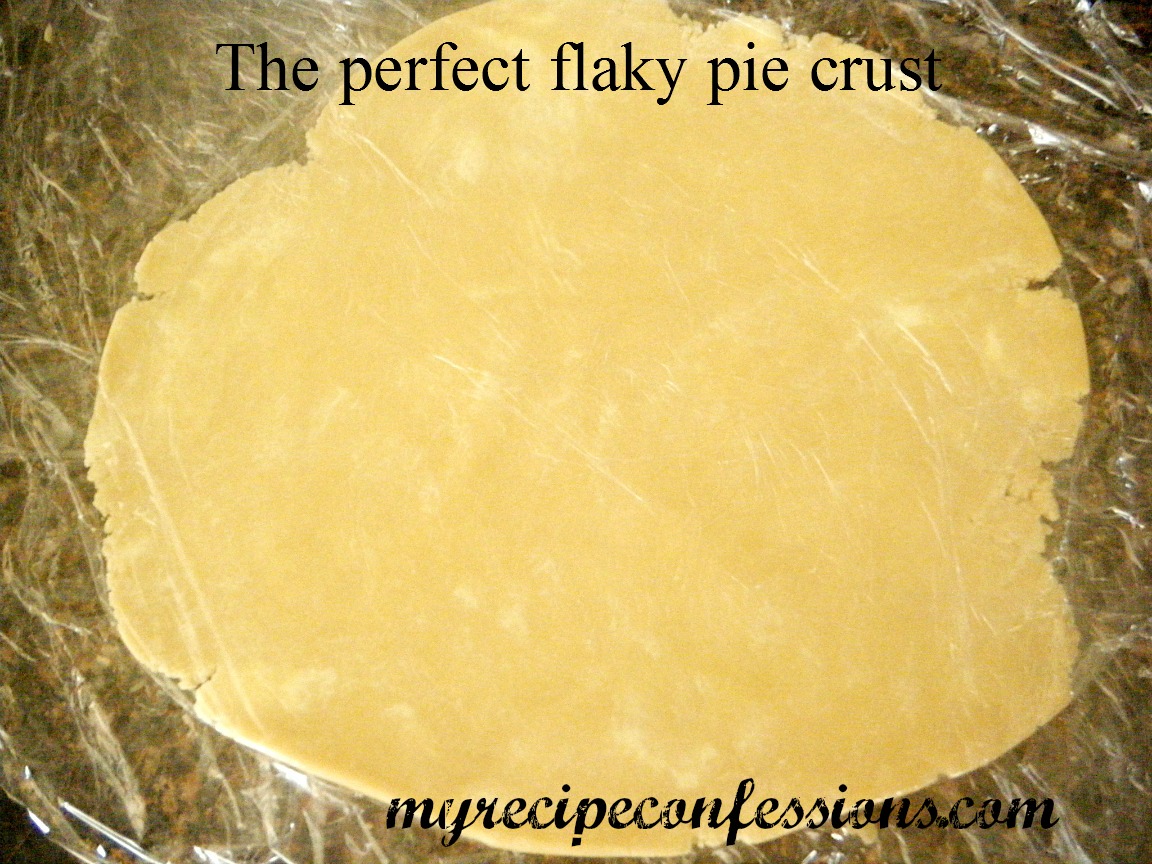
8. Divide the dough in half. Put one half back into the fridge and place the other half in between two pieces of plastic wrap. Roll the dough out into a circle, rolling from the center to the edge. Turning and rolling to form an even circle about 1/8 of an inch thick and 11 inches in diameter.
3. Peel the top layer of the plastic wrap off of the dough. Remove the pie pan from the freezer and place it upside down in the center of the dough. Holding onto the bottom of the pie pan and dough, flip it over.
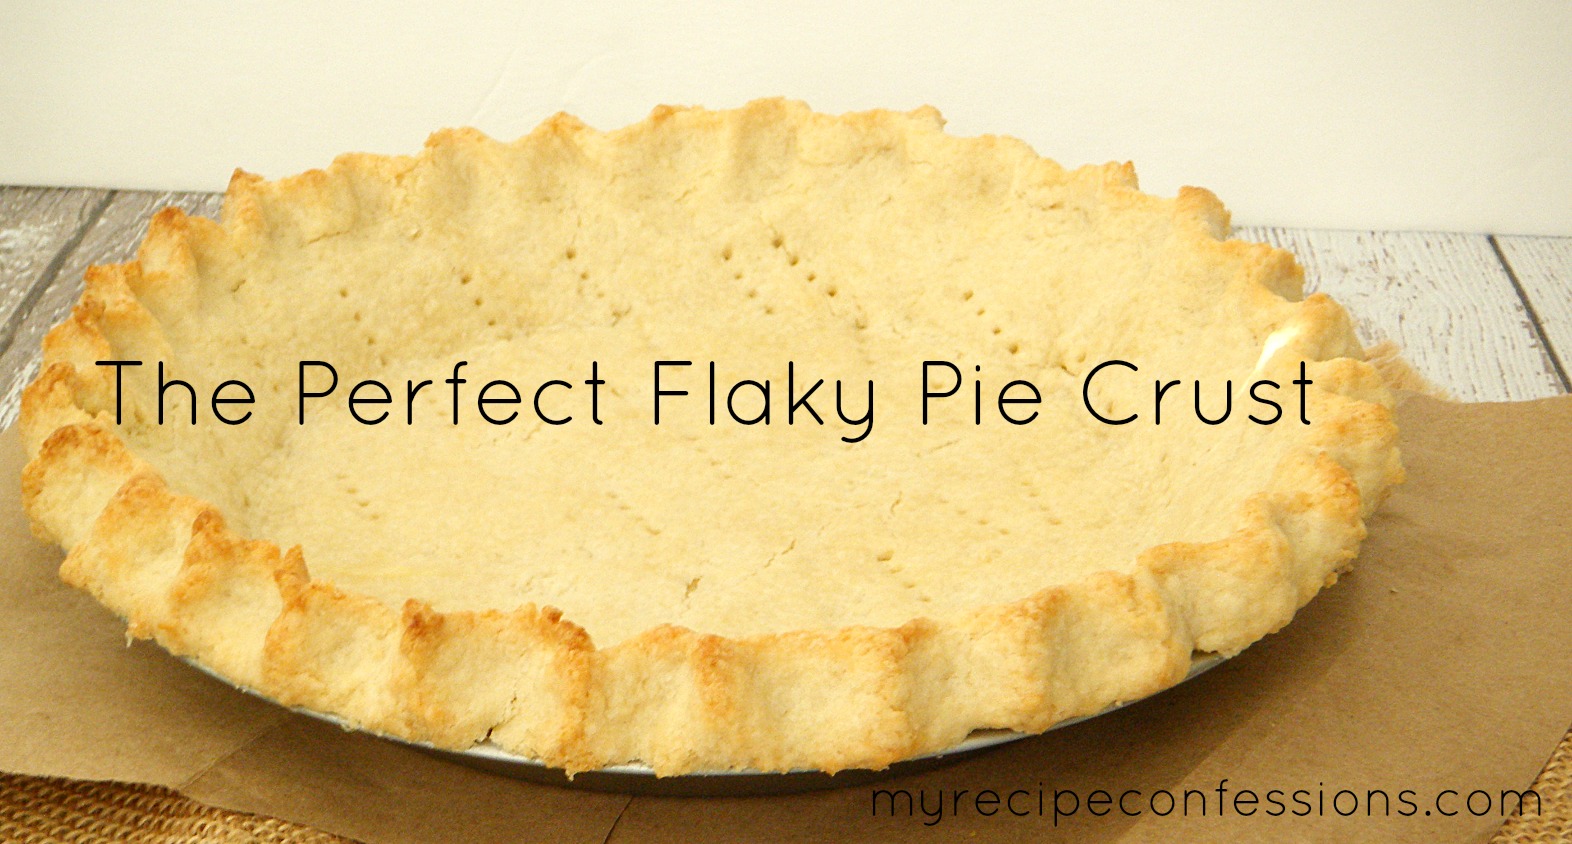
4. Press the dough gently into the pie pan. Remove the remaining plastic wrap from the top of the dough. Poke holes with a fork around the inside of the pie. Trim the excess dough from around the pan so there is a 1/2 inch trim around the edge the pan. Shape edges as desired.
5. Place pie in freezer for 15 minutes. Repeat this process with the remaining pie dough.
6. Bake pie for 20 to 25 minutes until it is a light golden brown.
7. Remove from oven and cool completely.
Adapted from the French pastry pie crust on Allrecipes.com
This recipe is linked to


Reina,
If you just keep it cold and work it as little as possible it will be great! If you have any questions (I think Brian has our number)don’t hesitate to call! Let me know what you think.
Carrie
I am intimidated by pie crusts! I love how you broke down the why’s and how’s. It helps me understand it better. I am going to try and make my crusts this year!