As I have mentioned before, I have certain qualities that my caramel apples need to meet. I want the apple to be crisp and fresh and the caramel to be rich and soft. After making this recipe seven different times, I found there were certain things that worked better than others as well as things that were crucial in order to make the perfect caramel apple. Make sure to read over this list before you make your caramel apples.
These apples really are quite easy to make. Don’t let the list overwhelm you. There is no reason to pay the high prices for gourmet caramel apples when you can make the same thing at home for a lot less!
You can find The Best Homemade Caramel Apple recipe here.
You can find my favorite caramel apple combinations here.
With love from my kitchen to yours,
Carrie
Tips and Tricks For The Best Homemade Caramel Apple
1. The most common type of apple that is used for caramel apples is the granny smith. I personally prefer gala apples. I think they are the perfect balance between tart and sweet. However, It is entirely a personal preference.
2. Wash the apples with hot water and dry them completely before dipping them into the caramel (some people recommend dipping the apples in boiling water for 5 to 10 seconds, However, I didn’t find that it made a difference). But, I do think that washing them in hot water keeps them stay fresher longer.
3. I like to follow Alton Brown’s tip on Good Eats and turn the apple upside down and place the popsicle stick or dowel in the bottom of the apple.
4. You need to have all the apples washed and dried and the sticks inserted, ingredients measured, and the parchment paper lined baking sheet chilling in the fridge etc before starting the caramel. Once you start cooking the caramel, you have to work quickly or it will burn.
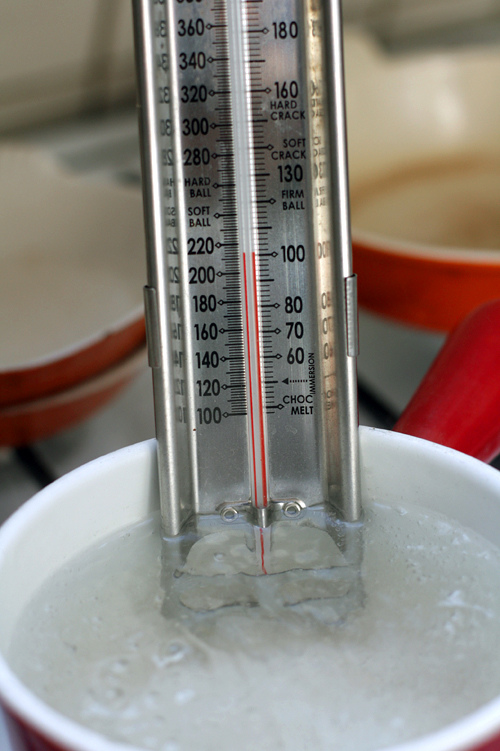
5. Use a good quality candy thermometer. This is very important! You have a very short window between a soft caramel and hard caramel. I have found that the candy thermometer that clearly marks the soft ball stage next to the temperature gauge works the best.
6. It is very important that you use a good quality sauce pan with a thick bottom when making the caramel. A pan with a thin bottom will burn the caramel.
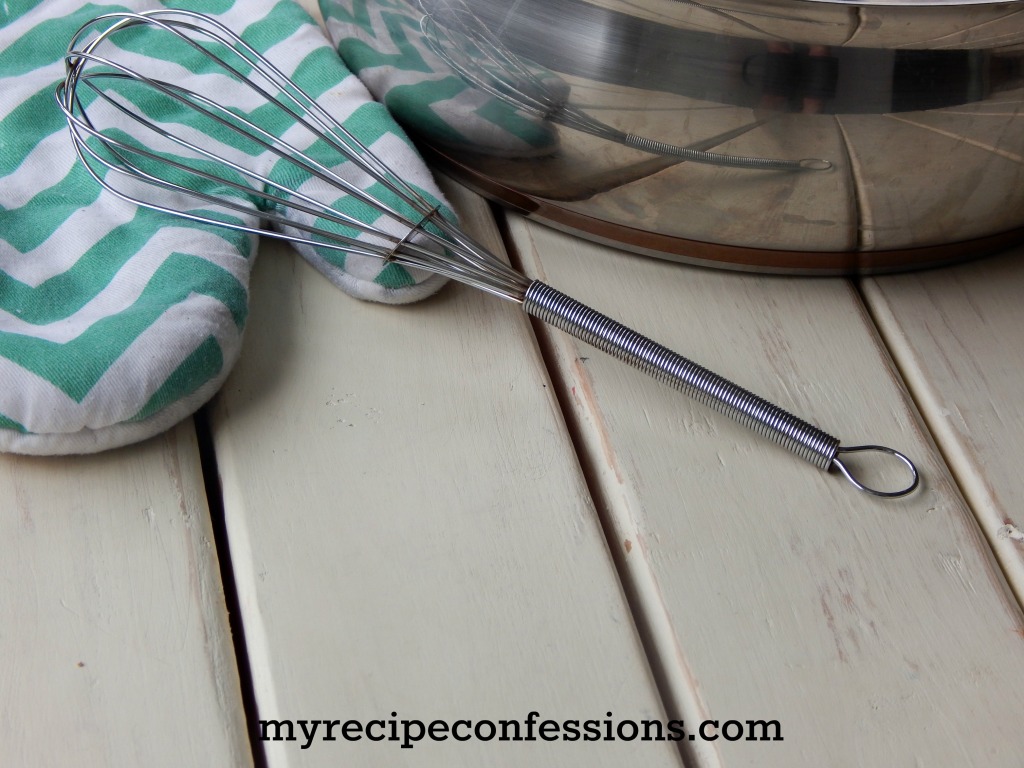
7. I found it is easier to use a whisk versus a spoon to stir the caramel. Once the caramel comes to a full rolling boil, you have to whisk it constantly or else it will burn. The whisk does a better job of scraping the bottom of the pan so the caramel didn’t burn .
8. You need to use parchment paper, not wax paper. Wax paper will melt to the bottom of the apple.
9. Place the baking sheet lined with the parchment paper in the freezer while cooking the caramel. This will help the caramel cool quicker and not pool as much.
10. When you are dipping your apple, tilt the pan slightly and slowly turn the apple in the caramel to coat. By turning the apple slowly, it will help prevent bubbles from forming on your caramel. Hold the apple over the caramel and let the excess caramel drip off before placing it on the cold parchment paper lined baking sheet.
11. If you have a group of people dipping apples, once the caramel is finished cooking remove it from the heat and place it in a roasting pan. When the caramel starts to cool down pour boiling water in the roasting pan. This will help heat it up again.
12. Place the melted chocolate in a condiment bottle. This makes it easier to drizzle chocolate over the apples. Keep the bottles of melted chocolate in bowls of hot water so that it doesn’t cool while you are decorating the apples.
13. If you are dipping the caramel apples in chocolate, let the caramel cool completely before dipping it in chocolate.
14. Remember the caramel is very hot! While the caramel is cooking, be careful to not get burned. Make sure to keep children away from direct contact with the hot caramel. If children are dipping apples in the caramel, they will need to have help from an adult.


