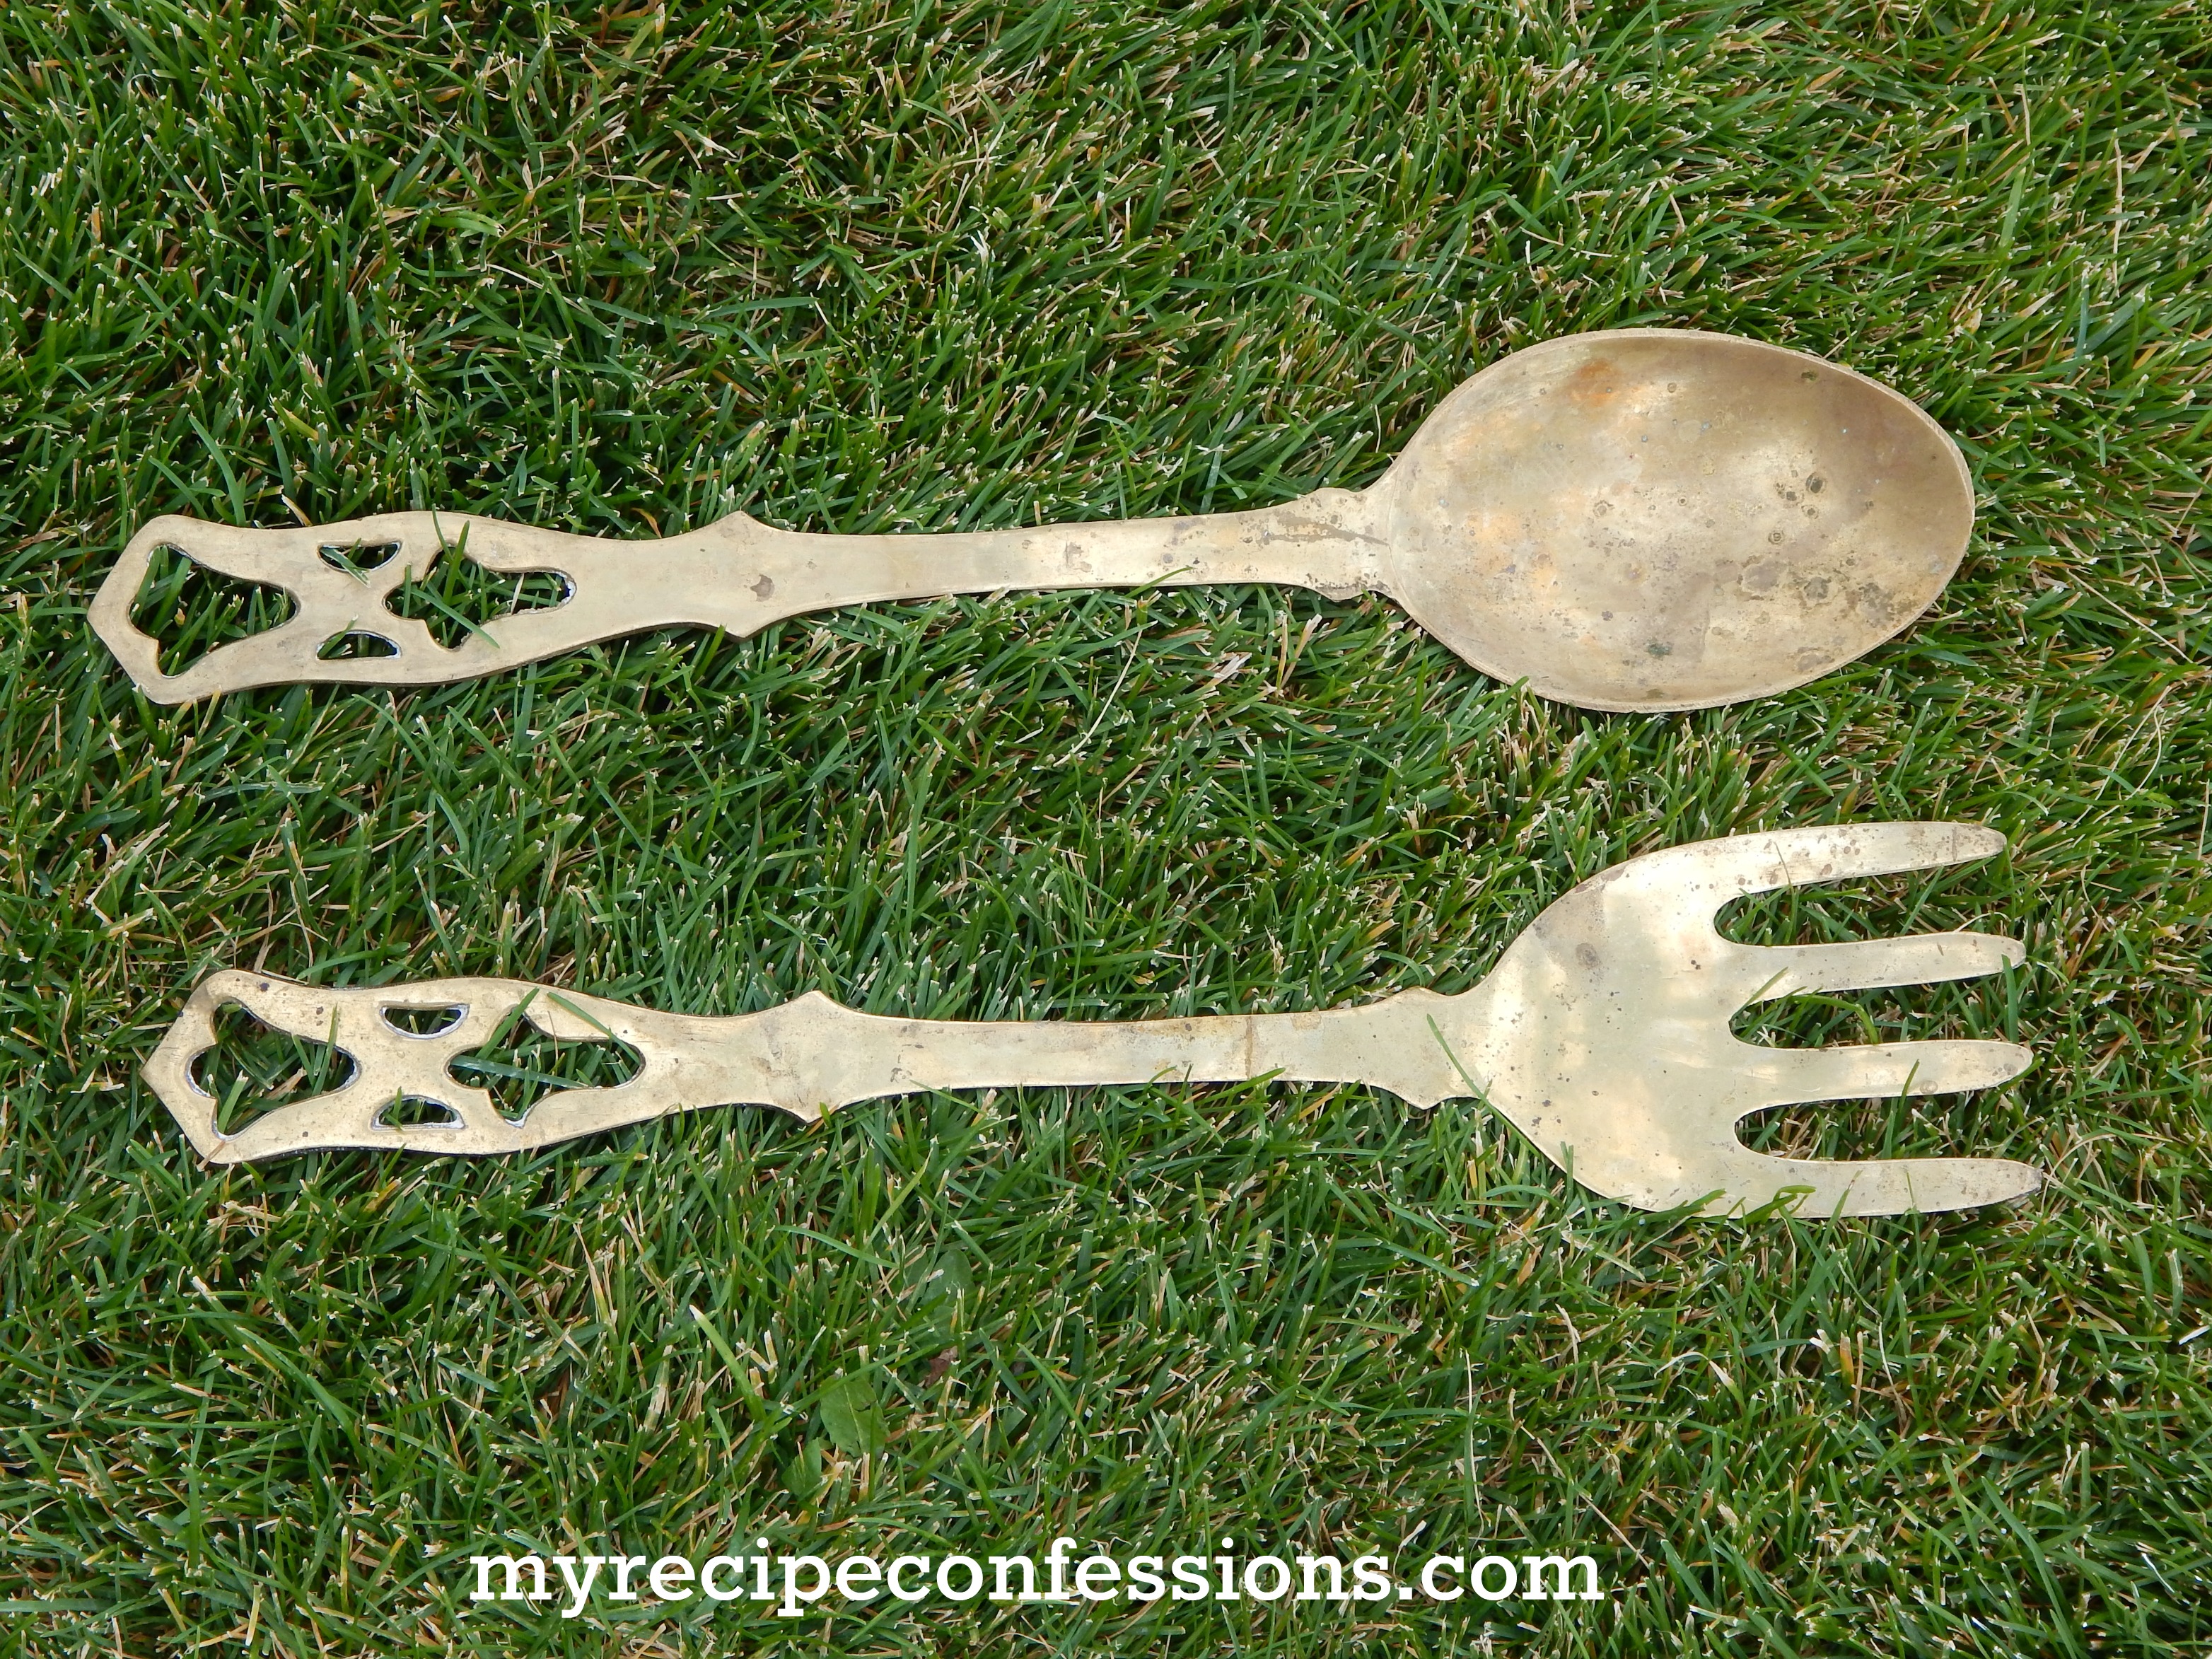
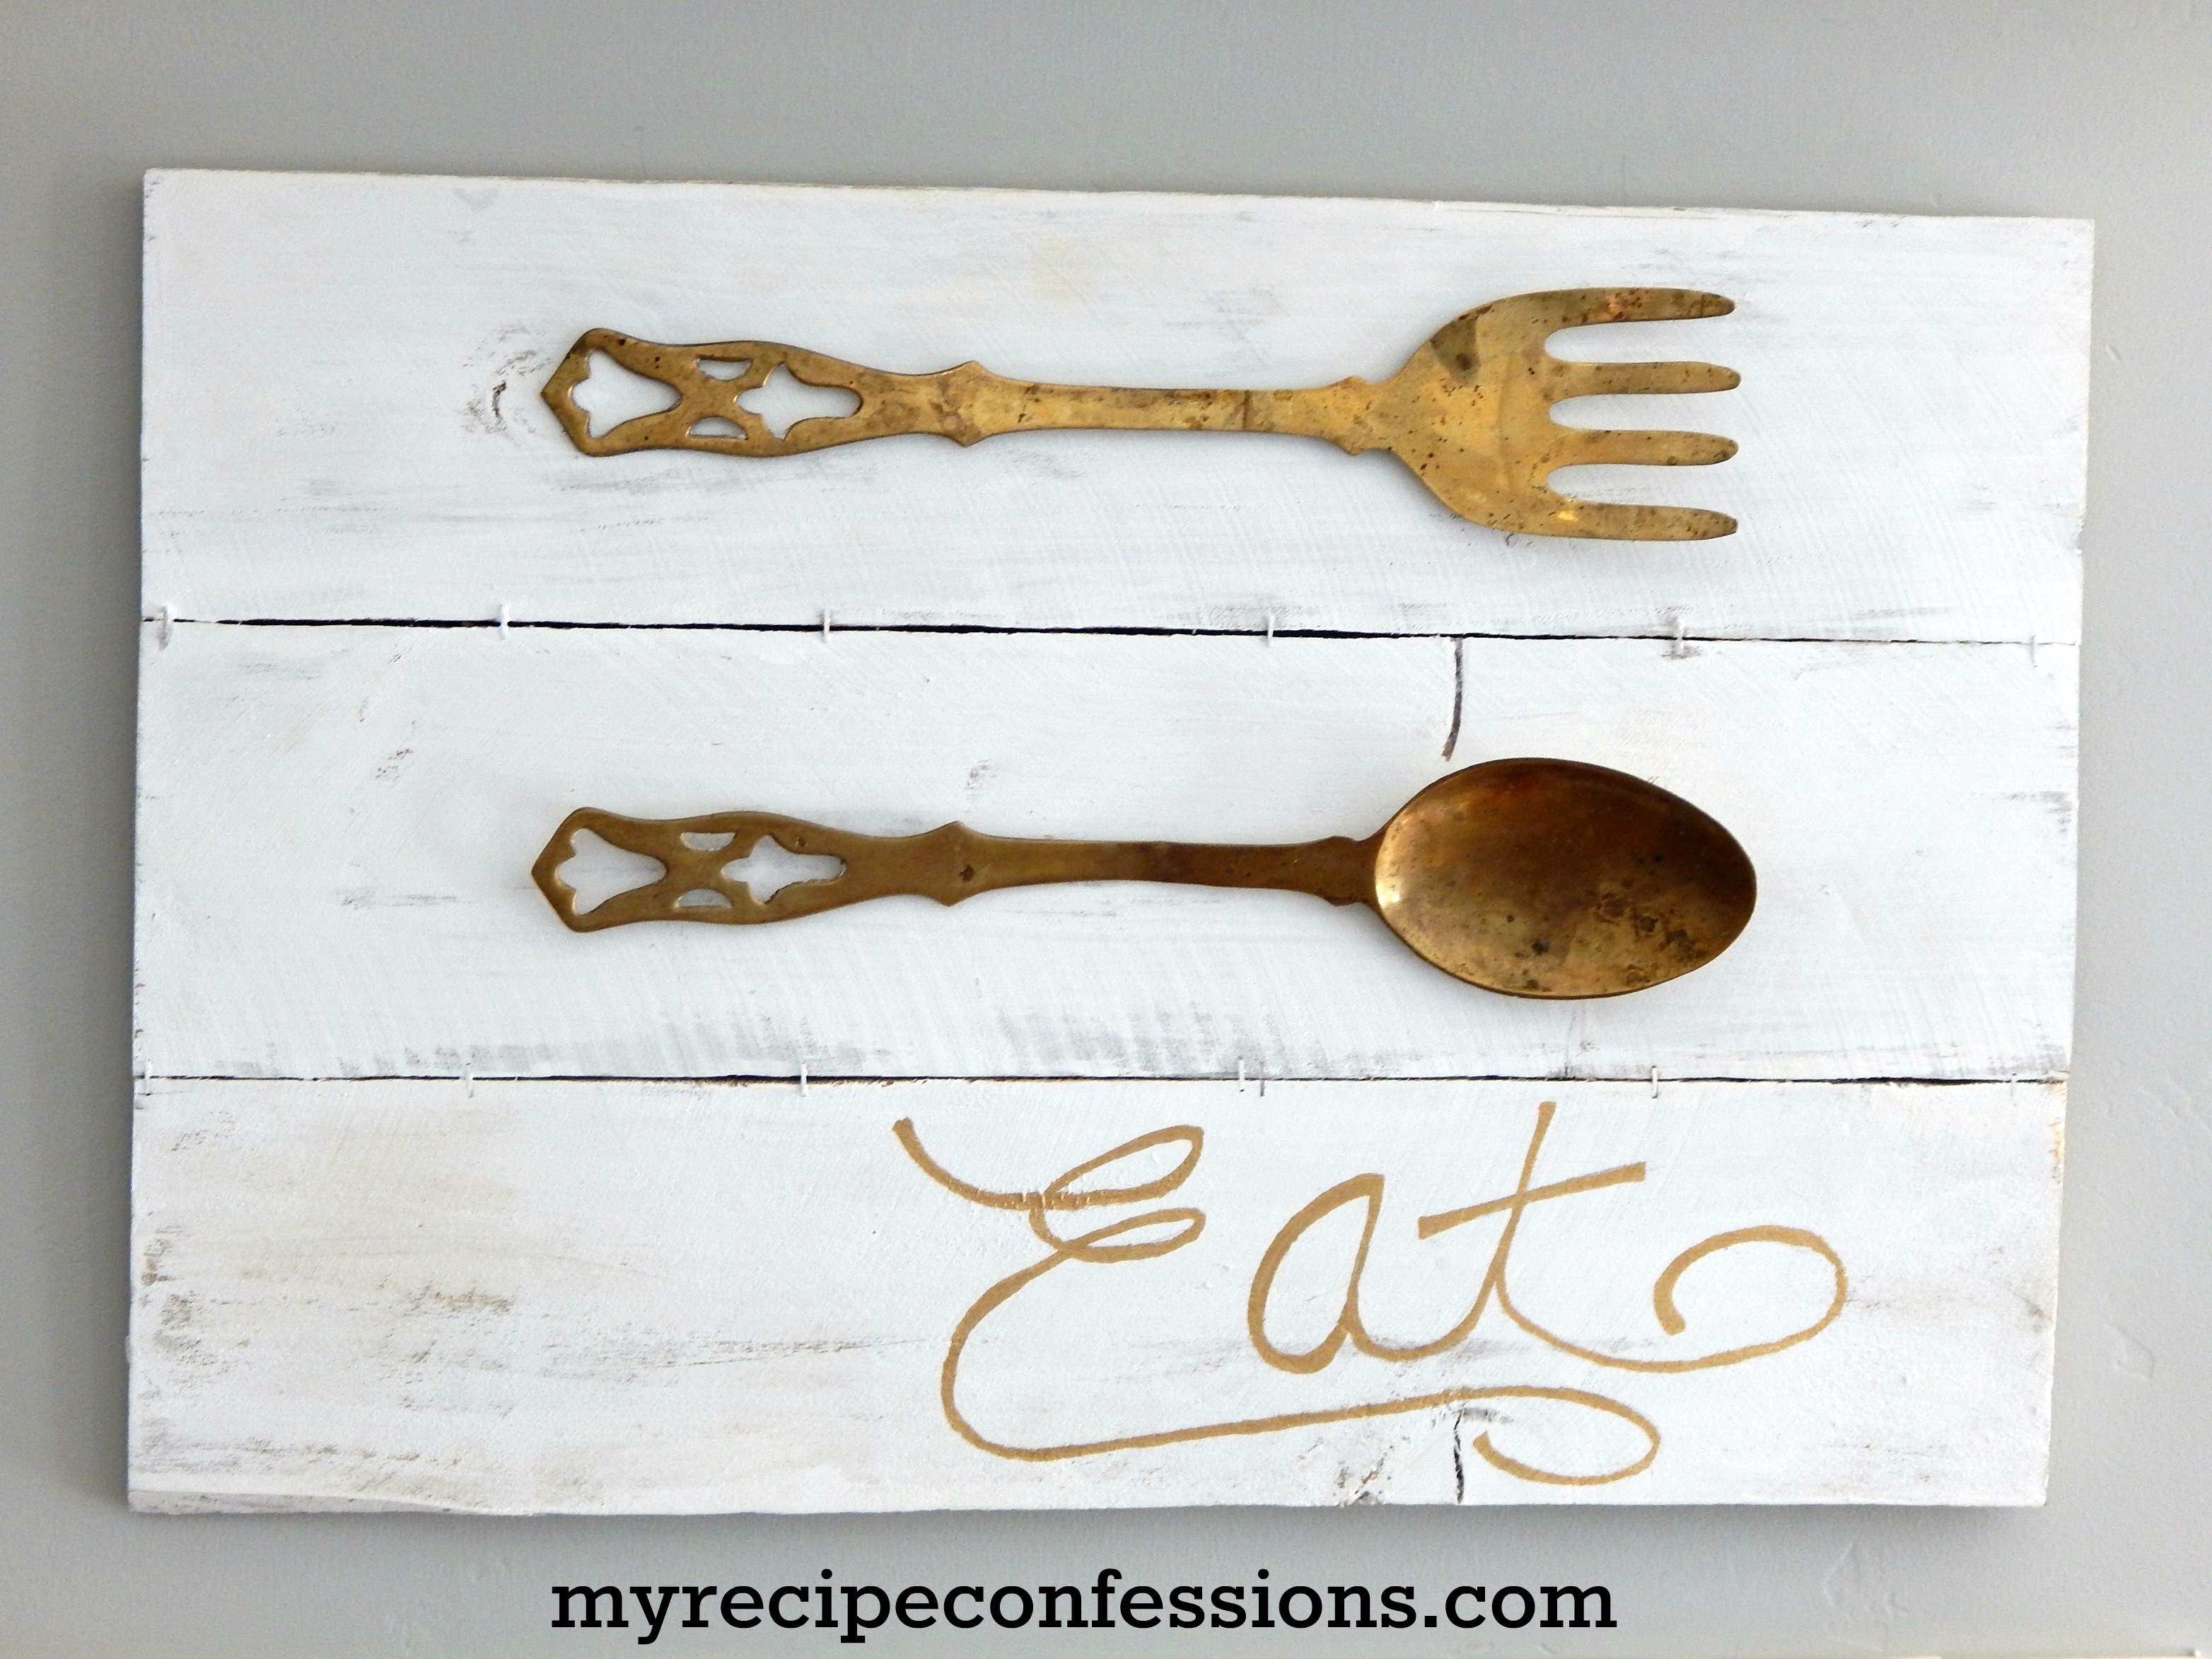
This sign took very little time to make and I think it was the touch that my kitchen needed. I got lucky and found the kitchen utensils at a local thrift store for seventy five cents each. I had been keeping my eye out for over sized utensils for a long time. So I was so excited when I found these. I didn’t have to do a thing to them, they were already tarnished and old looking.
I love it when the projects in my head turn out in real life. This sign required very little supplies and very little cash. I think the whole thing cost me five dollars, maybe less.
I had it sanded and painted within 30 minutes. I only painted two coats because I wanted the distressed look. The part that took the longest was hanging it up on the wall. That is only because I insisted that I could do it on my own with Command It Strips. My husband kept telling me it wasn’t going to hold since it was cedar wood and I should just let him do it the right way. Finally after is fell down for the third time, I realized that once again he was right.

I did however use the Command It strips to attach the utensils to the sign. So far they have held up just fine, dispite what my husband says.
With love from my kitchen to yours,
Carrie
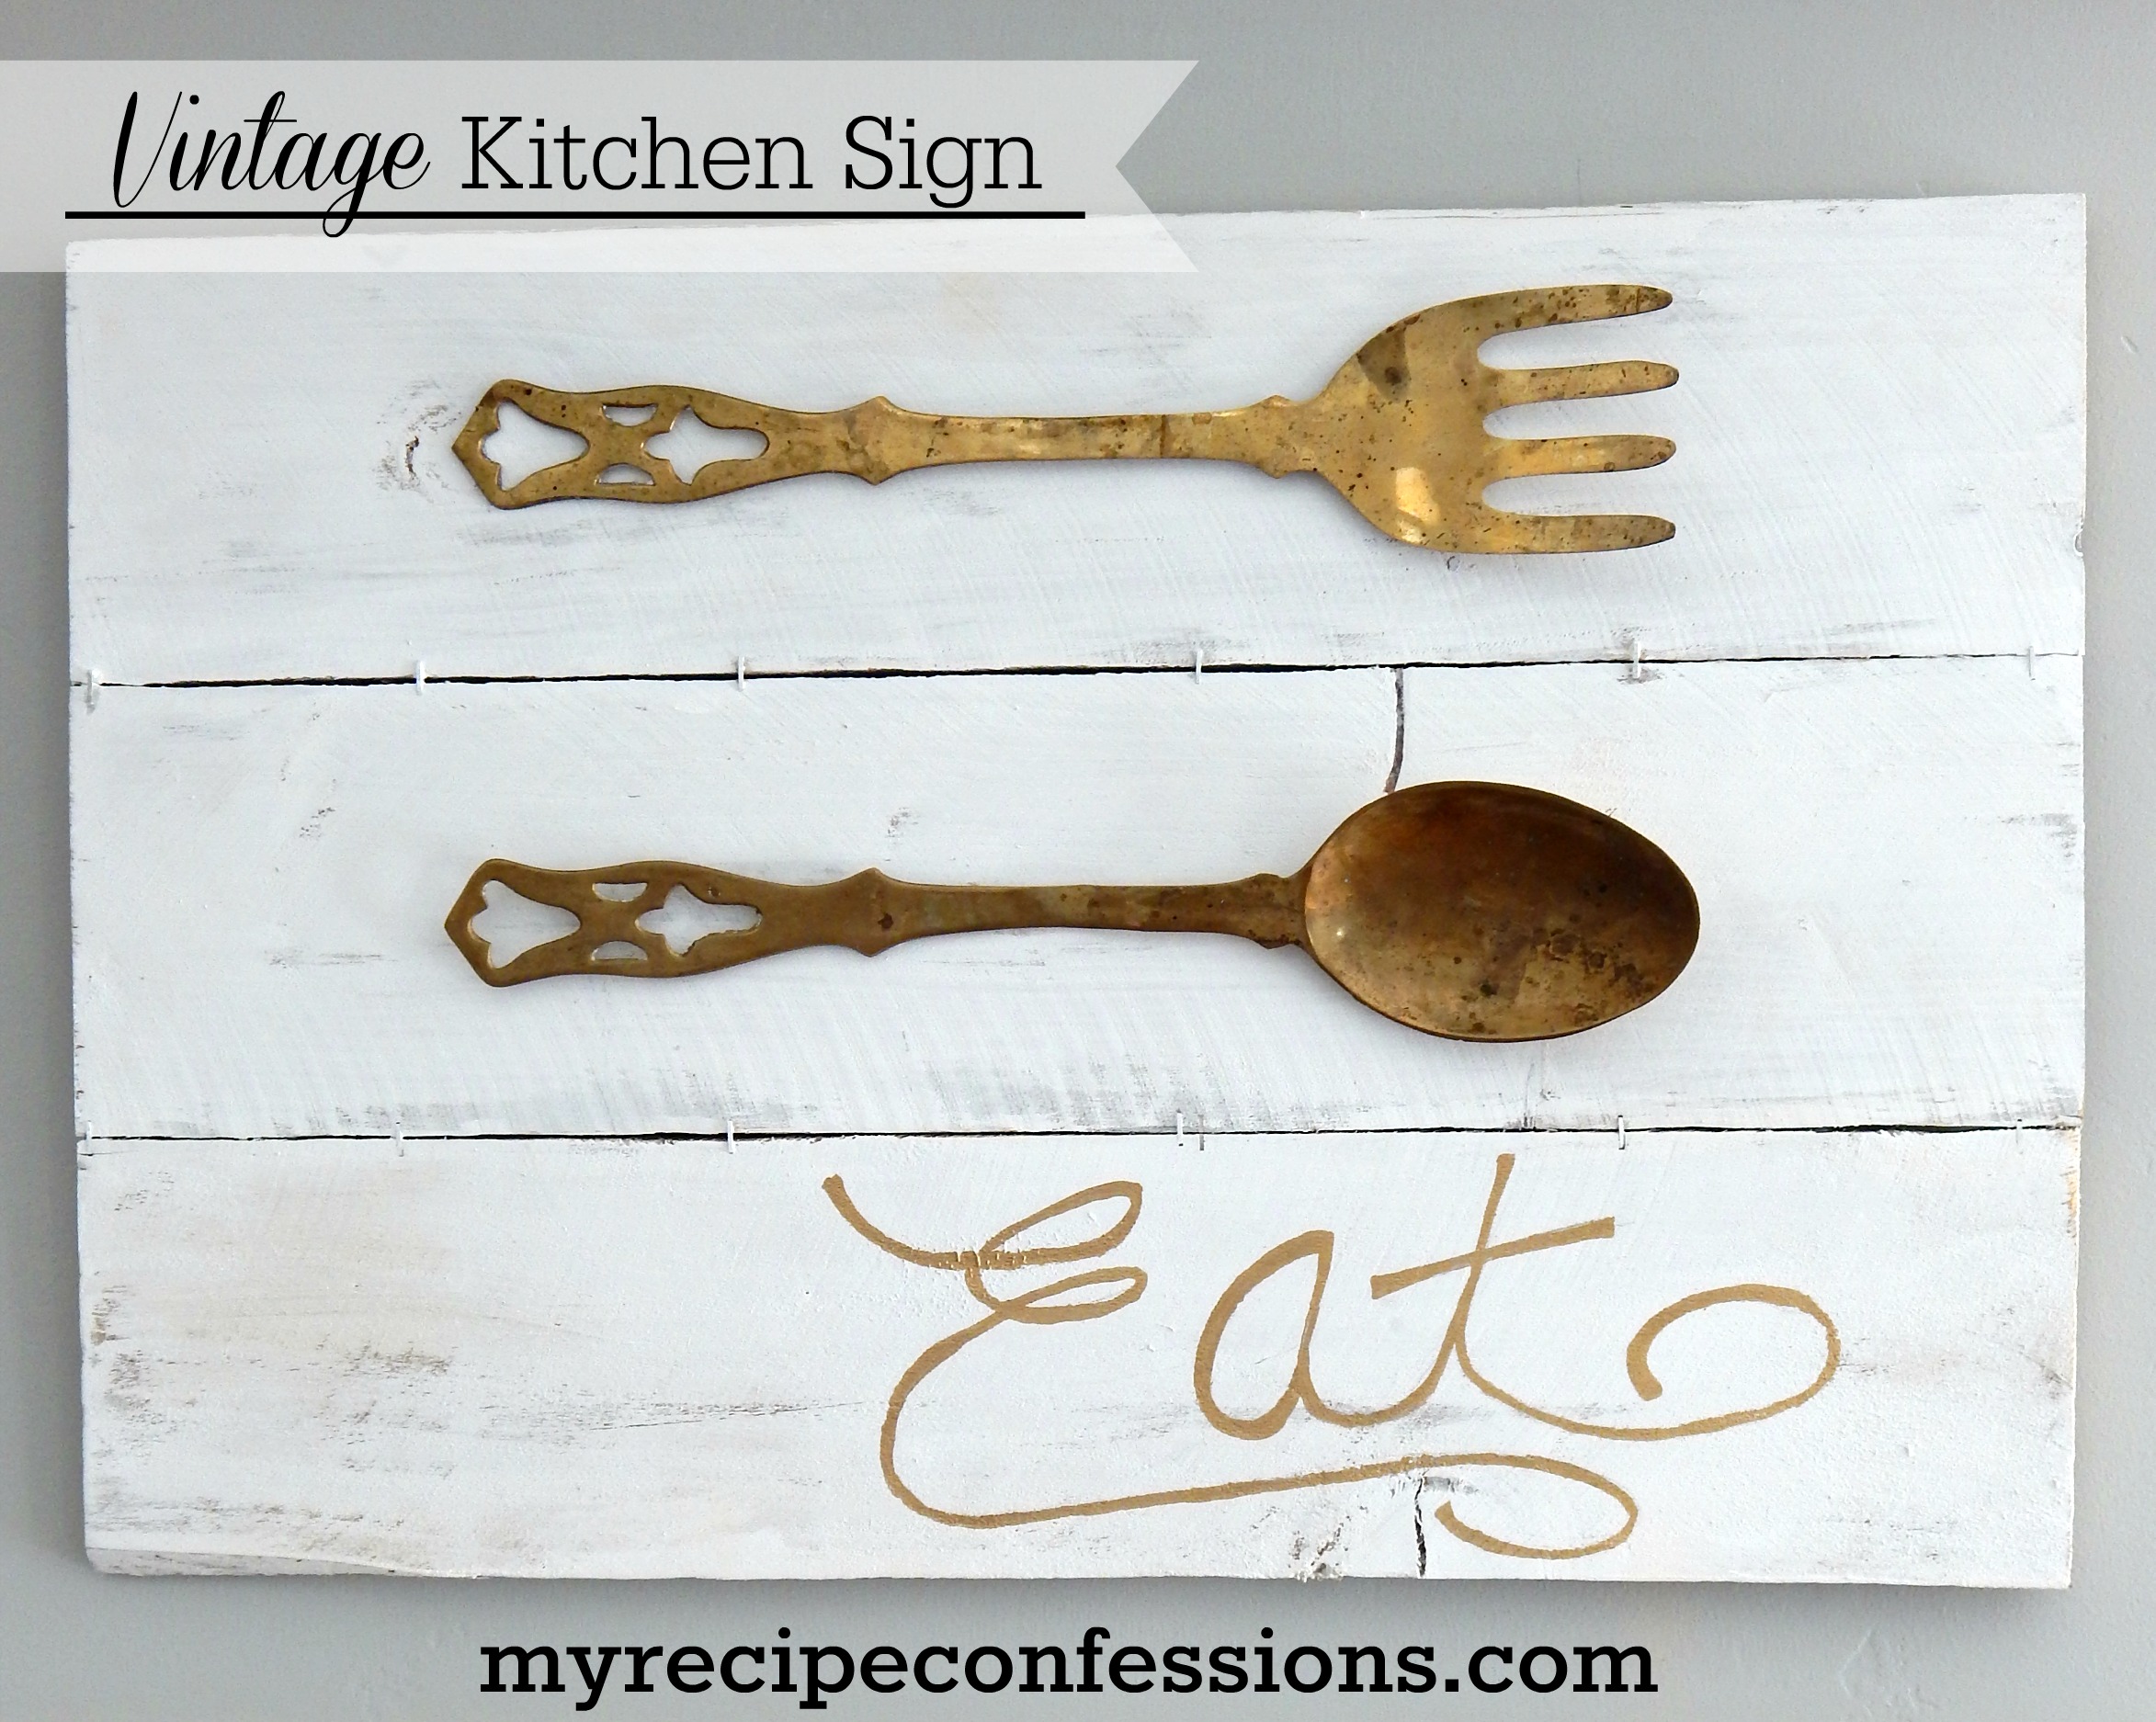
Vintage Kitchen Utensils Sign
Supplies
Large vintage kitchen utensils
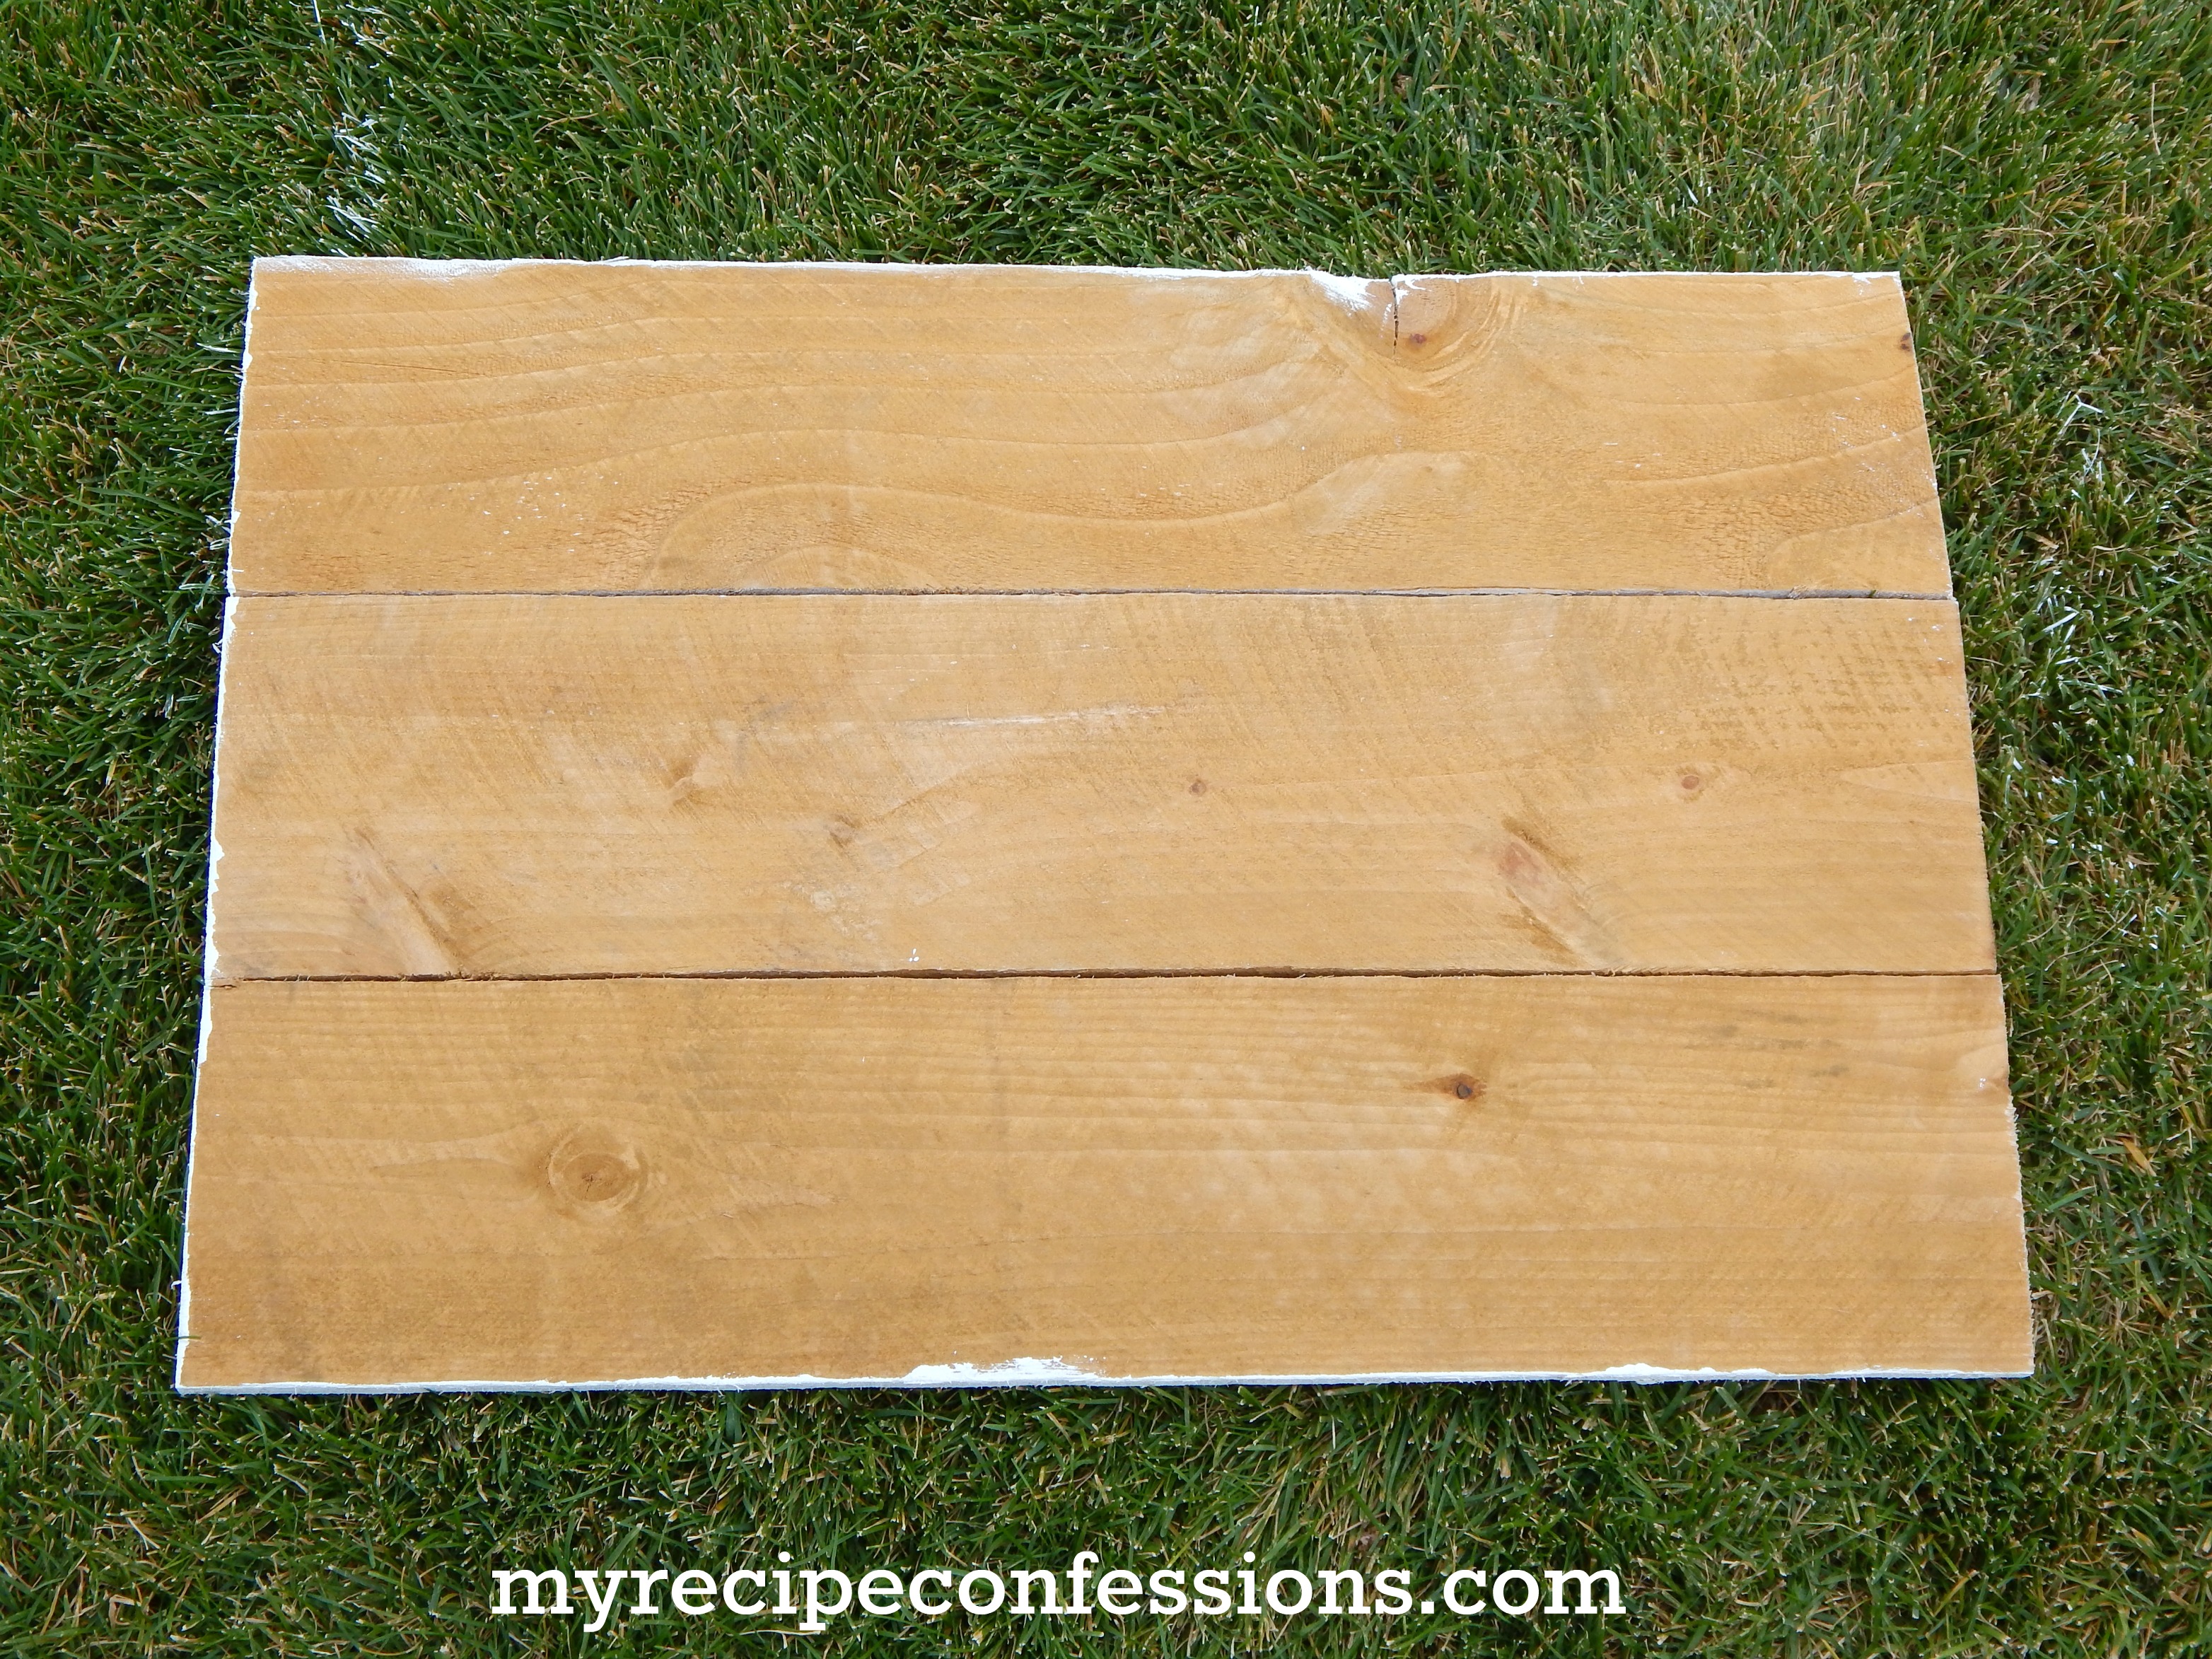
One 5 1/2″ x 6′ cedar fence slat (cut into 2 ft. sections)
white paint (I used regular acrylic paint)
Gold paint marker
staple gun with 5/16″ 8 mm staples
100 grit sandpaper
foam paint brush
2 Command It strip sets
hot glue gun and glue sticks
Instructions
1. Sand the boards down so there are not any splinters. Line the boards up so that they are all even and staple them every 5 to 6 inches. You will need to staple both sides of the board.
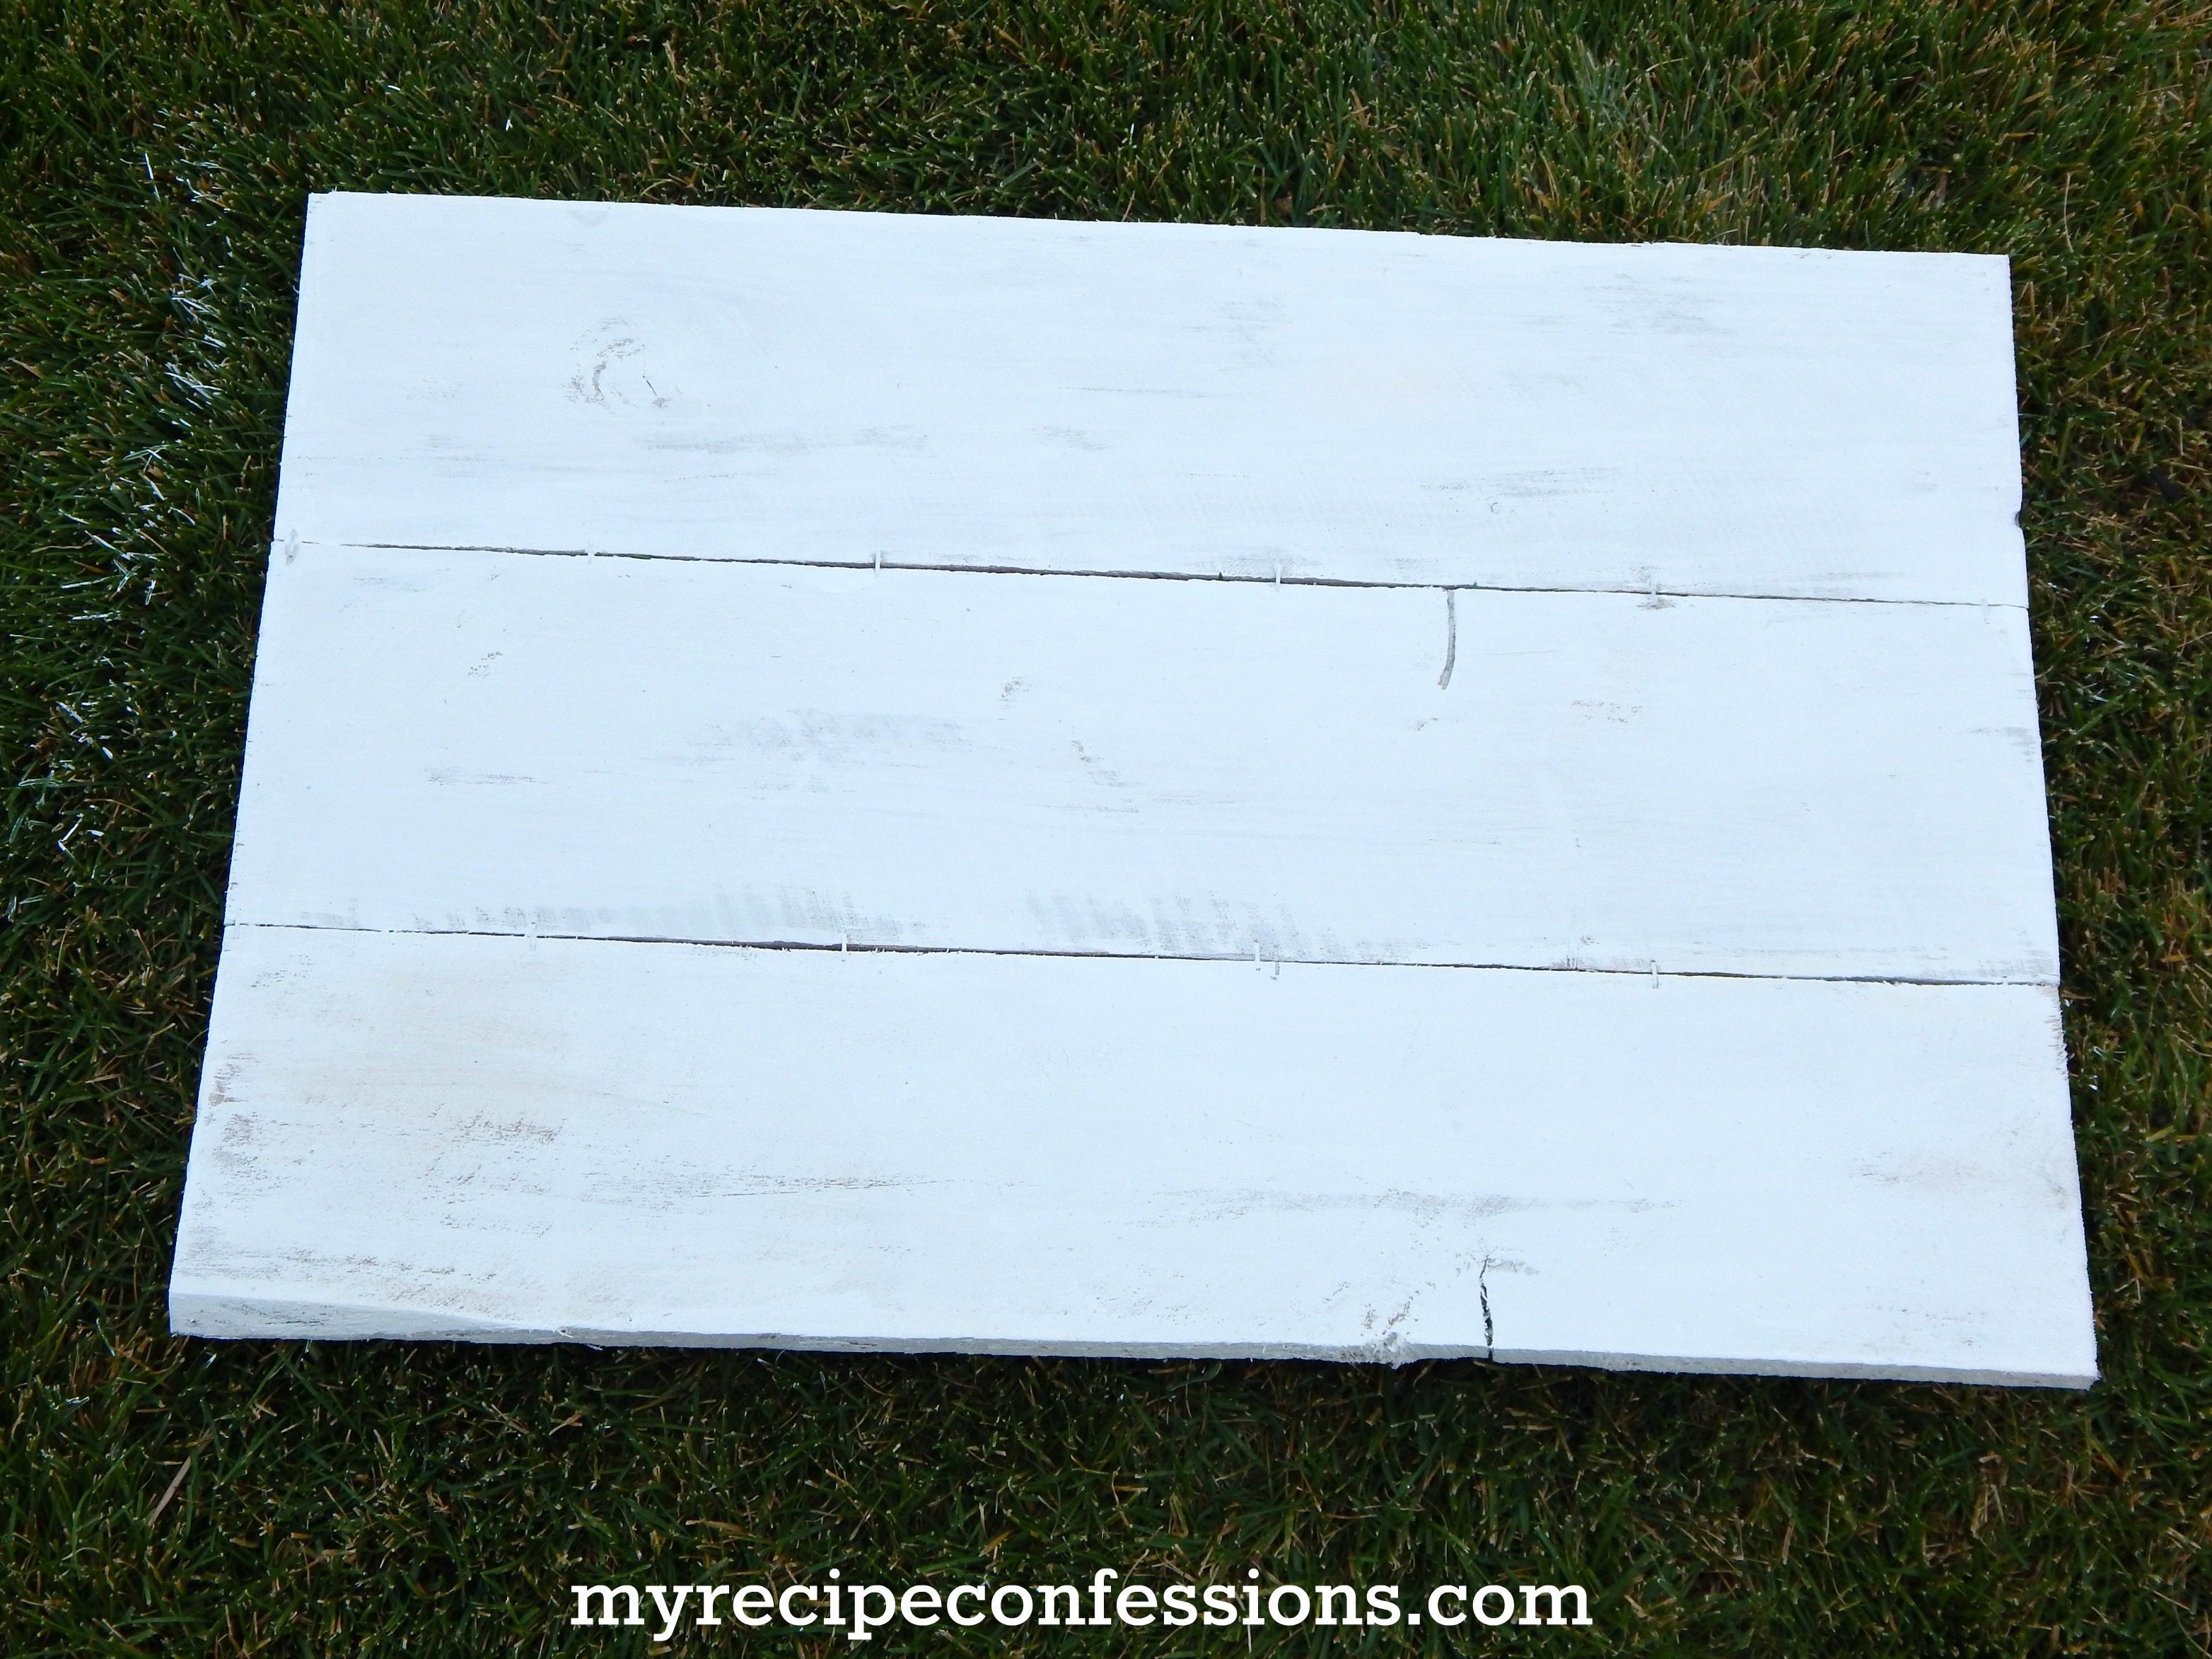
2. Paint the sign and allow to dry completely. Lightly sand the sign to distress. On the bottom board in the right hand corner, write the word Eat with a pencil.
3. With the gold paint marker, trace the word Eat on the sign. Cut the 2 Command It strips in half, place a dab of hot glue on the adhesive side of the strips. a put them on back of the utensils (it won’t hold as well with out the glue). Attach the utensils to the boards and pressing firmly to hold it in place.
Now all you need to do is find the perfect place to display your Vintage Kitchen Sign in your home. My sign is hanging right above my pantry.
