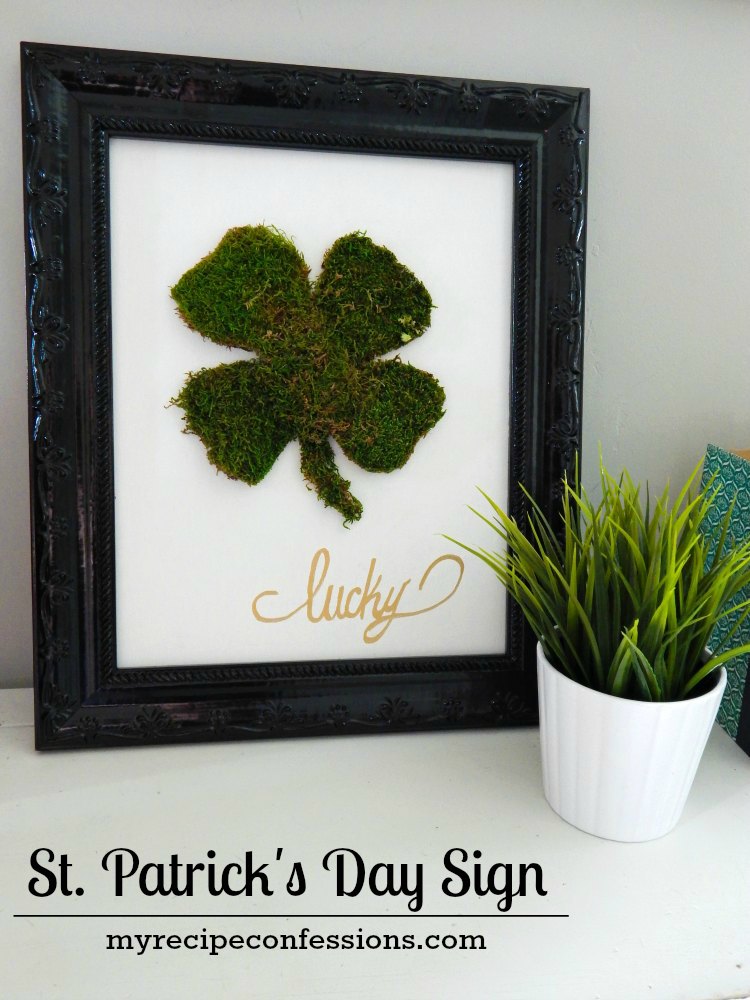
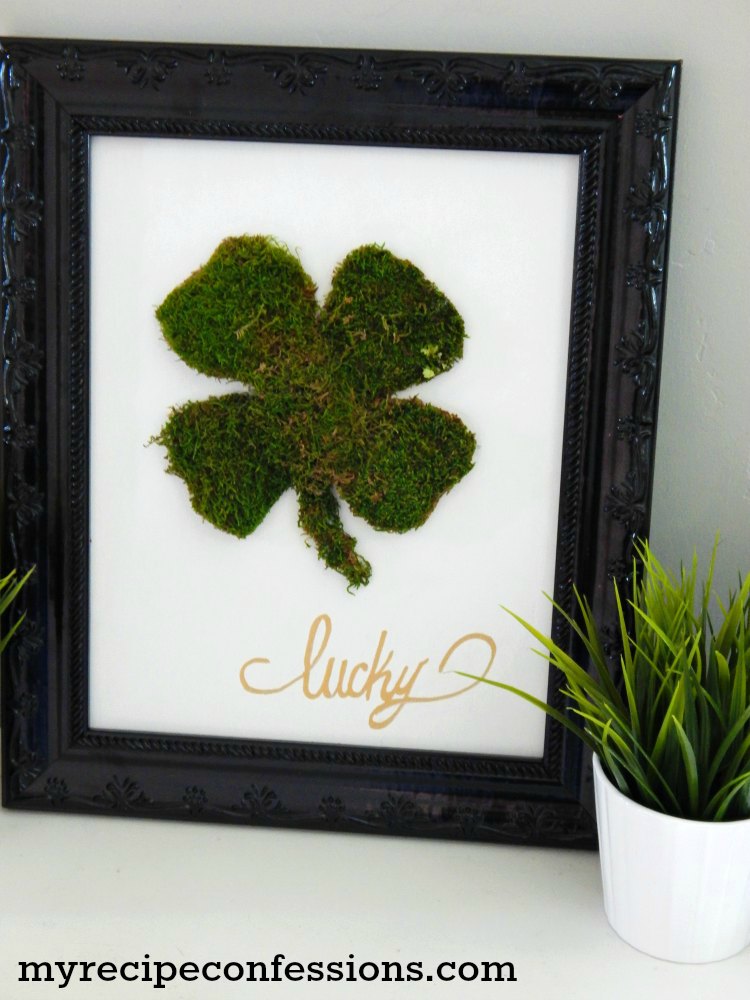
This St. Patrick’s Day sign cost me under $10 and less than a hour to make it. Cute St. Patrick’s Day décor can be kind of hard to find. So I was thrilled when this project came together so well!
I was inspired by a project on Everyday Party Magazine for this sign. If you have ever worked with moss before, you know it can be pretty messy, so plan accordingly.
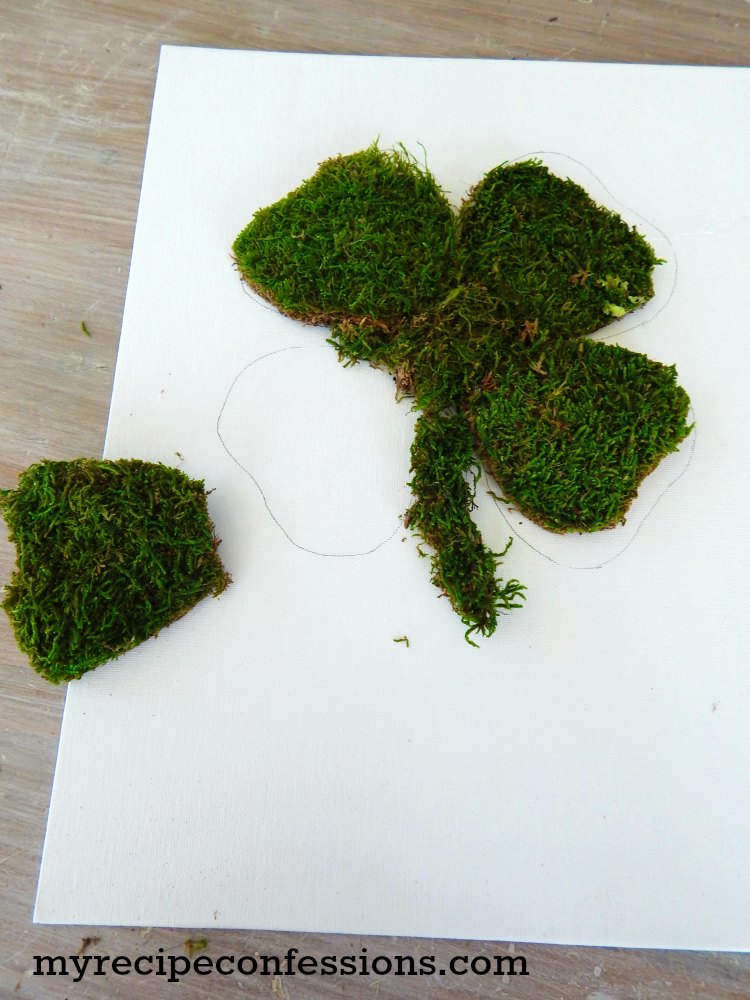
I bought my sheet moss at Walmart, but I have seen sheet moss that you can buy in a roll. If you can find the roll of sheet moss, I would recommend buying that. The sheet moss that I used wasn’t big enough to cut out the whole clover on one sheet. So I had to kind of piece it together.
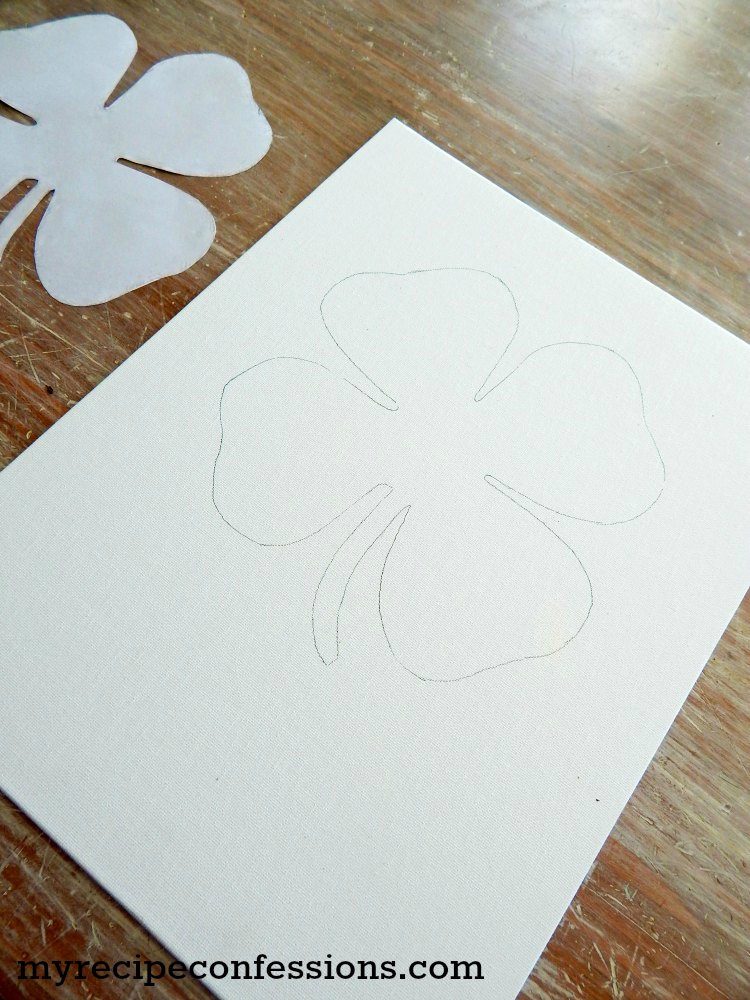
I cut out each one of the clover petals (if that is what they are called) in separate sections. Then I just used some small pieces for the center of the clover. I didn’t want to be able to see each individual section so I filled it in with loose strands of moss. I ended up trimming the clover petals down a bit to better shape them. So it ended up being a little smaller than the clover I traced on the canvas. It turned out fine, but I would suggest that you lightly trace the template onto the canvas so that it is easier if you need to erase anything.
I bought the canvas, sheet moss, and paint marker at Walmart. The canvas came in a three pack for $4.97. The sheet moss was $3.96, and the paint marker was $1.96. You can find the links for the clover and lucky templates to download below.
With love from my kitchen to yours,
Carrie
St. Patrick’s Day Sign
Supplies:
1 (11×14) blank canvas
Sheet moss
Hot glue gun and glue sticks
Shamrock template (you can download the shamrock template here)
Lucky font template (you can download the lucky font template here)
Gold paint marker
Instructions
Plug in the hot glue gun. Cut out the clover template and lightly trace it onto the 11 x 14 blank canvas
Lay the moss sheets out flat and place the clover template over it. You can secure the moss to the template with pins if you need to. Cut out the clover.
Match up the moss clover to the clover you traced on the canvas. Using the hot glue gun, glue the clover to the canvas. Erase any visible pencil lines.
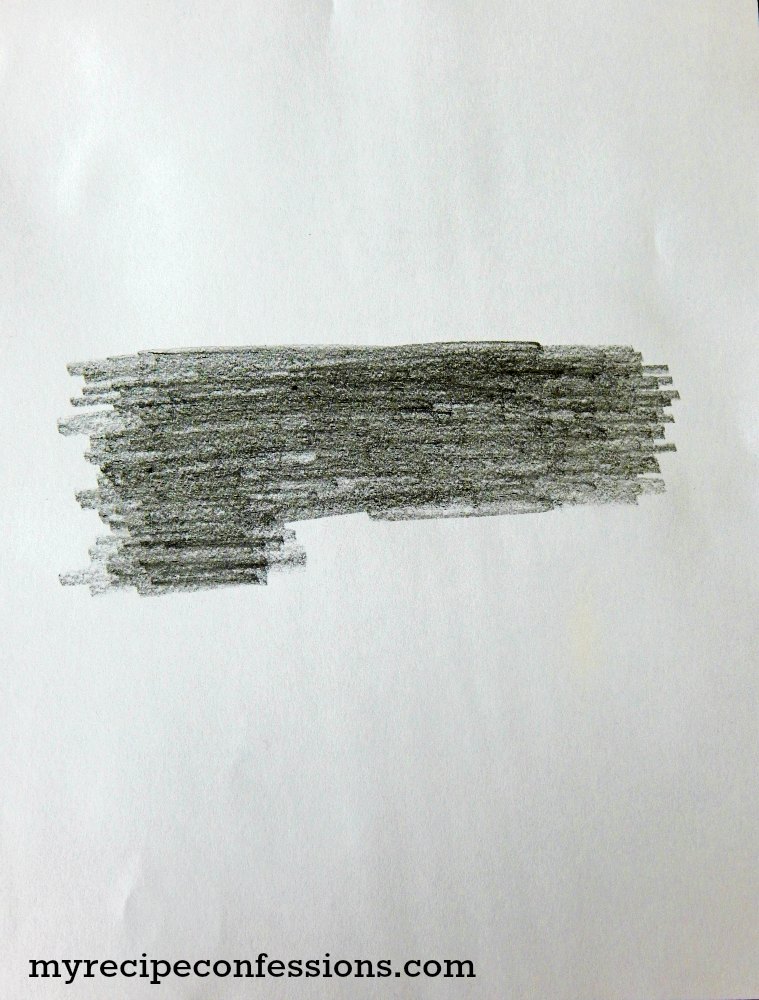
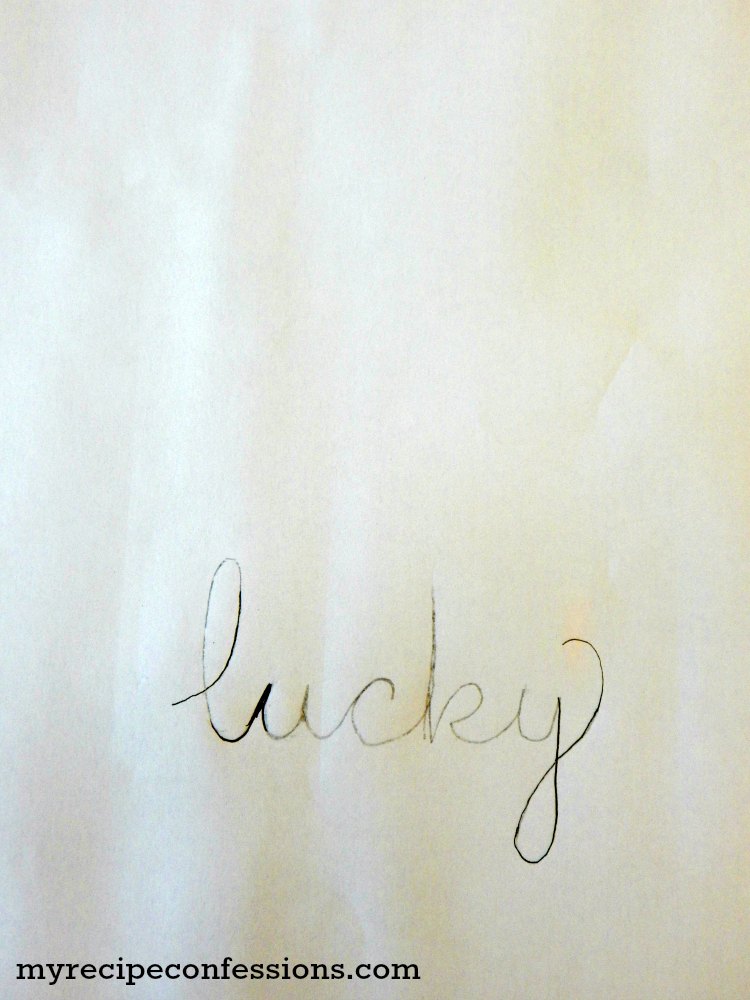
Choose what font size you want to use on your canvas. Turn the paper over and with a pencil color in the back side of the font (the non-printed side). Turn the paper over and place it on the area that you want the font. Holding the paper down trace the font with the pencil. Remove the paper from the canvas.
Fill in any spots that you might need to. Go over the word lucky with the gold paint marker. Let it dry completely.
Here are some other projects you might be interested in.
