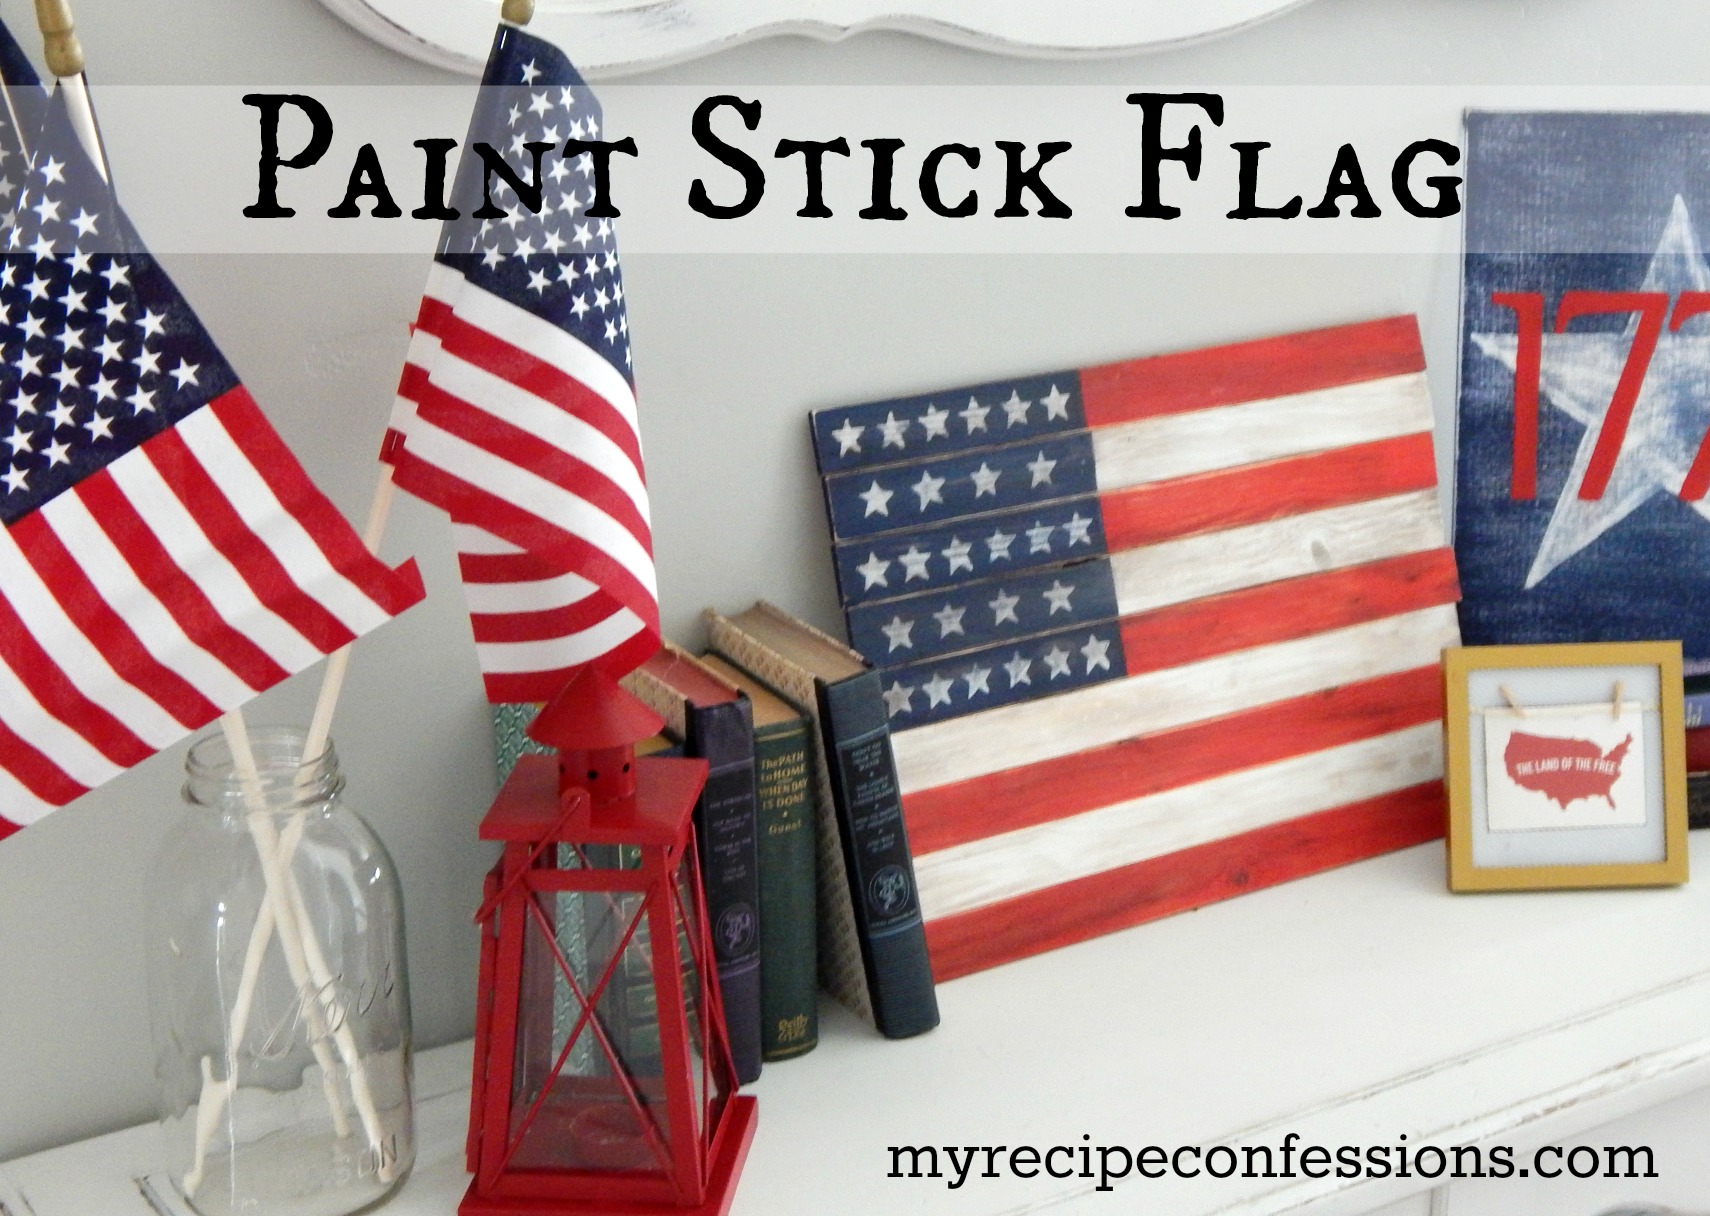
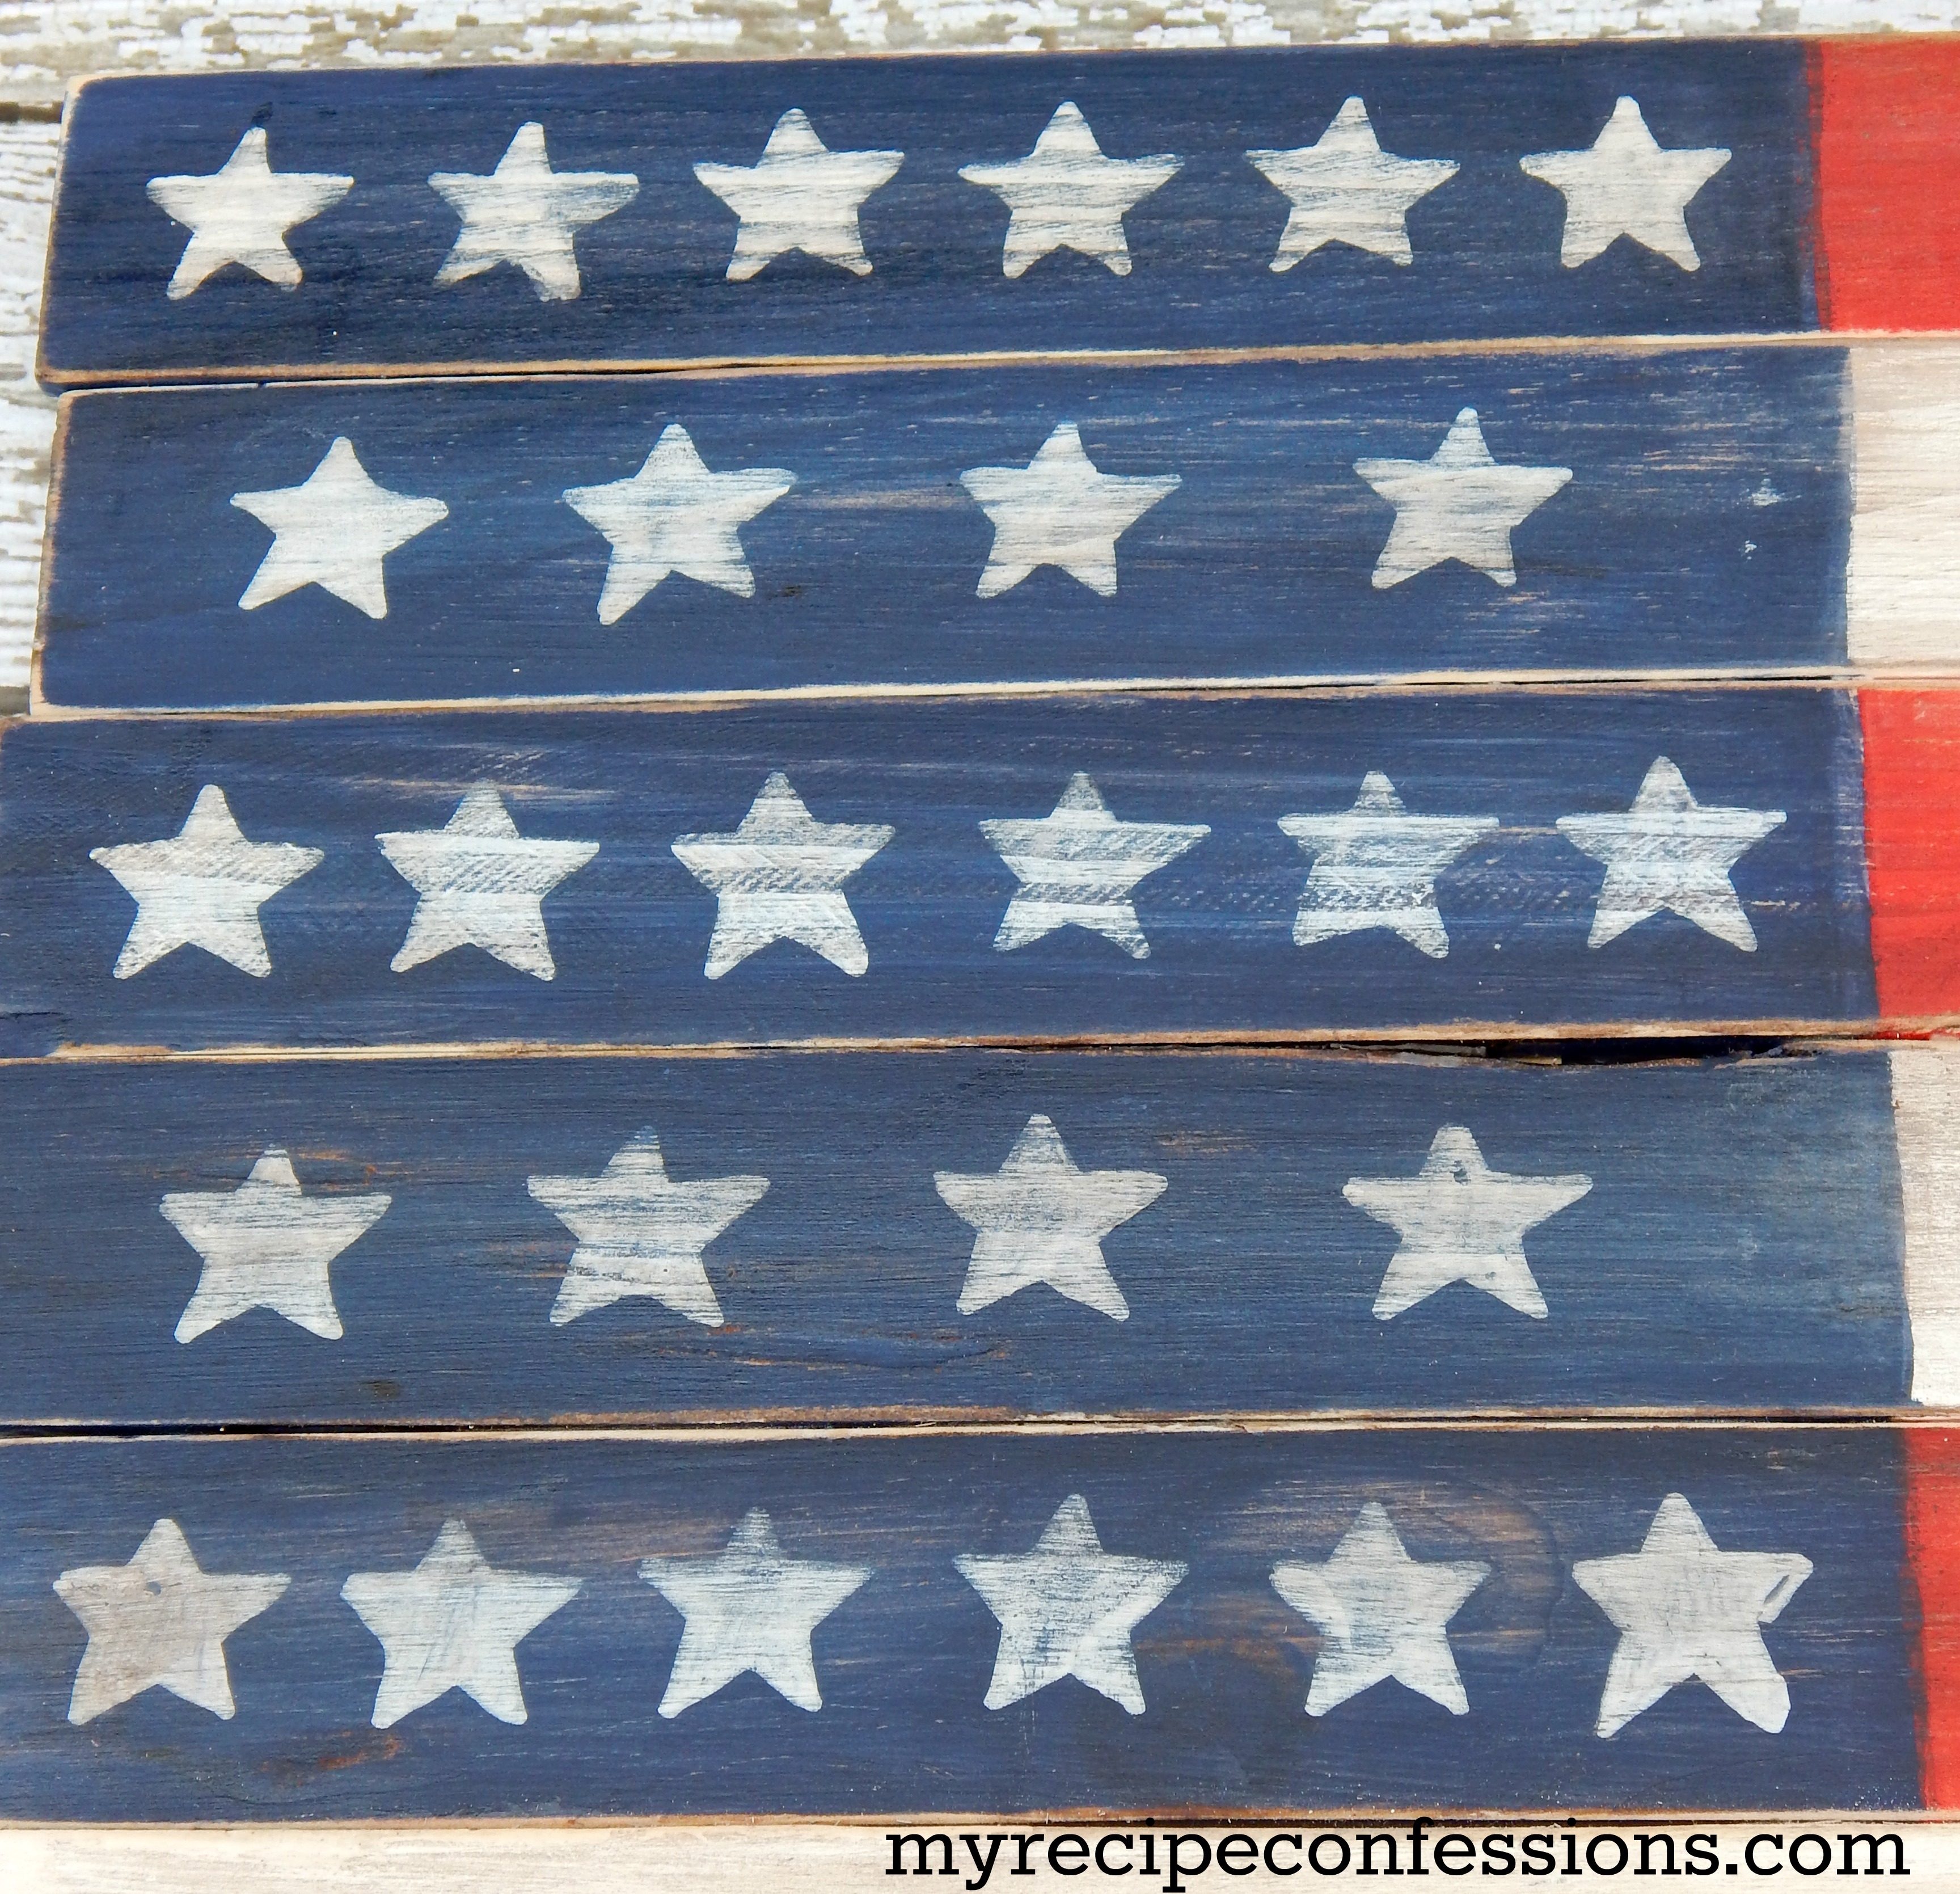
This project was so fun and easy to put together. I am so happy with how it turned out. I had a million projects going on at once so I didn’t get pictures of all the steps.
It was so easy that I bought some more paint sticks to make some vintage looking signs for my daughters room. Don’t worry, I will tell you all about that one later.
My husband loved that this project only cost me $4.58 total. Here is the break down.
11 paint sticks @ $.28 each = $3.08
1 bottle of navy blue acrylic paint @ $.50 each = $.50
1 bottle of red acrylic paint @$.50 each = $.50
1 bottle of white acrylic paint @ $.50 each = $.50
Total cost of this project = $4.58
I already had all the other supplies.
You may have to sort through the paint sticks at the store to find the best ones because some of them might be warped. I wanted mine to have a vintage look so I wasn’t too worried about the paint sticks being perfect.
I worked hard all weekend to this finishing up all my patriot projects. Stay tuned for other tutorials this week.
Until next time,
Carrie
Paint Stick Flag
Supplies
11 (20 inch) paint sticks
red acrylic paint
white acrylic paint
foam paint brush
7/8″ star template
pencil
gel stain
1 dry rag
1 damp rag
Instructions
1. Cut off 4 inches of the end of 9 of the paint sticks. Cut the remaining two paint sticks into twelve inch sticks. Line the 9 paint sticks up. Measure 7 inches out from the end of the paint sticks and draw a line down the top five paint sticks. Paint the 7 inch section navy blue.
2. Starting and ending in red, paint the paint sticks red and white alternating every other one. I only paint 1 to 2 coats of paint. I like how the grain of the wood shows through when distressed.
3. Using a star template, trace the stars onto the blue section of the flag. On the first section, I painted 6 stars and the next section I painted 4 stars alternating every other one.
4. Let the paint dry completely. Sand the painted sticks with the sand paper to give a distressed look. Wipe the sticks off with a wet rag. To glue the flag together, run a line of glue all the way down the top edge of one of sticks. Place the next stick on top of the glue and press firmly to hold them together. Wipe off any excess glue that gets on the front of the flag. Set the paint sticks aside until they dry completely. Repeat this process with the remaining sticks. You should have 3 sets of two paint sticks glued together and one set with three.
5. Now glue all the sections together and set it aside to dry completely. Once they dry, glue the two 12 inch sticks vertically on the back of the flag to help support the flag.
6. Dab a small amount of gel stain on one of the old rags. Wipe the the stain against the grain of the flag. Get the other rag damp and wipe it over the stained area to wipe off the excess stain. Let it dry completely before displaying the flag.


