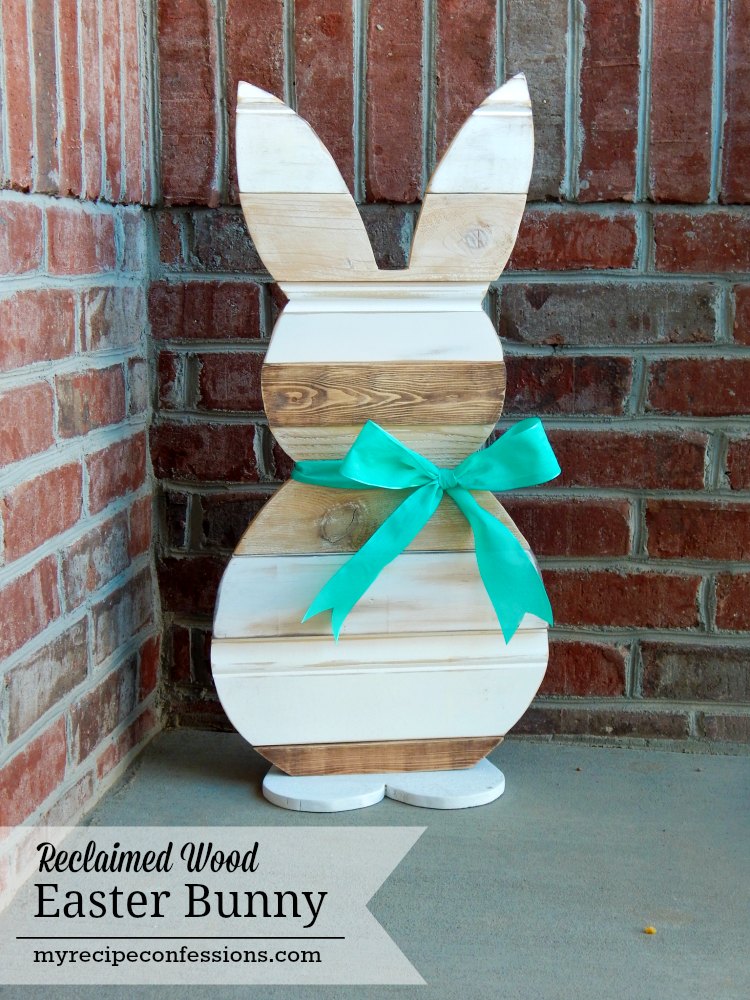
I had a bunch of leftover baseboards and scrap wood in my garage. I needed to use it up as soon as possible because my husband was itching to throw it away. So luckily I was able to use some of it on this project. With Easter just around the corner, I wanted to make a cute bunny to sit on my porch.
Remember, I am not a expert at all when it comes to woodworking. In fact, I am sure there are many things that I could have done differently. So this just goes to show you that anybody can do this project if I can.
For this project I just used a jig saw. If you are lucky enough to have a band saw or scroll saw, then by all means use that. I have an overhead projecter I got from a school. I use it to enlarge templates for bigger projects. I love it! It allows me to enlarge just about anything to the size I need. I have a link for the bunny template that I made. If you don’t have an overhead projector, you have a few options. If you would like to purchase an overhead projector, I have seen many on Craigs List or KSL if you are local. You can also have the engineer prints printed at Staples. I have been told that it is only $5.00 to print engineer prints.
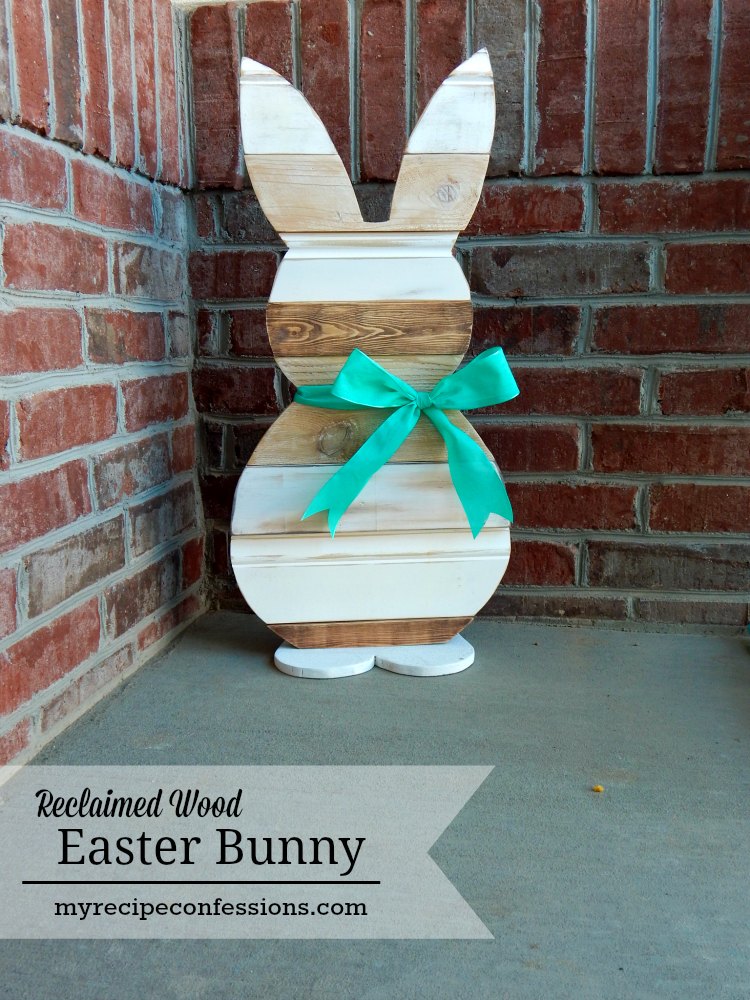
For the feet of the bunny I used a 4 inch cedar fence slat. The wood is thick enough but I think it would look better if the wood was a little thicker. Because the body is a little heavier than the feet/base, it tilts slighty forward. If you use a thicker base you won’t have that problem.
If you check out the tutorial for the Reclaimed Wood Eggs, you will notice that I cut out the reclaimed wood and backing board together. With the bunny, I cut the reclaimed wood first and then cut out the backing board and then assembled it. You can do it either way. For me, I prefer the way I made the bunny. I feel like I have more control over the shape of the bunny by cutting each board seperately. It is a matter of personal preference.
If you end up making a bunny for your porch, please send me a picture in the comments. I would love to see it.
With love from my kitchen to yours,
Carrie
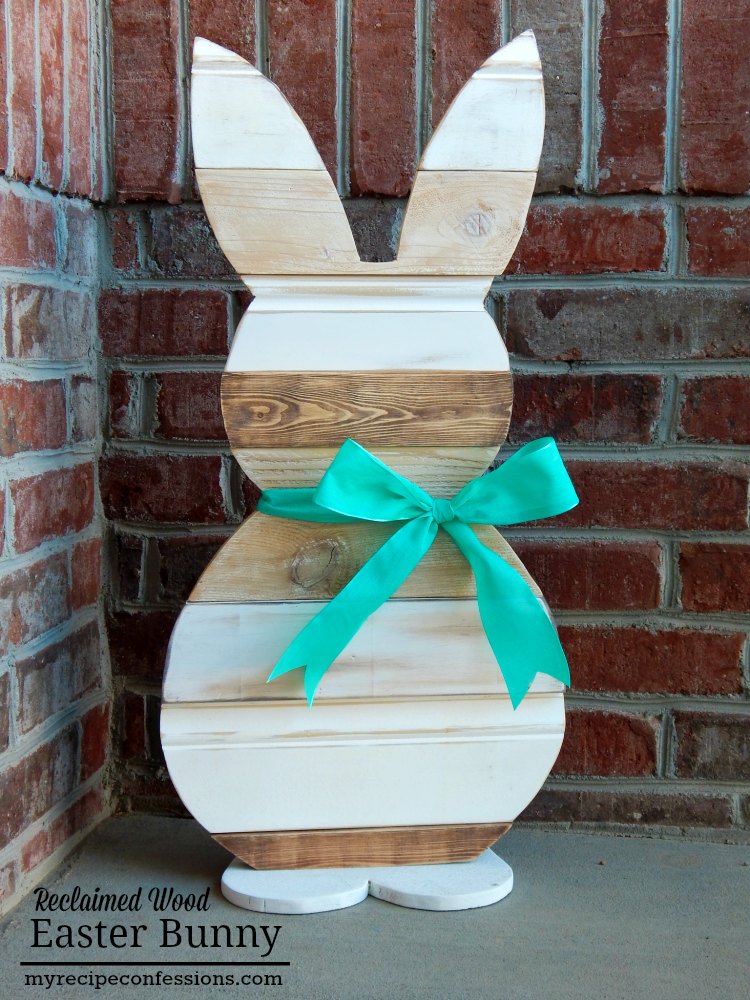
Reclaimed Wood Easter Bunny
Supplies
reclaimed wood
Luan, plywood, or MDF ( If you are putting the bunny outside where it can get wet, don’t use MDF)
jigsaw or scroll saw
wood glue
white paint and stain of your choice (I used a hickory gel stain)
sandpaper
Instructions
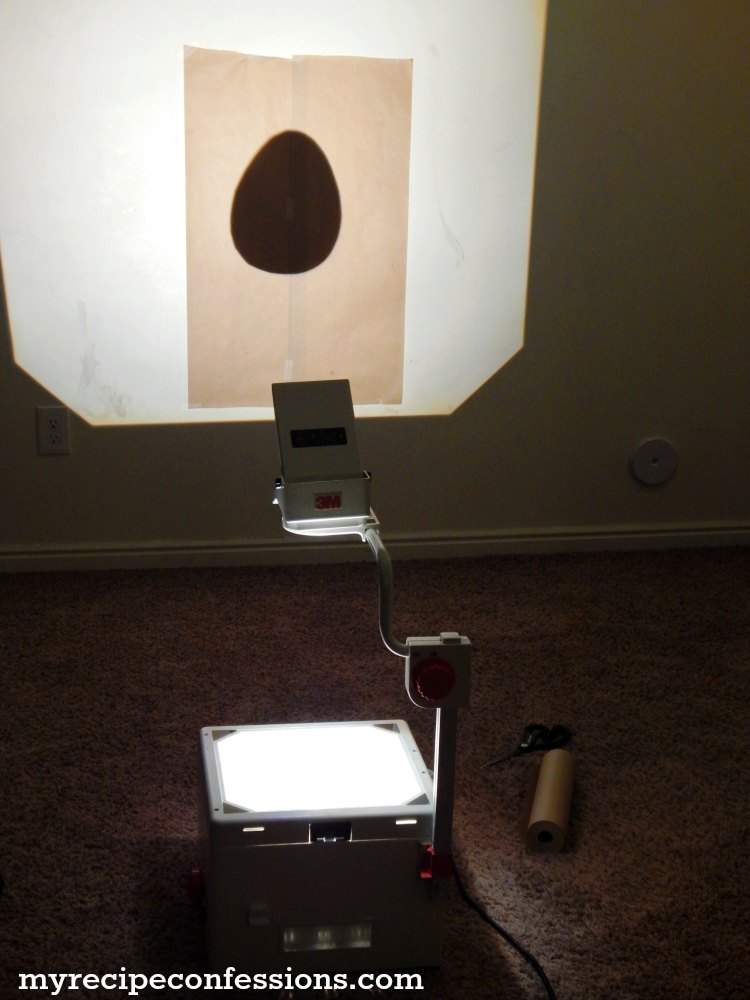
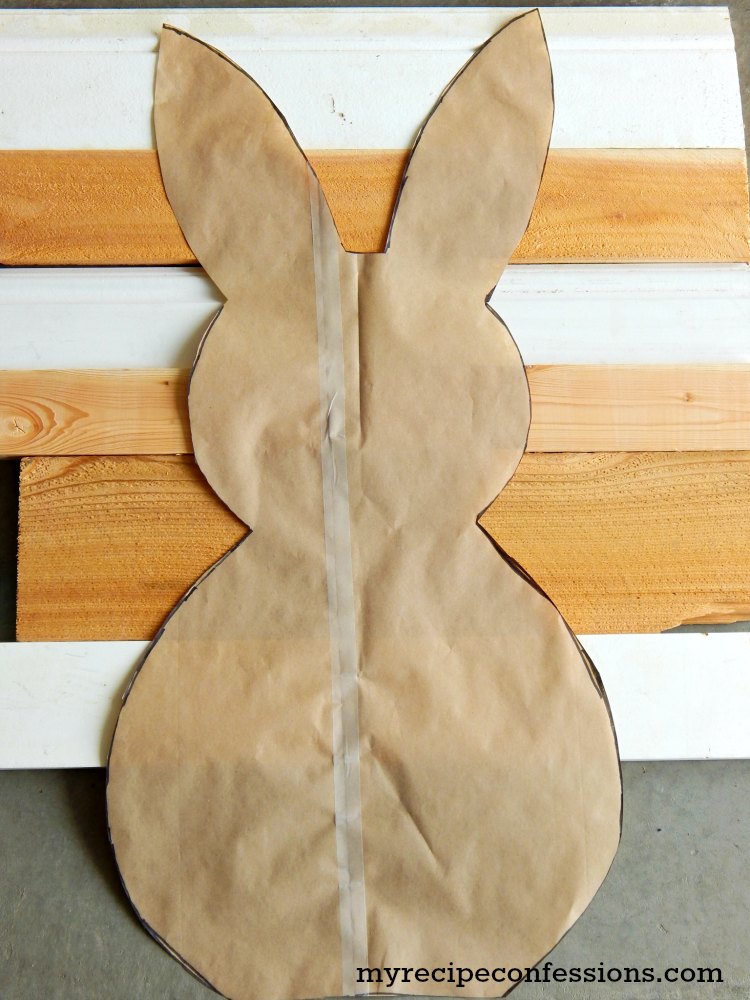
- Use the bunny template to enlarge the image with an overhead projector or have a large engineer print printed off at Staples. I used an overhead projector and traced the image onto brown painters paper that I bought at Walmart in the painting section. You could also use wrapping paper and flip it over on the blank side. The body of my bunny is 29 inches. (Can you tell my boys like to play with the projector?)
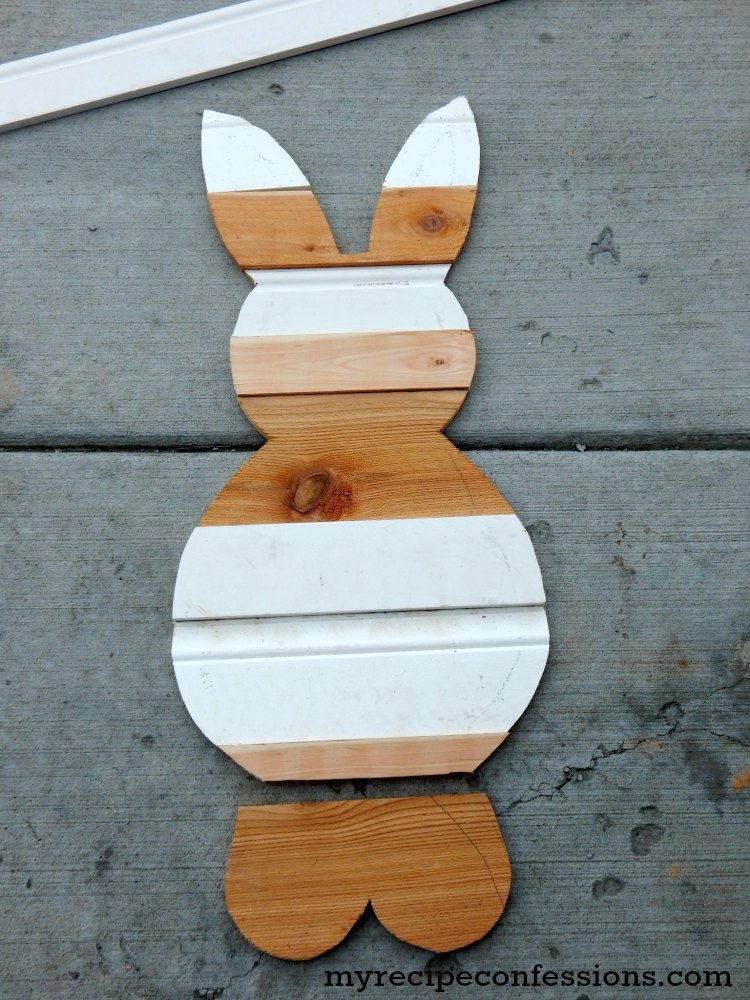
2. Arrange the reclaimed wood in the pattern you desire. Trace the bunny onto the reclaimed wood. Trace the bunny feet onto a heavier piece of wood. Cut the bunny and feet traced onto the boards with the jig saw. Line the boards up after each cut to make sure that you are cutting it right. Sand out all of the rough edges and paint.
3. Line the boards up on top of the backing board and trace the bunny. Cut the bunny out on the backing board with the jig saw. Make sure that the reclaimed wood bunny and the backing board bunny line up right.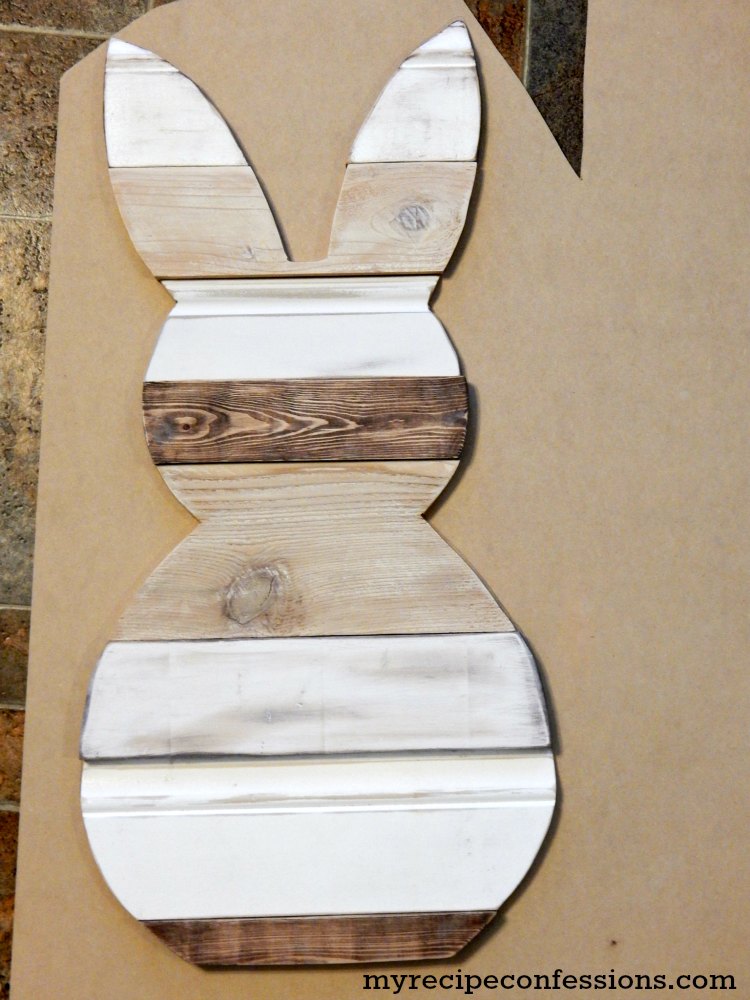
4. Glue the reclaimed wood bunny onto the backing board bunny. Allow the glue to dry completely. If you want to make sure that it is completely secure, you can sink a few screws into the back.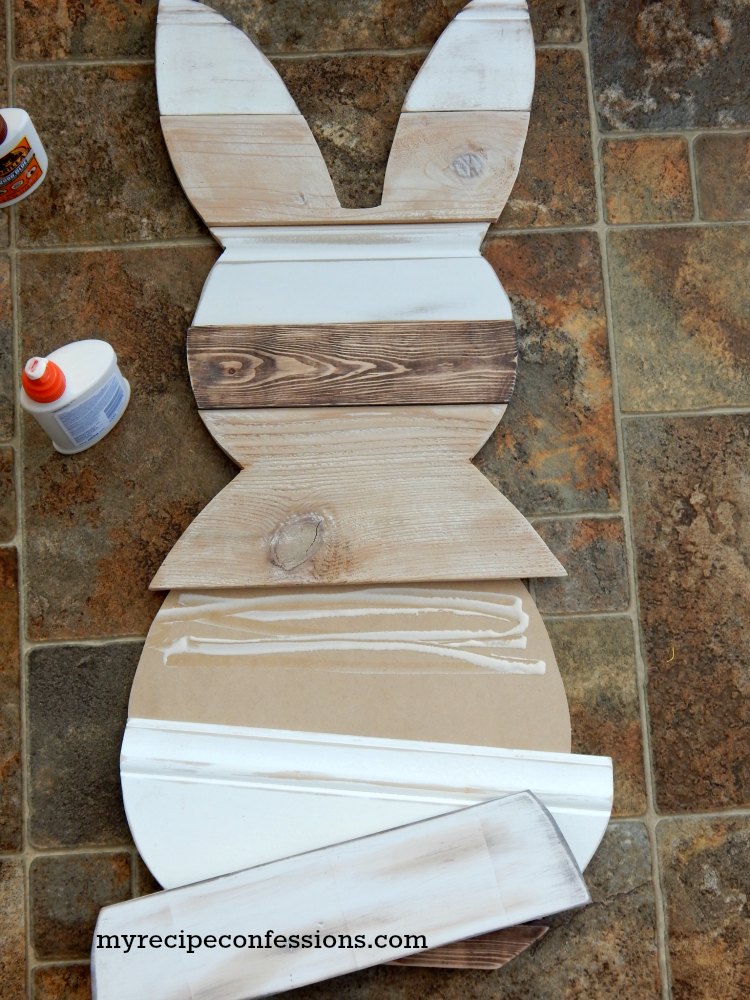
5. Smooth the edges with sandpaper. Place the back of the feet 2 1/2 inches from the back of the body. This will allow your bunny enough stability to stand. Sink a few screws into the bottom to secure the feet in place.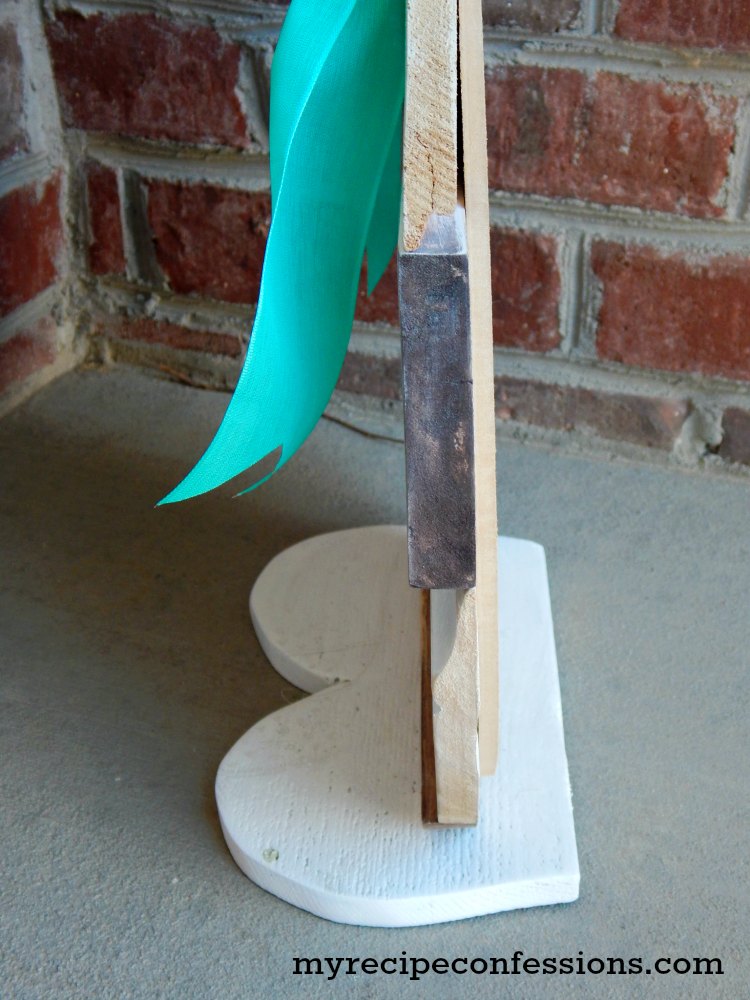
Here are a few Easter ideas you should try.


Creamy Bacon and Egg Salad Sandwich


I’ve just tried it .. and it looks so cute on my balcony… pity I couldn’t share picture here.. don’t know how to post picture here
Such a cute idea. You have very well utilized your wood scrap. I will use a band saw as it is more efficient and quite easy to use.